The Sample Is the Product Decision
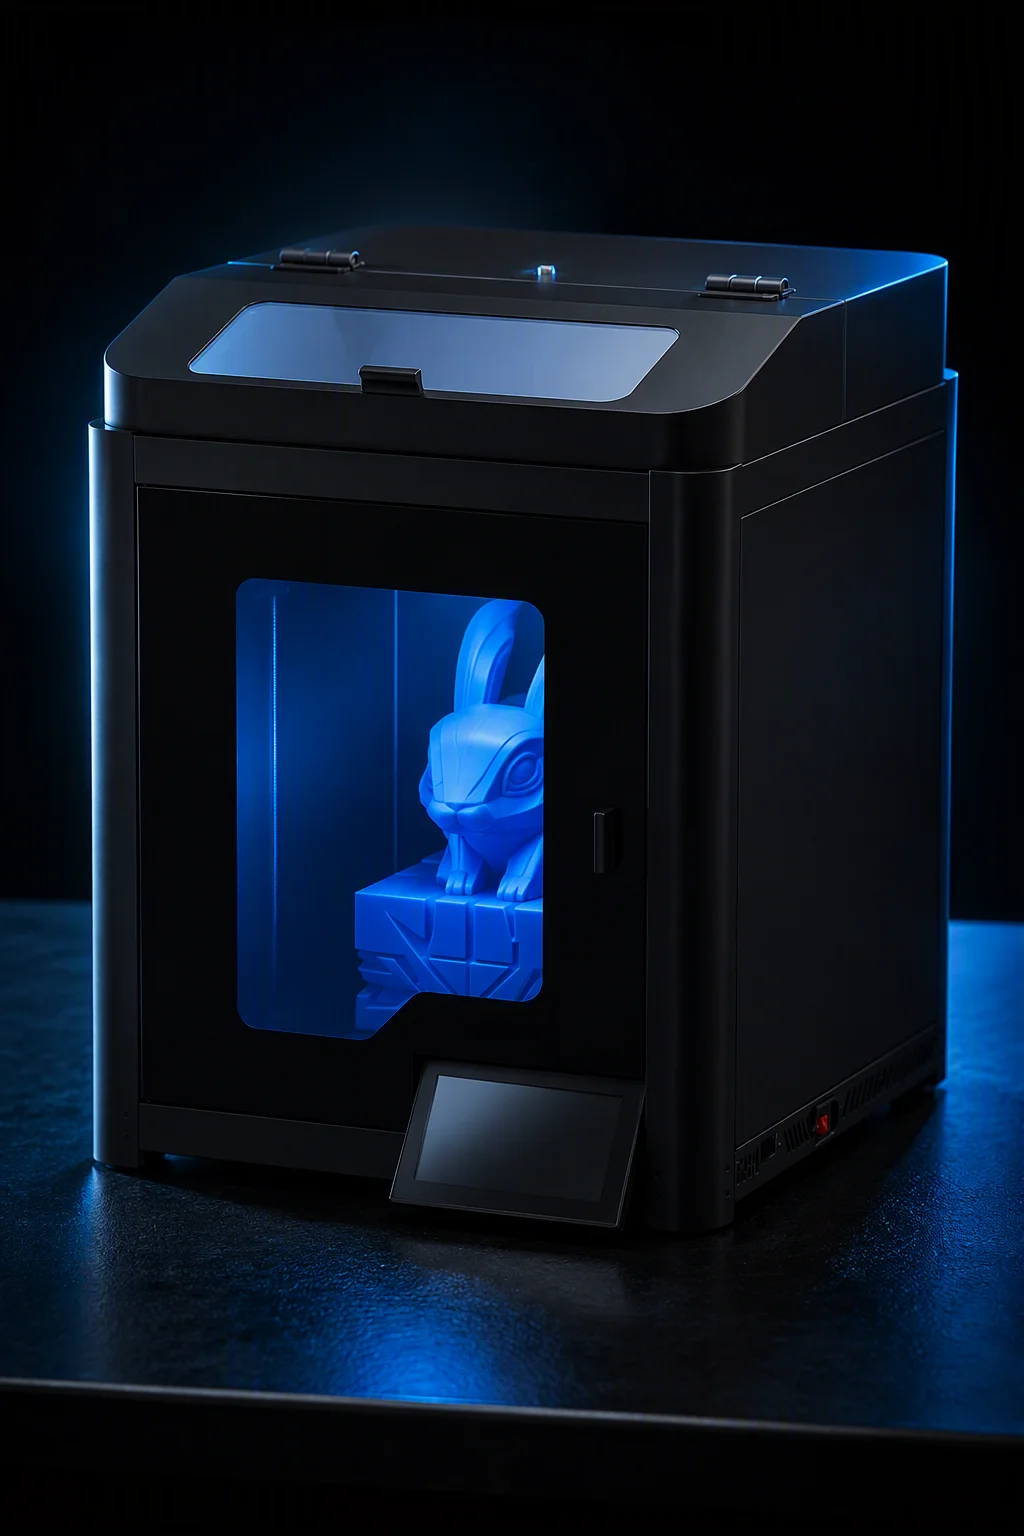
Cosmetic packaging is approved visually and by hand before it is approved commercially. A marketing team signs off a tube by holding it, squeezing it, looking at the decoration under a counter light, and checking that the cap and shoulder feel like the brand. None of those judgements can be made from a CAD render, and the tooling that produces the finished pack costs far too much to cut on the strength of a picture. The gap between the render and the tool is where 3D printing earns its place in cosmetic tube development: it produces physical samples that are close enough to the finished pack to make the approval real.
[MUST] The commercial case is straightforward once the tool cost is put on the table. A tube tool for a new geometry is a five-figure investment and a multi-week lead time in most cases, and a brand that cuts it before the design is settled pays for it twice. Printing prototype tubes lets the design freeze happen against physical samples, so the tool is cut once against a geometry that has already survived the marketing review, the fill trial, and the decoration trial. The saving is not in the sample cost, which is small; it is in the eliminated second tool.
The Prototype Set a Brand Actually Needs
A single prototype tube is not useful, because the decision a brand is making is comparative: which diameter, which shoulder, which cap, which closure. The prototype set should present the real options side by side so the choice is a choice and not a guess. That means printing the candidate geometries at true scale, in the same wall thickness as the production tube, so the squeeze feel and the weight are representative rather than approximate.
The prototype set that supports a real decision has four parts. First, the geometry candidates: the tube diameters and lengths under consideration, at production wall thickness. Second, the shoulder and cap variants: the neck finishes and closure styles, printed so they thread or click as they will in production. Third, the fill samples: tubes filled with the actual product or a density-matched surrogate, so the brand sees the pack full, and the fill line sees whether the viscosity behaves. Fourth, the decoration samples: tubes decorated with the candidate artwork by the intended process, so the brand judges the print quality on the real substrate. Printing only the first part produces a sample that cannot answer the questions the other three exist to answer.
Prototype tube wall thicknessMatch production spec
Lead time, printed prototype set3 – 10 days
Cost per prototype tubeTooling fraction, single digits %
Tube tool lead time (blow/injection)4 – 10 weeks
Tube tool cost, new geometryFive figures, USD
Prototype iterations typical3 – 8 rounds
Squeeze feel validity, printed vs mouldedDepends on wall match
Decoration trial acceptable reject rate< 5%
Decorating the Prototype: Where Most Programs Lose Time
Decoration is where a tube program most often stalls, because the artwork and the process interact in ways that a flat proof cannot show. Screen print, hot stamp, offset and label each behave differently on a curved, tapered, flexible substrate, and a design that reads well on paper can misregister or break on the tube. The prototype's job in the decoration trial is to expose those interactions before the production tool is cut, while the geometry can still change.
Printing on a curved, tapering surface
[GAP] The first decoration problem is registration on a taper. A tube that narrows toward the cap distorts a wrap-around design, and the amount of distortion depends on the cone angle. A prototype that carries the intended artwork lets the brand and the decorator measure the distortion and either adjust the artwork or adjust the taper before the tool commits to it. The second problem is adhesion: ink and foil bond differently to different tube resins, and a sample printed on the wrong resin will pass a trial that the production tube then fails.
Why the prototype resin must match the production resin family
The prototype tube should be printed in a material that approximates the production resin's surface energy and flexibility, because both determine how the decoration takes. A prototype printed in a convenient resin that decorates cleanly can give false confidence if the production tube's resin is different. The practical rule is to select the prototype material as a stand-in for the production resin family and to print the decoration trial sample in that stand-in, so the trial's result transfers to production. This is the single most common cause of a program that passes prototype decoration and then rejects the first production run.
Diagnostic Question: "Which approvals are being made against the printed prototype, and which are being deferred to the production tool?"
What you're looking for: List every sign-off the program needs, then mark whether the printed sample can carry it. If the decoration approval and the squeeze-feel approval are both deferred to production, the tool is being cut against unresolved decisions and the risk of a second tool is live. Where a printed sample can carry the decision, it should, because the cost of a printed iteration is negligible next to the cost of a re-cut tool.
Change Parts: Where Printing Pays Every Production Run
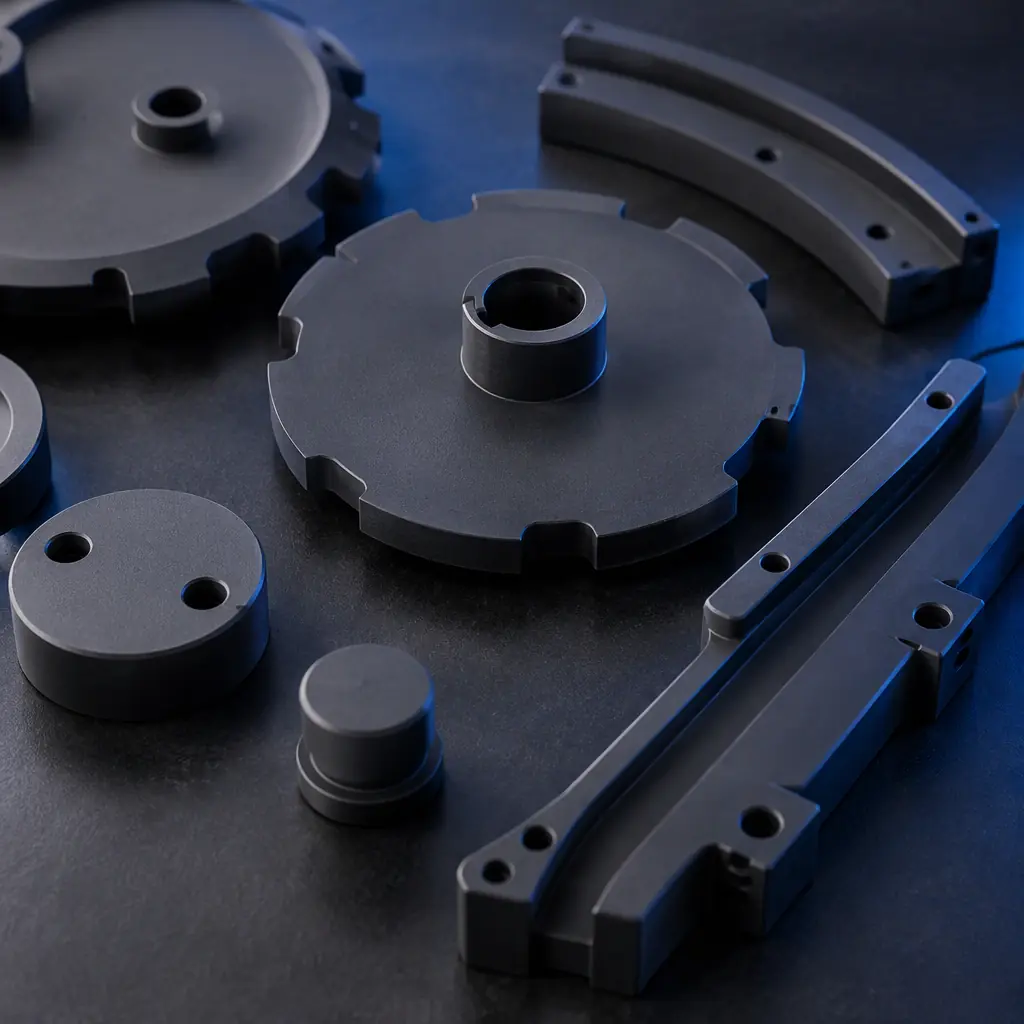
Beyond the development sample, 3D printing has a permanent role in cosmetic tube production as the source of change parts. Filling lines run a family of tube diameters, and every change of format calls for change parts: the pucks, guide rails, star wheels and mandrels that hold the tube through filling, sealing and decorating. Machined change parts are expensive and slow to replace, and a line that waits on a machined part loses production. Printed change parts are fast, cheap, and can be held as spares for formats that run infrequently.
The economics of printed change parts depend on the load and the cycle count. Parts that carry only the tube's weight and guide it can be printed in a durable engineering resin or printed in a plastic that tolerates the product's chemistry. Parts that carry a mechanical load or run at high cycle counts may still warrant machining, but the decision should be made per part by its duty rather than by a blanket rule. Many filling lines keep a printed set for low-volume formats and a machined set for the high-volume line, and the printed set exists so a format change never stops the line waiting for a part.
Change-part lead time, machined1 – 4 weeks
Change-part lead time, printedSame day – 3 days
Cost ratio, printed vs machinedOften 10–30% of machined
Typical formats per filling line3 – 12
Printed part duty, low-volume formatsGuide and locate only
Printed part duty, high-cycle lineAssess per part
Spare change-part set, printedHold on shelf
Format change downtime, protectedNegligible when spares held
The Hand-Off From Sample to Mass Production
The hand-off is not a single event but a sequence of freezes, and each freeze should be deliberate. The geometry freezes when the branding and the fill trial agree on the shape. The decoration freezes when the trial sample passes on the production resin family or its stand-in. The tool is cut only after both freezes, and the first article from the tool is measured against the frozen prototype so that any deviation is caught before the run scales. [SNIPPET] A program that freezes geometry and decoration separately, and cuts the tool after both, avoids the most expensive failure mode in tube development: a tool that is dimensionally correct but decorated wrongly.
The value of the printed prototype in this sequence is that it makes each freeze testable in the hand. A freeze confirmed against a physical sample is a decision the team can defend; a freeze confirmed against a render is a hope. The cost of printing the samples that make the freezes real is trivial against the tool it protects, and the time it saves in avoided re-cuts is the difference between a program that ships the pack on schedule and one that re-runs development after the first production trial.
The production-side tooling that follows the prototype is covered in our cosmetic tube tooling and change parts guide, the thermoforming and vacuum forming tooling that neighbouring packs use is in the thermoforming tooling guide, the broader packaging sector context is in the packaging industry guide, the hybrid path between printing and injection is in the injection versus printing guide, and the beauty-sector demand pattern is in the cosmetics and beauty industry guide.
Packaging Channel Programme
Sourcing Printers for Packaging Development?
Precise3D supplies resin and FDM printers for packaging prototyping and change-part production, with material guidance for decoration trials, dimensional data for fill-line change parts, and distributor support for the cosmetics and personal care sector.
← Back to Blog