
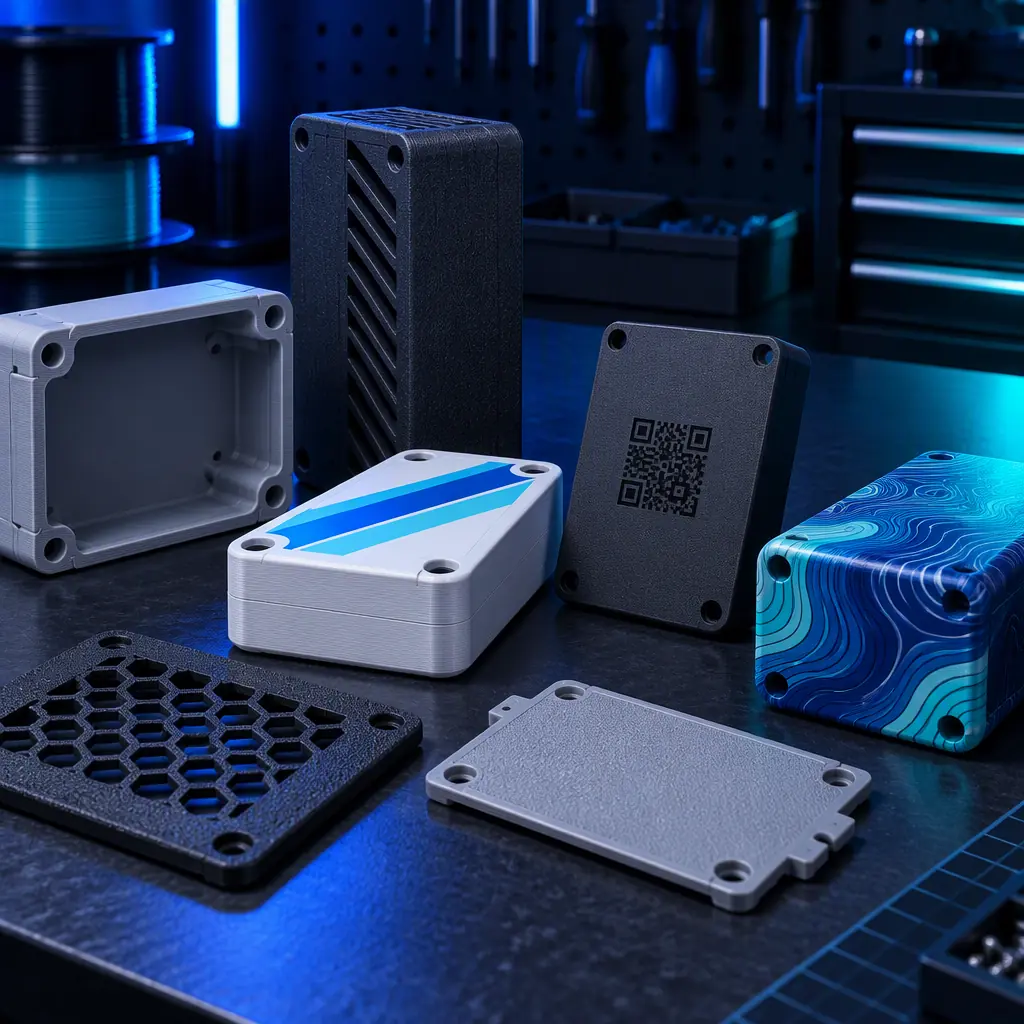
Why Decoration Is Harder on a Printed Part
Decorating an injection-moulded housing is a solved problem because the substrate is smooth, non-porous and consistent from part to part. A printed part breaks all three of those assumptions to some degree.
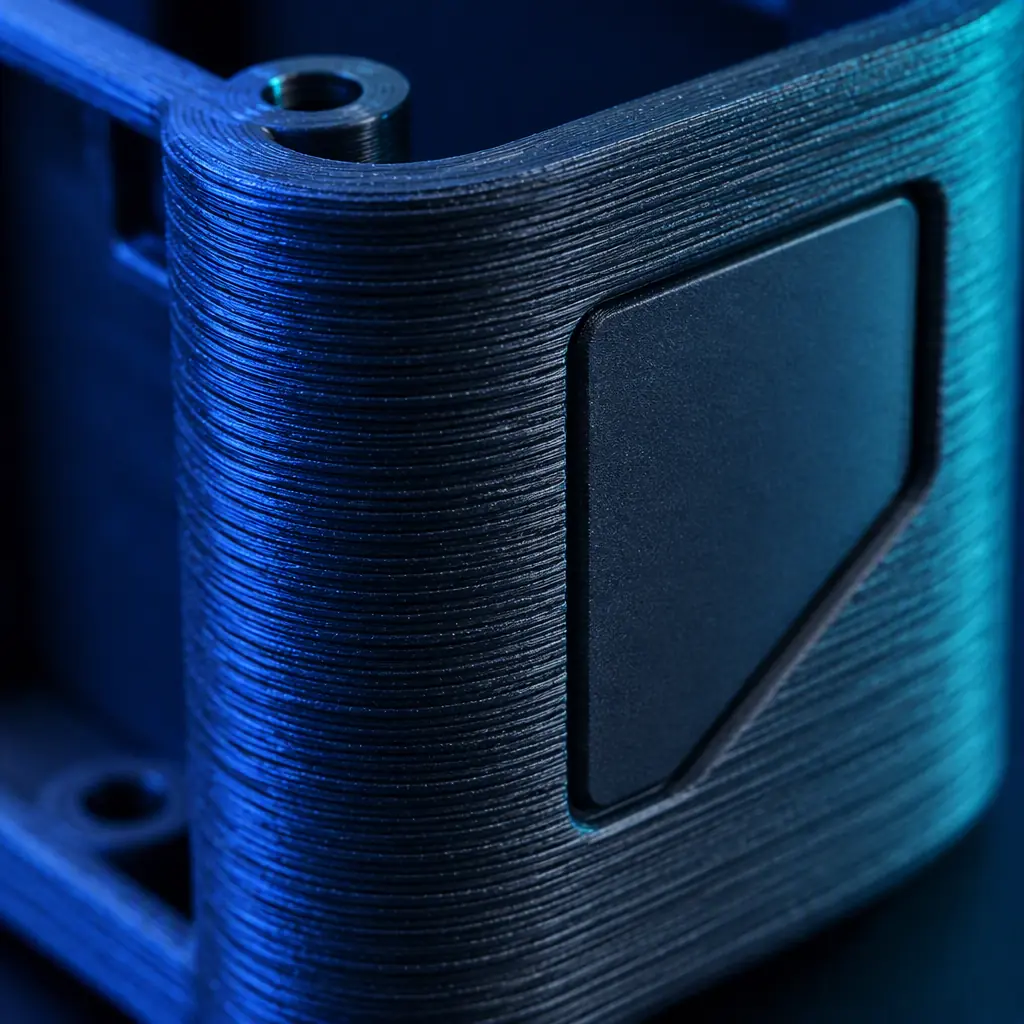
The layer lines create a micro-topography. On a horizontal top face with fine layers the surface can be close to flat, but on a vertical wall the same part presents a stack of ridges, and on a curved surface those ridges run in changing directions relative to the part's features. A pad print that sits perfectly on a moulded housing will sit on the tops of the ridges and bridge the valleys on a printed one.
The second difference is porosity. Fused filament printing leaves small voids at the surface, and resin printing leaves a surface that may still hold uncured monomer or a slightly tacky layer depending on post-cure. Both affect how ink wets and how well an adhesive or transfer film grips.
The third is thermal history. A printed part's surface may have been sanded, vapour smoothed or primed, and each of those operations changes the surface energy the ink has to bond to. Which is why the decoration decision cannot be made after the finishing decision — they have to be decided together.
The Six Routes, Sorted by Part Geometry
The table below is the working tool for this decision. Read down the geometry column first, because geometry eliminates most of the options before quantity or cost is even considered.
The quantity column matters less than it appears, because decoration setup costs are dominated by the artwork tooling rather than by the part. A pad printing plate is a modest item and a screen is cheaper still, which is why both processes are viable well below the runs where a molder would consider them.
Pad printing: the default for printed enclosures
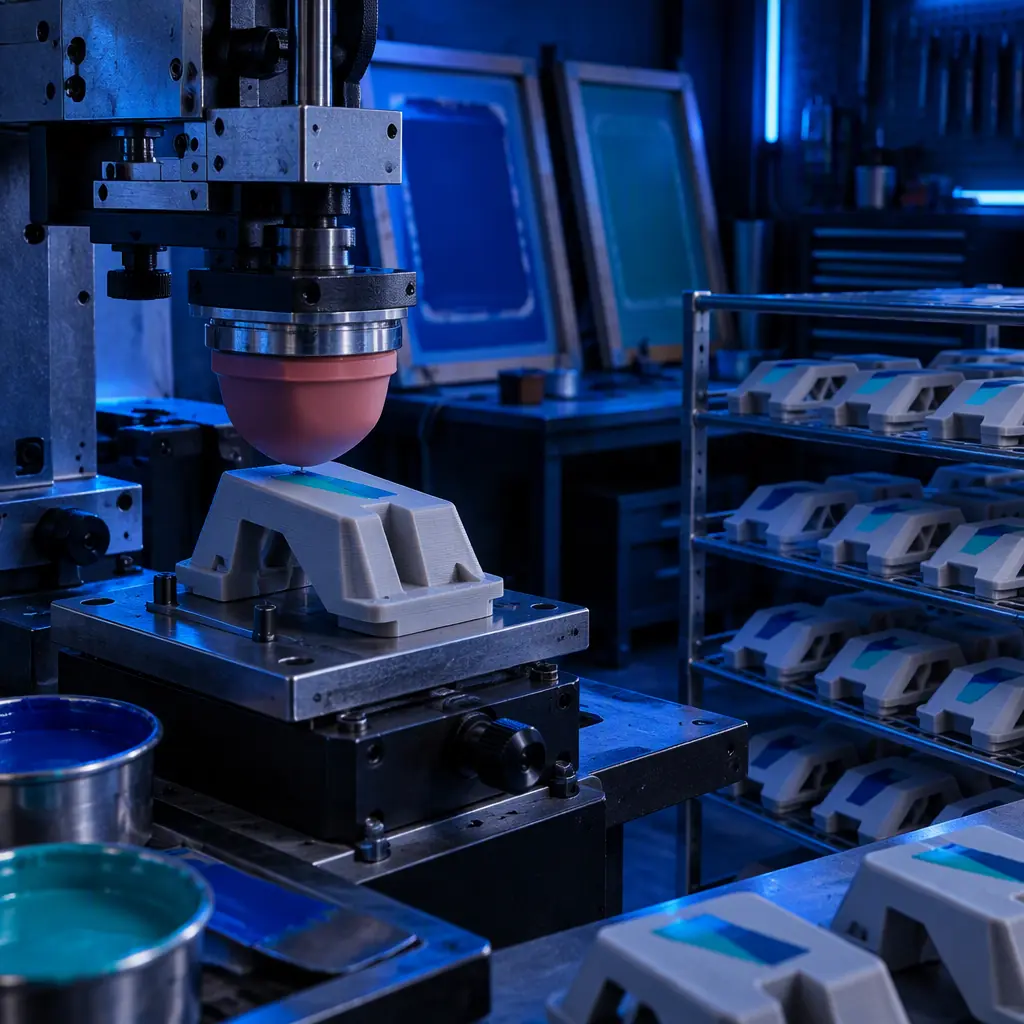
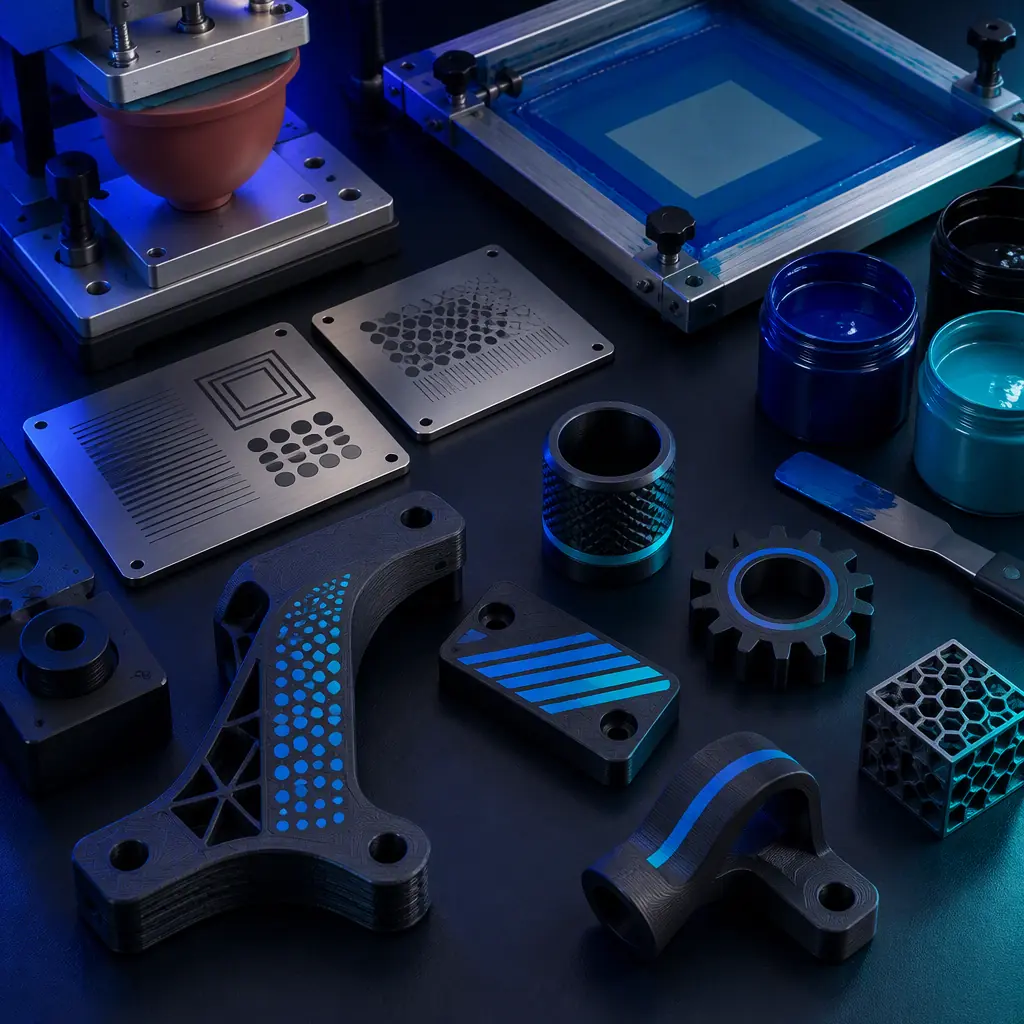
Pad printing transfers ink from an etched plate via a soft silicone pad. The pad deforms to the part, which is exactly the behaviour a printed surface needs — the pad pushes into the layer ridges instead of spanning them. It handles concave, convex and stepped surfaces, and it reliably prints into a shallow recess, which is the trick that hides layer lines around a logo.
The practical constraint is that the pad cannot reach deep into a cavity or around a sharp internal corner, and each additional print position needs its own plate and pad set-up. For a single logo or control-panel graphic on a curved housing, it is usually the cheapest good answer.
Screen printing: best for flat graphic panels
Screen printing forces ink through a mesh stencil with a squeegee, and it gives the thickest ink deposit of any of these processes, which is what makes it durable on a surface that will be handled. It is at its best on flat or gently curved panels where the screen can make contact across the full image.
On a printed part the difficulty is the layer lines, which can break the seal between screen and substrate and let ink bleed under the stencil edge. A light surface preparation — sanding or a primer coat that fills the layer topography — is usually what makes a screen print on a printed part look professional rather than home-made.
Hydrographic dipping: the only full-wrap option
Hydrographic transfer floats a printed PVA film on water, activates it, and the part is dipped through the film so the graphic wraps the entire surface. For a printed part with compound curvature — a motorcycle-style fairing, a helmet-shaped enclosure, a decorative shell — it is the only process that covers the geometry in one operation.
Two things decide success. The first is that the part must be sealed before dipping, because the activator will attack an unsealed porous surface and lifted layer lines will trap water. The second is that the film's graphic must be designed for the part's specific curvature; a pattern designed for a flat panel will stretch and distort on a sharply curved surface. Dipping is the least forgiving process here, and it is also the one with the highest visual payoff when it works.
Dye sublimation: colour without a coating
Sublimation converts solid dye to gas and drives it into the polymer surface, so the colour becomes part of the part rather than a layer on top of it. There is no film to peel and no ink to wear off, which makes it attractive for parts that see abrasion.
The catch is that sublimation only works on polymers that accept the dye at the process temperature. It is routine on coated or printed-polymer panels where the surface can be engineered for it, and it needs a flat press surface, so it suits panels rather than complex shapes. Because it delivers an all-over colour rather than a graphic, it competes with painting or dyeing more than with pad printing, and the wider question of matching a specified colour from part to part is covered in our colour management and batch consistency guide.
What you're looking for: Flat face points to screen printing or sublimation. A curved or stepped face points to pad printing or laser. A whole-part wrap rules out everything except hydrographic dipping and powder coating. Answering this question first removes four of the six options and the decision becomes straightforward.
Laser Marking and Powder Coating: The Two Non-Ink Routes
Two of the six processes do not apply ink at all, and both solve problems the ink processes cannot.
Laser marking
A laser marks a printed part by one of three mechanisms: removing a contrasting surface layer, causing localised foaming or carbonisation to darken the polymer, or activating a laser-sensitive additive compounded into the filament. The third is the most controllable and produces the highest contrast, and it is the reason some printed parts carry a marking that looks screen-printed but has no ink in it.
The advantages are decisive for data marking. There is no consumable per part, the mark cannot peel, and the process can change content from part to part without changing tooling — which means serial numbers, batch codes and QR codes cost nothing extra once the laser is set up. Where a distributor supplies a customer who needs traceability on printed parts, laser marking is the natural fit, and the same traceability discipline applies to printed identification features described in our anti-counterfeit and parts authentication guide.
The limitation is contrast on a light-coloured or glossy part, where a laser mark can be nearly invisible without an additive in the material. Checking the filament's laser-marking compatibility before promising a customer a permanent dark mark is the step that prevents a batch of parts being produced with unreadable codes.
Powder coating
Powder coating gives a printed part a hard, uniform, chip-resistant colour, and it is the process that makes a printed part read as a durable industrial product rather than a prototype. The obstacle is temperature: a standard powder cure runs at around 180–200°C, which exceeds the heat deflection temperature of most common printing filaments.
The routes around it are to select a low-temperature-cure powder formulation, to use a high-temperature engineering polymer that survives a standard cure, or to apply the coating to a printed part that is only structurally loaded in ways that tolerate a post-cure change. The trade-off between these is the same one that decides filament selection for any high-temperature application, covered in our industrial materials guide.
Adhesion: The Step That Decides Whether Any of It Lasts
The process selection gets a part decorated. The surface preparation is what decides whether the decoration is still on the part after a season of use. Three rules cover most of the failures.
- Seal the surface before applying ink. A filler primer that wets out the layer topography converts a ridged surface into a smooth one, and it gives the ink a consistent substrate rather than a mix of ridge tops and valleys.
- Match the primer to the ink, not just to the substrate. A primer chosen for its adhesion to PLA may be the wrong chemistry for a solvent-based pad printing ink. Where the decorator supplies both, the system is specified as a system and should not be mixed.
- Complete the post-cure before decorating. Resin parts that are decorated before full post-cure will lose the print as residual monomer migrates to the surface. The point at which a printed part is dimensionally and chemically finished is the same point at which it becomes safe to decorate, and the changes a part undergoes during that stage — dimensional and surface — are set out in our post-processing dimensional accuracy guide.
The adhesion test worth using before committing a run is a simple cross-hatch with a tape pull on a decorated sample that has been through the same finishing sequence as production. It takes a few minutes and it catches the primer-and-ink mismatch that would otherwise be discovered across a whole batch.
Designing the Part So It Can Be Decorated
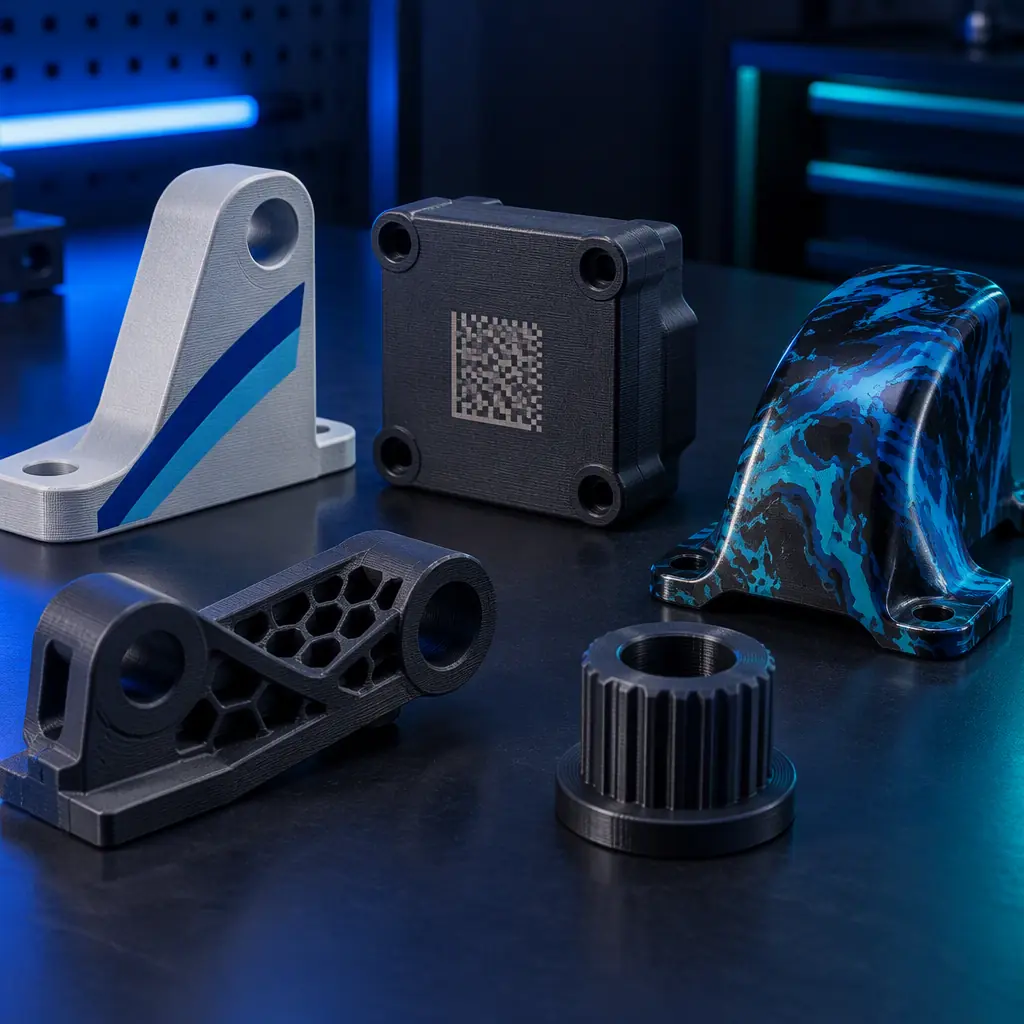
The cheapest decoration decision is made in CAD, before the part is printed. Four design moves make every process above easier.
- Model a shallow recess for the graphic. A recess 0.4–0.6 mm deep gives the pad or screen a defined boundary and hides the layer lines that would otherwise cross the logo. It also physically protects the print from abrasion.
- Give the decorator a flat locating datum. A small flat face or a pair of locating bosses lets a fixture hold the part repeatably. Without it, every decorated part is positioned by eye.
- Keep the graphic off the build plate face. The bottom face of a printed part is the one with the most variable surface, and it is the worst face to print on. Orient the part so the decorated face is a vertical or top face with consistent layer height.
- Specify a laser-marking-compatible filament where data marking is required. Retrofitting contrast onto an incompatible material is a dead end; choosing a grade with the additive is free.
On resin parts, the equivalent advice is to orient so the decorated face is not the one that carries support marks, since support removal leaves the roughest surface on the part. That consideration sits alongside the general printing-orientation logic covered in our print orientation guide.
What you're looking for: A sample that includes the same print, the same post-processing and the same primer-and-ink system as production, tape-tested to a cross-hatch standard. Skipping this because the process is familiar is how a decorated batch reaches a customer with a print that flakes in the field.
Precise3D on Decoration-Ready Parts
At Precise3D, the decoration conversation is usually a print-quality conversation, because a decoration process can only work with the surface it is given. Consistent layer height, a stable chamber and accurate extrusion are what make a printed face predictable enough for a pad or screen printer to fixture against without adjusting for each part.
Our platforms expose the layer-height and material-profile controls that let a customer print a decoration-ready face deliberately, and our material profiles cover the high-temperature engineering filaments needed where powder coating or a hot sublimation cycle is part of the finishing route. Every unit ships with CE LVD (EN 62368-1:2014+A11:2017) and RoHS (EU 2015/863) documentation, and our 3,500 sqm Shenzhen production network applies a documented control plan at incoming and outgoing QC. For distributors, we supply the surface-finish and material-compatibility data needed to answer a customer's decoration question before the part is quoted.
Reviewed by the Precise3D engineering team. Process temperatures, quantity bands and compatibility statements described here are illustrative guidance drawn from typical shop practice. Confirm adhesion, cure compatibility and material temperature limits with your finishing supplier and the material manufacturer before committing a production batch.
Decorating Printed Parts?
Want the Surface and Material Compatibility Matrix?
Tell us the part and the finish you need. We will send the layer-height and surface-finish guidance for a decoration-ready face, plus the material compatibility notes for pad printing, laser marking, sublimation and powder coating so you can specify the print and the finish together.
