Two Problems That Look Like One
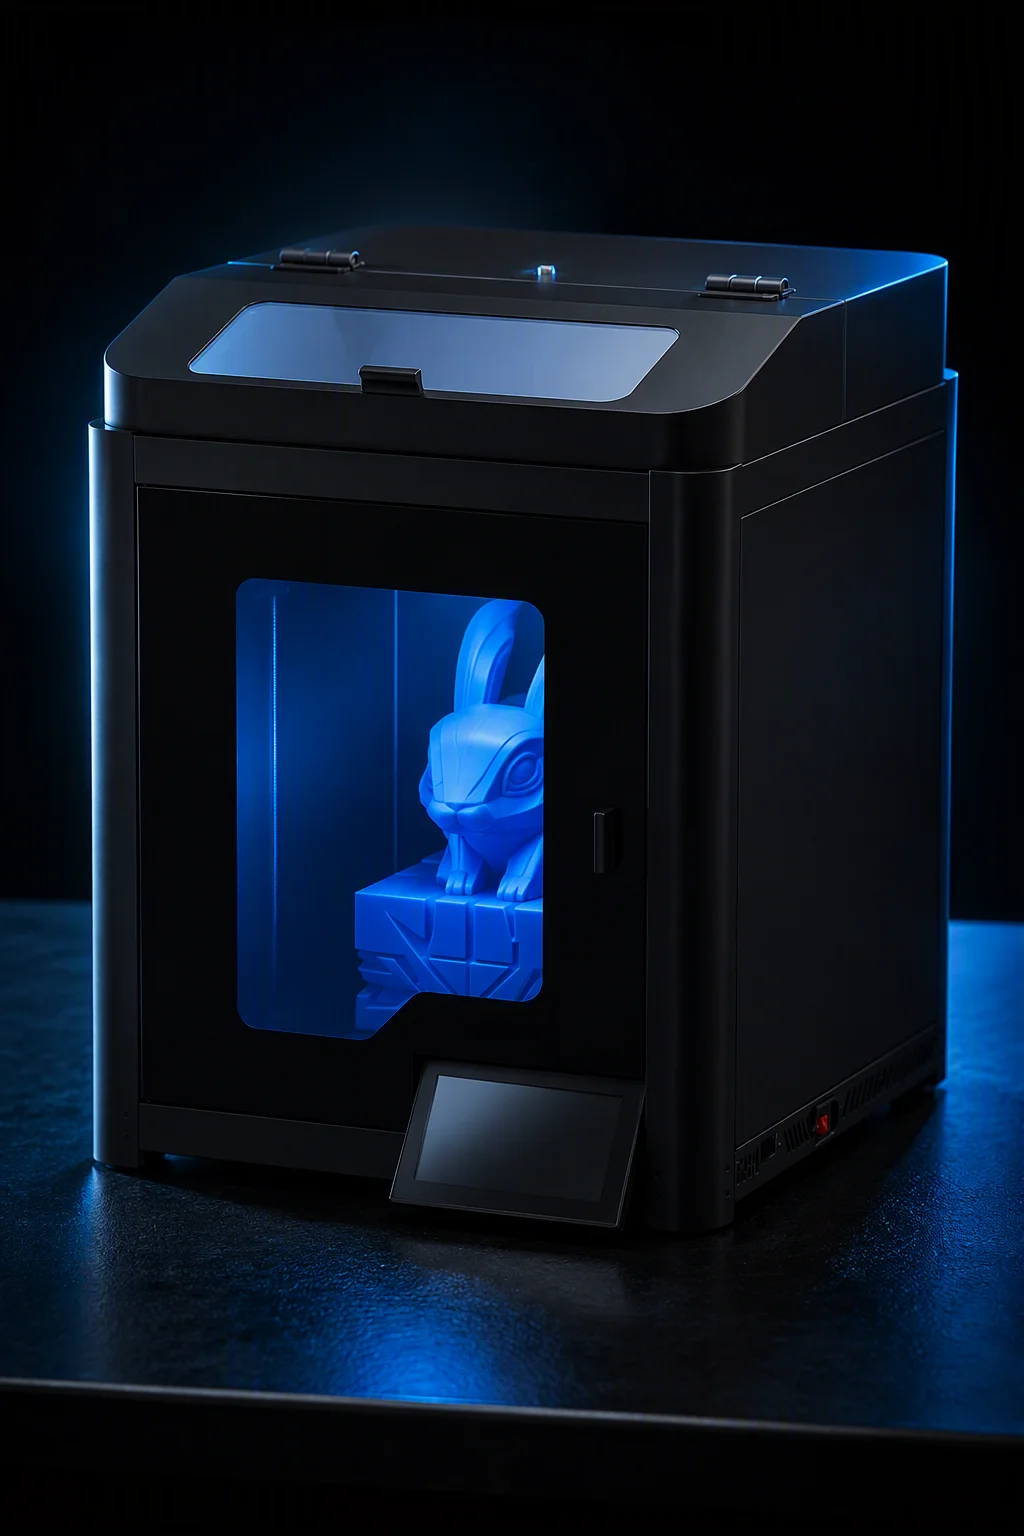
A warped, weak, or foaming print is the most common reason a customer is told they need a heated chamber. It is also, frequently, the wrong answer. Chamber heat and filament dryness attack two different failure modes that present similarly on the finished part, and the cost of installing the wrong one is measured in a machine upgrade that does not fix the defect. Separating them is the first useful thing a distributor can do for a customer who is struggling with engineering polymers.
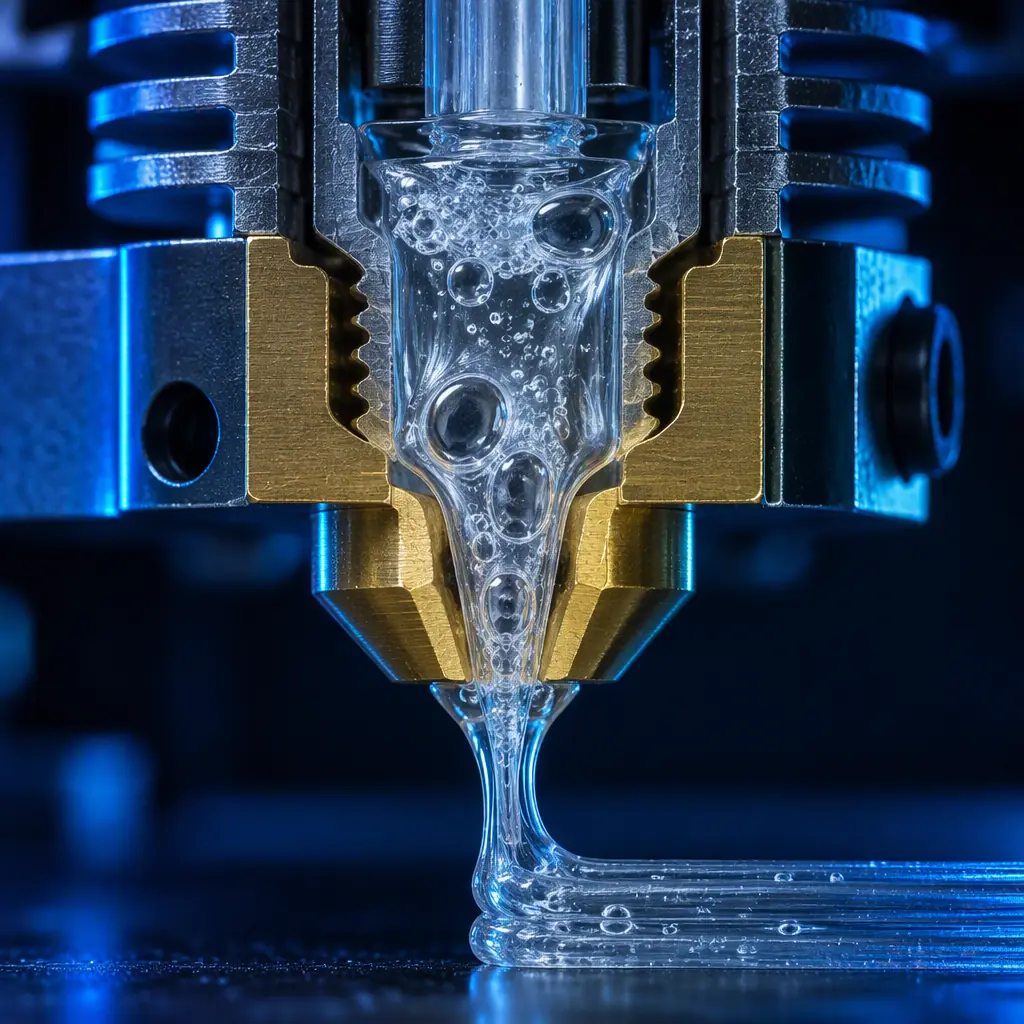
[MUST] A heated chamber controls the cooling rate of the part. It slows the transition from melt to solid so that shrinkage happens gradually and uniformly, rather than as a gradient that curls the base and delaminates the walls. A dryer controls the moisture in the filament before it ever reaches the hotend. Moisture turns to steam inside the melt zone, and that steam causes foaming, bubbling, poor interlayer adhesion and a rough surface that no amount of chamber heat will correct. The two interventions fix different defects, and a machine that does both is not double-selling, it is addressing two independent requirements. The hardware side of the first is covered in our guide to heated chamber selection; the control side in enclosure temperature control.
Chamber temperature, PLA / PETGNot required / 30 – 40 C
Chamber temperature, ABS / ASA50 – 60 C
Chamber temperature, PC / PC blends60 – 80 C
Chamber temperature, PEEK / PEI90 – 150 C
Filament drying, PLA / PETG45 – 55 C, 4 – 6 h
Filament drying, PA / PC70 – 80 C, 6 – 12 h
Filament drying, PEEK / PPSU120 – 150 C, 4 – 8 h
Safe residual moisture, PA / PC< 0.1 – 0.2%
Chamber heat-up time, 60 C target10 – 25 min
Chamber power draw at hold150 – 600 W
What the Chamber Actually Changes in the Part
The measurable effect of chamber heat is a reduction in the thermal gradient across the part as it cools. In an open frame, the outer skin of a large ABS part may drop below the glass transition while the core is still well above it, and the resulting differential shrinkage pulls the corners up and opens the layer boundaries. Raise the surrounding air to within a band below the material's glass transition and the whole part solidifies at close to one temperature, which removes most of the driving force for warping and restores interlayer strength in the Z direction.
[GAP] What the chamber does not change is chemistry. It cannot dry material that arrived wet, it cannot restore molecular weight that a spool lost to repeated heat cycles, and it cannot make a polymer dimensionally stable that shrinks isotropically by a large percentage. A distributor who frames the chamber as a solution to warping in one material family and is honest about the others keeps the customer's trust when the next material does not behave the same way. The practical rule is that the chamber addresses cooling-induced stress, and anything else the customer reports should be routed to a different cause before hardware is recommended. Where the polymer also has a high processing temperature, the material constraints in our guide to PEEK, PEI and PPSU industrial materials govern the specification.
Diagnostic Question: "Does the part fail during the print or after it leaves the chamber?"
What you're looking for: Warping that lifts corners mid-print or shows layer separation at the edges points to a cooling gradient and responds to chamber heat. Foaming, bubbling, a rough surface or a part that snaps along layer lines despite clean geometry points to moisture and responds to a dryer, not a chamber.
If it fails: If the customer reports both, address moisture first. Wet filament prints badly at any chamber temperature, and a heated chamber applied over wet material simply makes a warmer failed part.
Drying as a Process, Not a Step
Drying is often treated as a one-time preparation carried out when a spool is unsealed, which is the fastest way to defeat it. Hygroscopic polymers reabsorb moisture from ambient air, and a spool left on the machine overnight in a humid room can pick up enough water to reintroduce the defect before the next job. The workable approach is to dry to a measured target and then hold the material dry for the whole time it is on the machine, either in a sealed dry box with desiccant or in a dryer that runs continuously at a hold temperature below the drying setpoint. The spool-level routines are set out in our filament drying and storage guide, and the wider material palette in our overview of engineering filaments.
For a print farm or a service bureau, that changes the workflow rather than just the equipment list. Spools come out of incoming storage into a dryer, are dried for the material-specific interval, and go onto a machine already at hold temperature. Each spool carries a record of when it was last dried and how long it has been out of dry storage, and any spool that has been out beyond a defined window goes back through the dryer rather than onto the next job. Without that discipline the dryer is a machine that exists on a purchase order and not in the process, and the defects continue.
Spool shelf life sealed, PA12 – 24 months
Time to reabsorb, PA at 60% RH4 – 12 h
Ambient RH that triggers re-drying> 40% RH
Max time on machine, PA / PC8 – 24 h
Desiccant recharge interval1 – 4 weeks
Dryer hold temperature, PA40 – 50 C
Moisture meter accuracy needed+/- 0.05%
Re-dry interval after storage breachPer material, 4 – 12 h
When the Combination Is Genuinely Required
There is a category of work where both are mandatory and the combination is not an upsell. Large-format parts in PC or ABS with long print times fall into it, because a part that takes twenty hours in an open frame will both absorb moisture during the run and cool unevenly throughout it. High-temperature materials such as PEEK, PEI and PPSU fall into it definitively, because they require chamber temperatures that also serve as drying conditions and cannot be printed to specification without both. And any part with a structural or sealing function in an engineering polymer belongs there, because the failure modes the two devices prevent are the ones that show up as field failures rather than cosmetic rejects. Where the material also burns, the requirements in our guide to enclosure fire suppression apply alongside them.
[GAP] The honest counter-list matters just as much. A customer printing PLA or standard PETG in a moderate climate needs neither, and selling a heated chamber into that workflow produces a machine that sits at ambient temperature while the invoice ages. A customer printing ABS on a small part with a short print time often gets adequate results from an enclosure that holds the heat the machine already generates, without an active heater at all. The passive version of that decision is the subject of our enclosed versus open-frame comparison. Matching the intervention to the material, the part size and the print duration is what separates a specification from a feature list, and it is the version of the advice that keeps a distributor's technical credibility intact on the second order.
Engineering Polymer Support
Specify Chamber and Drying Requirements Correctly
Precise3D works with distributors to match heated-chamber and drying specifications to the materials a customer actually runs, backed by firmware documentation, compliance files and engineering support within 24 hours.
← Back to Blog