
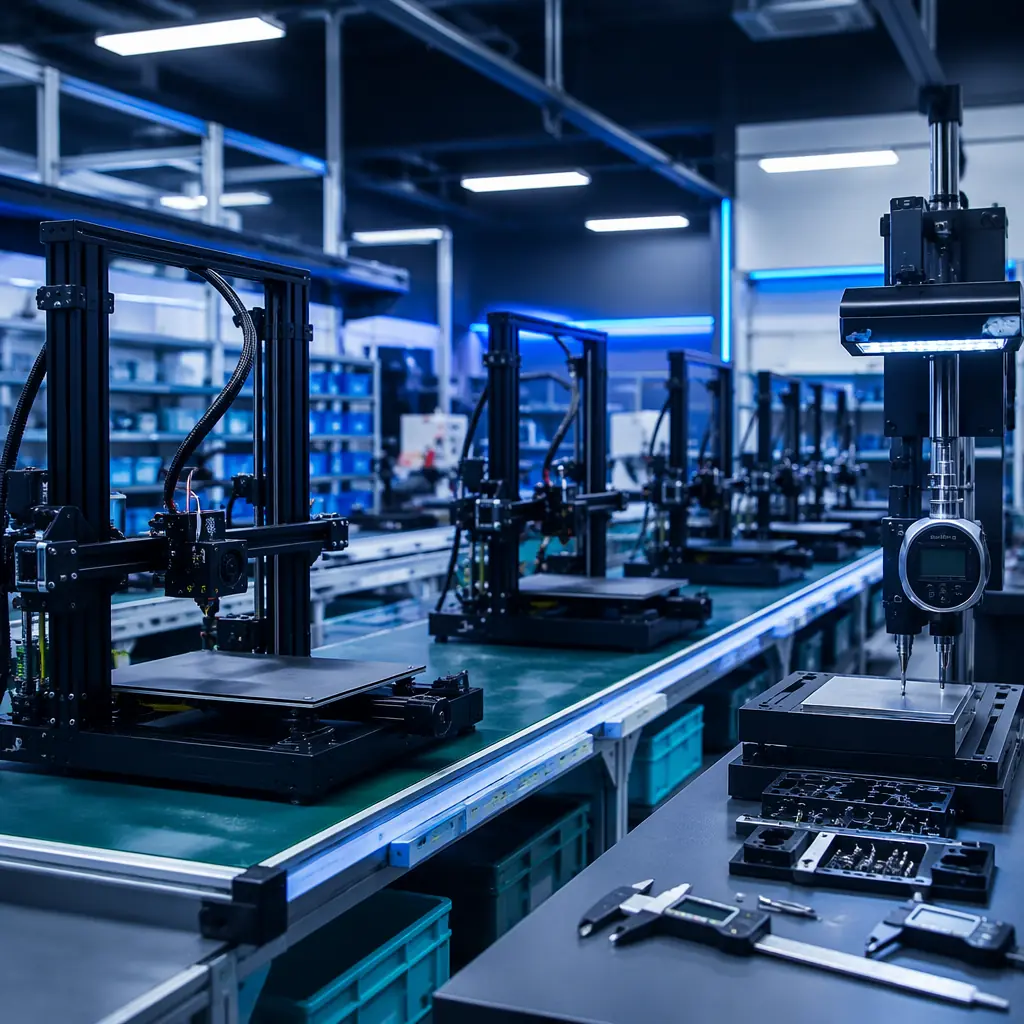
Ordering a container of 3D printers from a factory you have never visited is the single largest financial risk a distributor takes. A spec sheet and a polished WeChat video tell you what the factory wants you to see. A structured factory audit tells you what the factory actually produces when nobody is watching. At Precise3D, we ship 30,000+ units per month to distributors across 40 countries, and we have seen the full spectrum of factory quality — from ISO 9001-certified lines with statistical process control to workshops where QC means one person eyeballing prints between cigarette breaks. The difference shows up in your return rate: factories with systematic QC average return rates of 0.5–1.5%; factories without it average 4–12%. On a 500-unit container order at $120 landed cost per unit, that gap is worth $2,250–$6,900 in avoidable returns.
This guide is written for distributors who evaluate 3D printer manufacturers before placing bulk orders. You will learn how to verify certifications beyond the certificate on the wall, the 15-point assembly-line inspection sequence, burn-in testing protocols that reveal infant mortality failures before shipping, and a scoring framework that turns subjective factory impressions into comparable purchase decisions.
Why Factory Audits Are Not Optional for Distributors
The economics of a bad factory decision compound across every unit you sell. A 5% return rate on 1,000 units means 50 angry customers, 50 shipping labels, 50 refunds or replacements, and — more damaging — 50 people who will never buy from you again. The cost of flying to Shenzhen for a two-day factory audit is typically $1,500–$3,000 including flights and accommodation. The cost of skipping the audit and discovering quality problems after containers arrive at your warehouse is 10–50× that once you account for returns, support labor, brand damage, and unsellable inventory.
Factory audits serve three purposes that no video call can replicate:
1. You see the process, not the presentation. Every factory has a showroom with perfectly assembled display units. The audit reveals what happens on the actual production line — the tools workers use, the organization of workstations, the presence (or absence) of inspection checkpoints between assembly stages. A factory that cannot maintain a clean, organized production line during a scheduled visit will not produce consistent quality when you are not there.
2. You verify component quality at the source. A 3D printer is only as good as its components. During an audit, you can trace the supply chain: Where do the linear rails come from? Are stepper motors branded (Moons', LDO, StepperOnline) or unbranded? Does the factory test incoming components before assembly, or do parts go straight from receiving to the production line? The answers to these questions determine whether your printers ship with 10,000-hour rails or 500-hour rails — and you cannot get them from a brochure. Our motion system comparison guide covers rail quality grades in detail.
3. You build a relationship that protects your supply chain. When you visit a factory in person, you are no longer an email address. You become a partner the factory manager remembers. This matters when there is a component shortage and factories allocate limited stock — the distributor who visited gets priority. It also matters when quality issues arise: a factory that knows you will audit again is more responsive to corrective action requests.
Pre-Audit Preparation: What to Request Before You Travel
An effective factory audit starts weeks before you board a plane. The documents you request — and whether the factory can produce them — are themselves a preliminary QC filter. Factories with nothing to hide provide documentation promptly and completely. Factories that stall, provide incomplete records, or claim documents are "confidential" are signaling structural problems before you spend a dollar on airfare.
A factory that cannot produce the BOM with component brands is not protecting trade secrets — it is hiding component substitutions. The #1 cause of quality degradation in 3D printer manufacturing is unauthorized component substitution: the factory uses Moons' stepper motors in the sample unit and unbranded clones in production. The BOM is your contractual reference point — if it is not documented, it cannot be enforced. Our OEM partner evaluation guide covers the broader partnership assessment framework including IP protection, payment terms, and exclusivity.
The 15-Point Assembly Line Inspection Sequence
When you walk the production floor, follow the assembly sequence from incoming materials to finished goods packaging. Each station is a checkpoint. If a station is missing, the quality gap compounds downstream — errors that should have been caught at Station 3 become invisible by Station 12, embedded inside an assembled printer.
Station 1: Incoming materials inspection.
Are components tested before they enter the production line? Look for a dedicated inspection area with measuring equipment — digital calipers, dial indicators, belt tension gauges, multimeters, PSU load testers. If components go directly from receiving boxes to assembly stations without inspection, the factory is trusting supplier QC — and that trust will be betrayed on a statistically predictable percentage of units. A proper incoming inspection station should test AQL 1.5 Level II sampling on each component batch: measure rail straightness on a sample, test motor coil resistance, verify belt tooth profile under magnification, load-test PSUs at rated current.
Station 2–3: Frame assembly and alignment.
The frame is the foundation. Check whether the factory uses jigs and fixtures for frame assembly (consistent squareness, repeatable bolt torque) or freehand assembly (each frame slightly different). A proper frame assembly station has a granite surface plate or machined aluminum fixture with alignment pins — the frame is assembled inside the fixture, bolts are torqued to specification with a calibrated torque driver, and the completed frame is checked for squareness with a machinist's square before moving to the next station. Any gap between the square and the frame > 0.2mm at any corner = reject. See our motherboard and electronics guide for PCB-level quality checks.
Station 4–5: Motion system installation.
Linear rails, belts, and stepper motors are installed at these stations. Critical checks: Are belt ends cut clean and clamped with proper crimp ferrules (not zip ties)? Are linear rail carriages pre-loaded correctly — do they slide smoothly with no play? Is the belt path aligned — does the belt ride centered on idler pulleys without rubbing against flanges? These three details separate printers that print dimensionally accurate parts for years from printers that develop layer shifts and belt wear within months.
Station 6–7: Electronics and wiring.
Look for cable management — are wires routed through drag chains or left loose? Are connectors heat-shrinked or at minimum properly crimped? Is the PSU mounted with vibration-damping grommets? Check the mainboard compartment: is there adequate airflow, or is the board sealed in a compartment that will overheat during 30-hour prints? The quality of wiring work is the single most reliable proxy for overall factory quality — it is tedious, detail-oriented work that factories either invest in or skip, and the result is immediately visible.
Station 8–10: Toolhead and hotend assembly.
The toolhead is the most precision-sensitive assembly on the printer. Check: Is the nozzle torqued against the heatbreak (hot-tightened at 280°C), or cold-installed? Is the thermistor properly seated in the heat block with thermal compound? Is the heater cartridge secured with a set screw? Are part cooling fans tested for balanced operation before the toolhead is installed? A factory that cold-installs nozzles will ship printers that develop hotend leaks within the first 50 hours of customer use — one of the most common and most avoidable support tickets in consumer 3D printing.
Station 11–12: Bed leveling and first-layer calibration.
Each printer should undergo an automated bed leveling cycle and first-layer test print before proceeding to final assembly. The test print should be a full-bed first-layer square — not a small center-only test — because bed flatness issues at the edges are the most common calibration defect. A printer that prints a perfect first layer in the center but fails at the corners will frustrate customers who try to print large parts.
Station 13–15: Final assembly, firmware flash, and packaging.
Final assembly includes attaching enclosure panels, spool holders, and accessories. Firmware should be flashed with the production configuration — not a development build. The packaging station is the last QC checkpoint: are accessories counted and sealed? Is the user manual included? Are foam inserts custom-cut to the printer model or generic blocks? Custom foam that holds the printer securely during shipping reduces transit damage by 60–80% compared to generic foam. Our shipping and logistics guide covers packaging standards and freight options in detail.
Burn-In Testing: The Protocol That Catches Infant Mortality
Infant mortality — failures that occur in the first 24–48 hours of operation — accounts for 40–60% of all 3D printer returns. These failures are caused by assembly defects that pass visual inspection but fail under thermal and mechanical load: a poorly crimped connector that works at room temperature but opens when the heated bed draws current, a stepper driver with marginal soldering that fails after thermal cycling, a PSU with capacitor defects that survives no-load testing but browns out during a 20-hour print.
The only way to catch infant mortality before shipping is a burn-in test: running each completed printer under load for a defined period. Factories approach burn-in testing at four levels:
The distributor's burn-in negotiation position:
Request at minimum Level 2 (2–4 hours) burn-in on every unit in your order. This adds roughly $1.50–$3.00 per unit in electricity and labor at Chinese manufacturing rates — and it is the highest-ROI quality investment available. The math is straightforward: Level 2 burn-in catches ~70% of infant mortality failures. If your baseline return rate without burn-in is 6%, Level 2 brings it to approximately 1.8% — a 4.2 percentage point reduction. On a 1,000-unit order at $120 landed cost with $25 average return handling cost, that is worth $5,460 in avoided costs against a $2,000 burn-in surcharge — a 2.7× return.
During the audit, ask to see the burn-in station in operation. Count the number of burn-in positions. If the factory claims 4-hour burn-in on every unit but has only 20 burn-in positions and produces 100 units per day, the math does not work — they are either skipping burn-in or doing it on a sampling basis. The burn-in station should have power monitoring per position (if a unit draws abnormal current, it is flagged) and completed print inspection (a technician examines each burn-in print for defects before the unit proceeds to packaging).
Red Flags: 10 Signs a Factory Is Cutting Corners
Some quality problems are subtle and require measurement to detect. Others are obvious the moment you walk onto the production floor — if you know what to look for. These ten red flags signal systemic quality problems that no amount of contract language can fix:
1. The "boss's nephew" test bench. QC should be performed by trained inspectors following documented procedures, not by whoever is available. If the QC station is staffed by one person who also answers the phone and handles shipping, QC is not a function — it is a checkbox.
2. Calibration stickers older than 6 months. Measurement equipment — calipers, torque drivers, multimeters, dial indicators — must be calibrated periodically. If the calibration stickers show dates more than 6 months old, the measurements driving QC decisions are untrustworthy. No sticker at all = assume the tool has never been calibrated.
3. Mixed component brands on the same production line. If you see Moons' stepper motors on one printer and unbranded motors on the next unit of the same model, the factory is substituting components based on availability. This guarantees batch-to-batch quality variation — and your customers will notice when their "same model" printer performs differently from a friend's.
4. Soldering irons instead of reflow ovens for PCB work. Manual soldering of surface-mount components on mainboards or driver boards is a process incapable of consistency at production scale. Factories that hand-solder production PCBs rather than using reflow ovens have uncontrolled solder joint quality. Look for a pick-and-place machine and reflow oven in the electronics area — if they do not exist, the factory is outsourcing PCB assembly or doing it by hand, both red flags.
5. No environmental controls in the electronics area. PCB assembly and testing require ESD (electrostatic discharge) protection: anti-static flooring, grounded wrist straps, ESD-safe work surfaces, humidity control. If workers handle bare PCBs on a wooden table without wrist straps, expect latent ESD damage — failures that manifest weeks after the customer receives the printer.
6. Lubricant and metal shavings on linear rails. This is the fastest visual QC check in the factory. Run your finger lightly along a linear rail on the assembly line. If it comes back with metal particles or gritty residue, the rails are not being cleaned before assembly — and those particles will embed in bearing carriages, causing premature wear and rough motion. Our maintenance guide covers the full lifecycle of motion system wear.
7. Inconsistent screw torque across units. Pick three identical printer models at random from the assembly line. Check the torque on the same bolt — frame corner bolt, hotend mounting screw, bed leveling knob — across all three. If they feel noticeably different (one loose, one tight, one stripped), the factory is not using torque-controlled tools and frame rigidity will vary unit to unit.
8. No first-article inspection at shift change. Ask what happens at the start of each shift. A factory with proper QC performs a first-article inspection: the first unit assembled after a shift change, break, or line stoppage is fully inspected before the line resumes production. If the answer is "we just continue where we left off," assembly defects introduced during shift transitions go undetected.
9. Rejected units mixed with production units. There should be a clearly marked quarantine area for rejected units and components. If rejected printers sit next to production units on the same shelf, expect rejected units to accidentally ship — the "#1 cause of 'I received a used/defective printer' complaints." The quarantine area should be physically separated, locked or restricted, with a clear disposition process.
10. The factory tour avoids certain areas. If your escort steers you away from specific production areas, rooms, or buildings, those are the areas where the factory's quality problems live. Politely insist on seeing them — a factory that has nothing to hide hides nothing. If access is denied, assume the worst and factor it into your scoring.
Factory Audit Scoring Framework
After the audit, you need a structured way to compare factories. Subjective impressions — "the factory felt organized" — do not scale across multiple visits and multiple decision-makers. A scoring framework converts observations into comparable scores and forces you to weight factors according to their impact on your business.
Scoring thresholds:
85–100 points = Best-in-class manufacturer, suitable for premium distribution channels. 70–84 points = Solid mid-tier factory, acceptable for volume distribution with periodic re-audits. 50–69 points = Significant process gaps, only suitable if you have in-country QC personnel. Below 50 points = Do not place orders — the factory's quality system is insufficient for export distribution.
Scoring is not a one-time exercise. Re-audit every 12–18 months or after any significant production volume increase (>50%). Factories change — key personnel leave, processes drift, component sources shift — and a factory that scored 85 last year may score 65 this year without visible changes to the product. The distributors who maintain the lowest return rates audit their suppliers consistently, not once at onboarding.
Remote Audits: When You Cannot Visit in Person
For distributors who cannot travel to China — due to budget, time, or visa constraints — a structured remote audit can provide approximately 60–70% of the value of an on-site visit. It is not a replacement for in-person inspection, but it is dramatically better than ordering blind.
The remote audit protocol:
Step 1 — Live video walkthrough (not pre-recorded).
Request a real-time video call where you direct the camera. Ask the factory contact to walk the production line at normal speed — not a rehearsed route. Say "stop here" and ask to zoom in on specific details: the calibration sticker on a torque driver, the component brand on a stepper motor, the inspection record on a QC station clipboard. A factory that refuses live video or insists on a pre-recorded tour is hiding production conditions.
Step 2 — Request timestamped photos of specific items.
After the video call, send a list of 10–15 specific photo requests: the incoming inspection area with measuring equipment visible, the burn-in test station with printers actively printing, a close-up of the PCB soldering quality on a mainboard from the current production batch, the packaging station with foam inserts visible. Request that each photo include a handwritten note with the current date. Factories that cannot produce these within 24 hours are likely manufacturing conditions they do not want documented.
Step 3 — Order a pre-production sample and tear it down.
Before placing a container order, purchase 1–3 sample units at retail price and have them shipped to you. Tear down at least one unit completely: check component brands against the BOM, measure frame squareness, inspect solder joints under magnification, verify belt tension with a gauge, run a 24-hour burn-in test. The sample unit is your ground truth — if the sample fails, the container will fail. See our distributor startup guide for the full sample evaluation protocol.
Step 4 — Hire a third-party inspection service.
For orders above $50,000, third-party inspection services (SGS, Bureau Veritas, Intertek, AsiaInspection/QIMA) will send an inspector to the factory for $300–$500 per day. They provide an independent report with standardized checklists and photographic evidence. This is the closest you can get to an in-person audit without traveling, and it adds a layer of accountability that a factory's own video tour cannot provide.
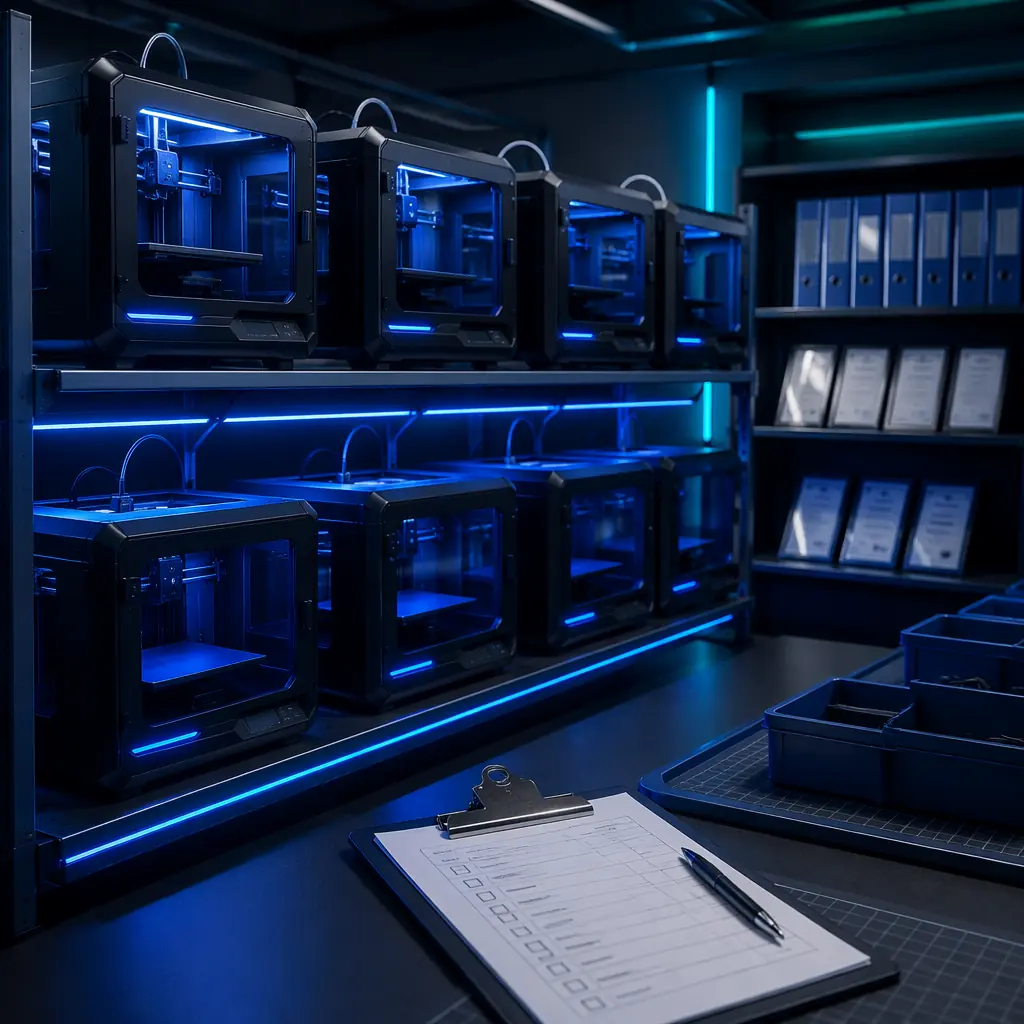
Reviewed by the Precise3D engineering & OEM team. Compliance files that accompany the catalog are auditable at the certification register.
Partner With Precise3D
Visit Our Shenzhen Factory — We Welcome Your Audit
Every Precise3D printer undergoes 24-hour burn-in testing with per-unit inspection records — and we encourage every distributor partner to audit our production line in person. Request our factory audit information pack including ISO certificates, BOM documentation, and QC process videos.
