The Quantity Band Where This Comparison Even Matters
Below about 20 units of a part, printing them outright is almost always correct. Tooling a silicone mold for fifteen parts means you paid for the mold and the master and got fifteen parts out of it, which is a worse deal than simply printing fifteen. Above roughly 500 units for a small part, the economics of a machined or cast metal tool start to compete on per-part cost, and the discussion moves to injection molding instead.
That leaves a genuine band, roughly 25 to 500 units, where three things are true at once: printing all of them is slow and expensive per part, a metal tool is unjustifiable, and the customer needs parts that look and behave like a production material rather than like a print. Silicone-tool vacuum casting sits exactly in that band. It is a bridge process, and the whole question is whether the bridge is cheaper than the crossing.
The comparison that follows assumes the master pattern is itself 3D printed. That is almost always the case now, which is why these two processes are usually discussed together rather than as alternatives: printing supplies the master, casting supplies the copies. Read our guide to silicone molding masters for the pattern-side preparation rules, since a mold is only as good as the master it was taken from.
What the Silicone Tool Actually Costs, Broken Into Line Items
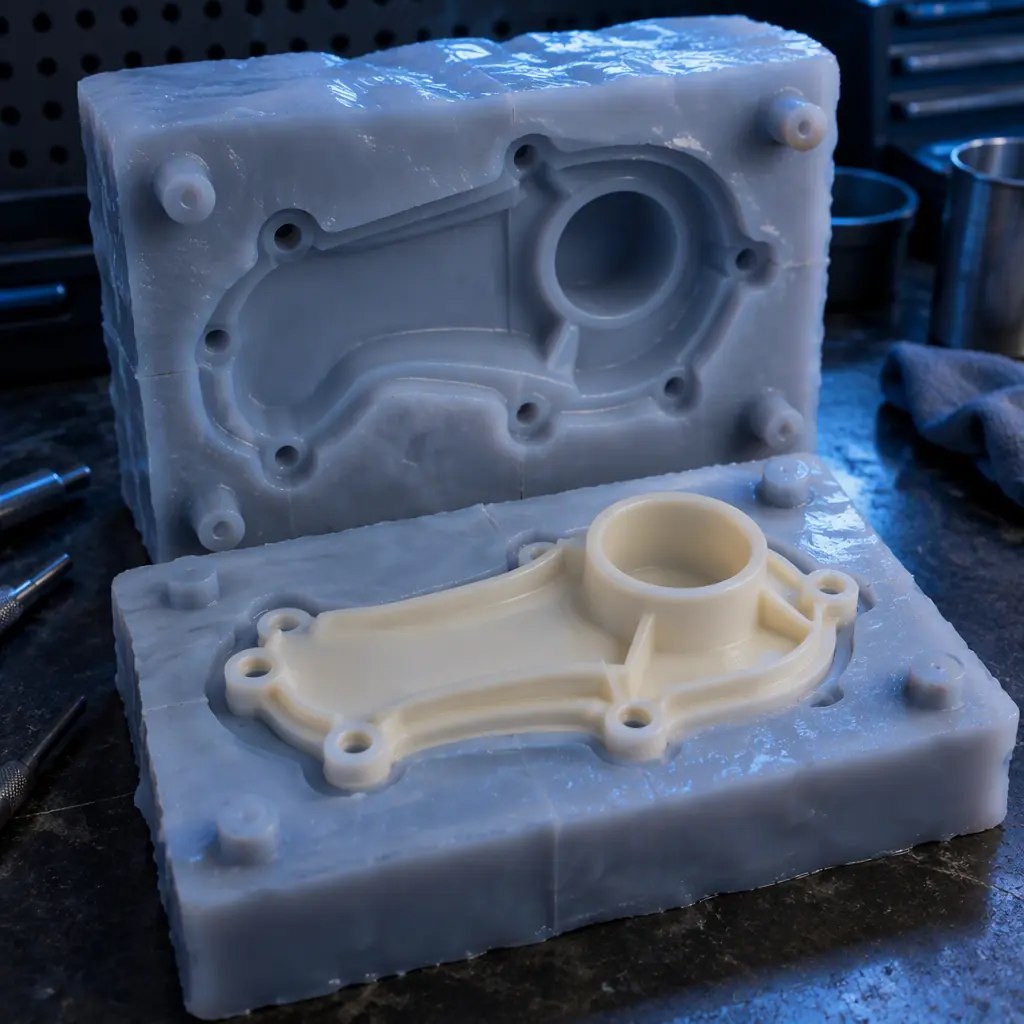
Vendors quote a single "tooling cost" figure, which makes it impossible to check. Broken out, a single-cavity silicone tool for a part in the 100 to 200 mm range typically decomposes as follows.
Two things about that table matter more than the totals. First, the master pattern is often the largest single line, and it is a printed part: if the master has visible layer lines, they transfer into every cast copy, which is why masters are usually sanded, primed and sealed before the mold is poured. Second, the cost is per tool, not per part. A part with undercuts needs a two-part or multi-part mold with more silicone, more frame work, and more labour in the pour, which pushes a single-cavity tool toward the top of the range and beyond.
Multiple cavities change the arithmetic. A two-cavity or four-cavity tool costs perhaps 1.5 to 2.2 times a single-cavity tool, because the silicone volume, the frame and the degassing cycle grow while the pattern and the setup are shared. If the run is above roughly 60 units, a multi-cavity tool usually pays for itself in cycle time alone, since each vacuum cycle fills every cavity at once.
Tool Life: What Ends a Silicone Mold
The number most often quoted is "20 to 30 shots", and it is quoted without the mechanism, which is why buyers get surprised. A silicone mold does not fail suddenly. It degrades through four separate mechanisms, and whichever arrives first sets the real tool life.
- Parting-line wear. Every cycle the tool is opened and closed along the parting plane. The silicone tears microscopically at that edge, and the flash it produces grows cycle by cycle. This is usually the first limit on a simple part, arriving around 20 to 35 shots.
- Cavity surface degradation. The resin abrades and the release agent gradually builds a film inside the cavity. Surface finish in the cast part falls off before dimensional accuracy does, so a tool that still measures correctly may already be producing visibly duller parts.
- Thermal fatigue. Casting resins are exothermic and the tool is cycled between ambient and cure temperature repeatedly. Silicone hardens and loses elasticity, so undercuts that released cleanly for the first fifteen shots begin to tear the part or the mold.
- Mechanical damage. A single misaligned closing, a dropped tool, or a demolding pull in the wrong direction can end a mold at any point. This is the mechanism that makes tool-life predictions unreliable in small shops.
A realistic planning figure for a well-handled single-cavity tool on a part without deep undercuts is 25 shots. A four-cavity tool therefore yields roughly 100 parts over the same life. A part with severe undercuts or very thin walls may yield 12 before the tool becomes a source of rejects, and planning on 30 will produce a mid-run tooling emergency.
What you're looking for: If rejections cluster late in the run and the reason is flash or surface dullness, the tool is at end of life and the honest answer is a new tool, not more rework. If rejections are spread evenly, the process parameters are wrong and a new tool will not help.
Where Cast Parts Beat Printed Parts, Property by Property
The reason to pay for a tool at all is that the cast part is not the same article as the printed part, even when both are made from the master. The differences are consistent enough to plan around.
Two of those differences are decisive in practice. The absence of layer lines removes the single most visible signal that a part is a prototype, which matters for anything a customer will hold, display or sell. And isotropy removes the failure mode that forces printed design work — a cast part loaded across what would have been the layer plane behaves like a homogeneous solid, so the load path does not have to be designed around build orientation at all.
Colour matching is the other quiet advantage. Printing a specific Pantone-adjacent colour across a batch means matching filament or resin lots and accepting lot-to-lot variation. Casting mixes pigment into the resin volume, so a single batch of mixed resin produces parts that match each other exactly, which is worth a great deal for anything sold as a set. Our guide to colour management and batch consistency covers the printing-side version of this problem.
Where Printing Beats Casting and You Should Not Tool Up
The band is real, but so are its exceptions. Tooling up is the wrong decision in four situations, and recognising them early saves both money and schedule.
- The design is not frozen. A cast run locks the geometry into the master. If an engineering change is likely inside the next month, printing is the correct answer regardless of unit count, because a printed change costs a re-slice and a cast change costs a new master and a new tool.
- The units are not identical. Vacuum casting produces copies of one master. If the run is twelve variants of a family, each at thirty units, that is twelve tools, and the amortisation argument collapses. Print the variants instead.
- The parts are large or thick-walled. Exotherm scales with resin volume, and a thick section cures hot enough to distort and to accelerate tool degradation. Above roughly 25 to 30 mm of solid section, casting quality becomes hard to hold and printing is the more controllable route.
- The material requirement is a printing material. Casting offers polyurethane, silicone and epoxy families with a narrower property envelope than engineering filaments. If the part needs a specific printed material for a certification or a thermal requirement, casting is not a substitute even if it is cheaper.
There is also a hybrid worth naming: cast the visible or cosmetic parts and print the internal brackets and fixtures that nobody inspects. This is the same logic that drives hybrid manufacturing routes at larger volumes, applied at the bridge-tool scale.
The Four Defects That Eat Casting Margin
Casting margin is lost to a small set of recurring defects, and each one traces to a parameter the buyer can specify in the purchase order. If your supplier cannot name the parameter behind each defect, they are learning on your run.
Bubbles and voids
Entrapped air is the defining failure of the process, and the entire reason vacuum is used at all. Bubbles appear when the chamber vacuum is insufficient, when the resin is mixed too vigorously, or when the pour is too fast for the air to escape before the resin gels. The lever is the vacuum level and the pour rate; a supplier running at the correct vacuum and a slow, steady pour will produce parts with essentially no visible voids.
Sink marks on thick sections
Resin shrinks on cure, which is normal and is compensated in the master. The problem is differential shrink: a thick boss behind a thin wall cools and shrinks at a different rate, and the wall in front of it sinks. The lever is uniform wall thickness in the master, which is a design decision made long before the tool is poured.
Warpage in long thin parts
Long flat sections insist on warping because the cure is never perfectly uniform across the part. The lever is cure temperature and the use of a support or fixture during cure. A supplier who cures long parts free-standing will deliver warped parts regardless of tool quality.
Short shots and incomplete fill
Thin ribs and narrow features fill last, and if the resin gels before it reaches them the feature is incomplete. The lever is resin viscosity and mold venting. This defect is the most visible sign of an under-engineered tool, because the fix is a proper vent at the last point to fill.
What you're looking for: A defect in the same location on every part is a tool or venting problem and is fixable. A defect in random locations is a process-control problem. Either way, a supplier who cannot answer this question is not running a controlled process.
Dimensional Reality: Shrink, Draft and the 0.3 mm Rule
Cast parts shrink, and the master is scaled up to compensate. Typical polyurethane shrink is on the order of 0.3 to 0.8 percent, with silicone systems higher and unfilled systems lower. For a 150 mm dimension with 0.5 percent shrink, the master is built 0.75 mm oversize so the casting lands on nominal. That compensation is standard practice and does not affect tolerance capability.
What does affect it is draft angle and consistency. The cast part has to release from the cavity, so vertical walls need a draft of at least 1 degree, and 2 degrees on textured or deep features. Parts designed flat-sided and released by flexing the silicone work for a handful of shots and then stop working as the silicone fatigues, which is one of the reasons tool life varies so much between suppliers.
The realistic dimensional expectation for a well-run vacuum casting process is roughly ±0.3 mm on the first 100 mm, plus ±0.15 mm per additional 100 mm, on non-critical features. Cosmetic and fit features can be held better; the tolerance is dominated by the master's accuracy and the repeatability of the shrinkage, which is why the printed master's own accuracy sets the floor. Our guide to printed part tolerances explains where that floor comes from, and our overview of resin printer platforms covers the machine classes that hold it.
One practical rule: if the tolerance you need is tighter than ±0.15 mm, do not expect casting to deliver it. Cast the part and machine the critical features afterward. This is the same finishing strategy used in printed parts, and it converts an impossible casting tolerance into an ordinary secondary operation.
A Cost Crossover Table by Unit Count
The decision reduces to a comparison between printing every unit and tooling once. The table below uses representative figures for a part roughly 120 mm across with moderate complexity: printed cost per part of $4.50 in resin or filament plus machine time, a single-cavity tool at $400, a cast cost per part of $1.10 in resin and labour, and a tool life of 25 shots — so runs above 25 need a second tool, above 50 a third, and so on.
At the per-part rates above, printing wins on cost at every one of those counts, and that is the honest headline: vacuum casting is not bought for per-part cost at these volumes. It is bought when the per-part cost of printing rises — because the part is large, or slow to print, or needs a costly resin — or when the finish and isotropy requirements cannot be met by a printed part at all.
Run the same table with a printed cost of $18 per part instead of $4.50, which is realistic for a slow, large or engineering-resin part, and casting wins from about 45 units upward even after six tools. That is the real decision variable. The question is never "which process is cheaper", it is "how expensive is the printed version of this specific part".
Choosing for Your Specific Run
The decision resolves into a short sequence. If the design is not frozen, print. If the units are not identical, print. If the required material is a printing material, print. If the part needs no cosmetic finish and no isotropy, print — it will be cheaper. If the printed version of this part costs more than roughly $8 and the run is above 40 units, tool up and cast. If the run is above 500 units of a small part, look at a metal tool instead.
For the runs in between, the number that decides it is the printed cost per part, and that number is a property of the machine class you are printing on rather than of the part. That is why we build engineering-grade machines with the build volume and repeatability to make printing the cheap option for as long a run as possible, and it is why bureaus running both processes treat the tool as the fallback rather than the default. If you have a run in this band and are unsure which side of the crossover it falls on, send us the part size, quantity, material and finish requirement and we will work the arithmetic with you.