
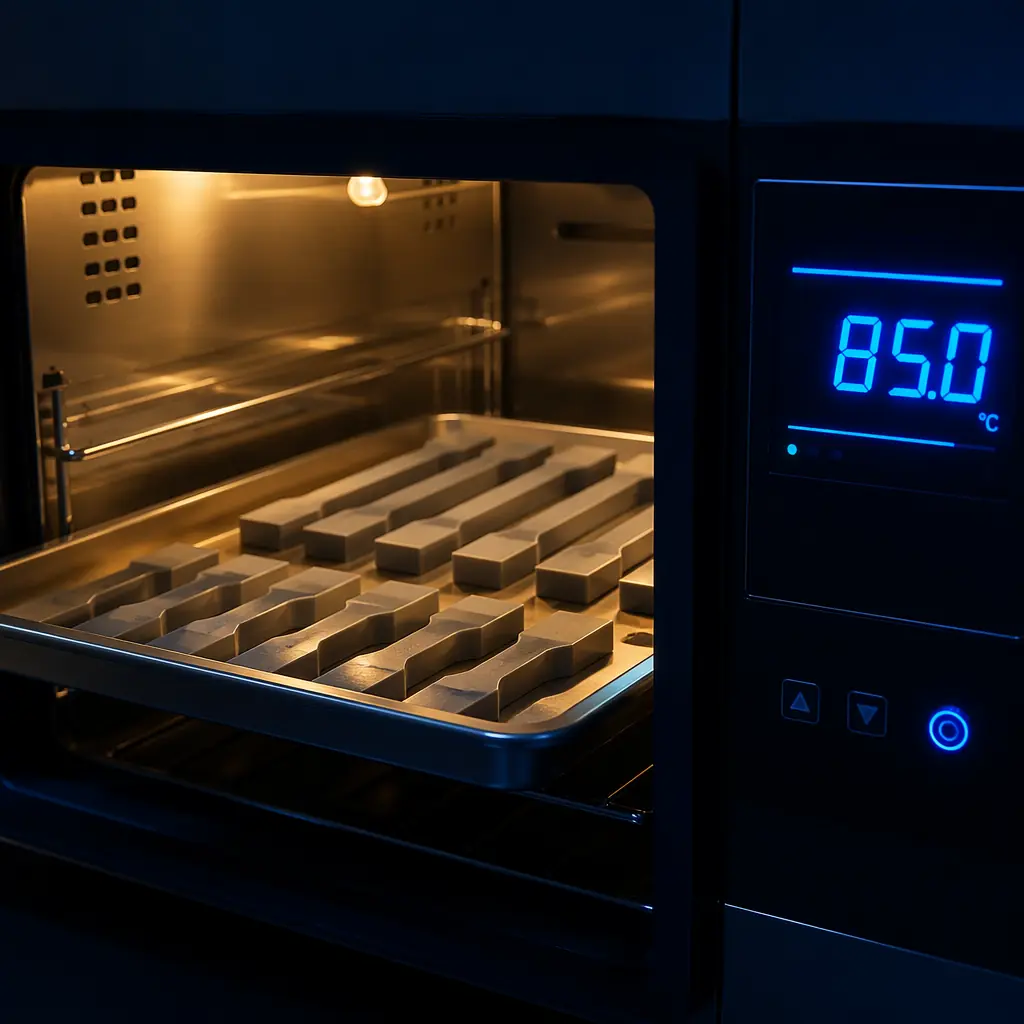
A 3D printed PLA bracket fresh off the build plate has a heat deflection temperature (HDT) of approximately 52–56°C — meaning it will soften and deform if left in a car on a summer day. That same bracket, annealed at 80–100°C for 30–60 minutes and cooled slowly, has an HDT of 80–110°C — meaning it survives in a car parked in Death Valley in August. The tensile strength increases from approximately 50 MPa to 65–70 MPa. The impact resistance improves by 25–40% because the annealing process relieves the internal stresses frozen into the part during rapid cooling from the nozzle. All of this improvement comes from a process that requires nothing more than an oven, a thermometer, and patience — yet fewer than 5% of 3D printer owners have ever annealed a part. For a distributor, this is not a gap in the market; it is an entire aftermarket that does not yet exist, waiting to be captured by the first distributor in any region who offers annealing as a premium service. For the broader post-processing opportunity including surface finishing, see our post-processing and finishing guide.
The Science: Why Annealing Works and Why It Is Not Just "Baking"
When molten plastic exits a 3D printer nozzle at 200–260°C and cools to room temperature in 3–5 seconds, the polymer chains do not have time to arrange themselves into the ordered crystalline structure that gives the material its maximum mechanical properties. Instead, they freeze into a disordered, amorphous state with high internal stress — think of it as the polymer equivalent of tempered glass that has not yet been annealed to relieve the stress. The annealing process heats the part to a temperature above its glass transition temperature (Tg) but below its melting temperature (Tm), giving the polymer chains enough thermal energy to rearrange into a more ordered, lower-energy state. This crystallization increases density (the part shrinks slightly — typically 1–3% in X/Y, 0.5–1.5% in Z), increases stiffness and strength, and dramatically increases the temperature at which the part begins to soften. The key parameter is the annealing temperature window: if the temperature is too low, the polymer chains do not have enough mobility to reorganize. If the temperature is too high, the part sags, warps, or melts entirely. Each material has a specific annealing window that must be followed precisely.
What you're looking for: If the answer is "it needs to survive in a hot car" (60–70°C) or "it needs to survive near a hot engine component" (80–100°C), standard PLA is inadequate and the customer needs either annealed PLA, PETG, or a high-temperature material. Annealing is the lowest-cost path because the customer already has the printer and the PLA — they just need the post-processing step and the knowledge of how to do it. If the required temperature exceeds 110°C, annealing PLA is not sufficient and the customer needs a material upgrade to ABS, ASA, polycarbonate, or nylon.
Material-by-Material Annealing Protocol
The table below provides the annealing window, soak time, and expected mechanical improvements for the five most common 3D printing materials. All times assume parts with wall thickness of 2–4 mm; thicker parts require longer soak times (add approximately 10 minutes per additional 2 mm of wall thickness). All temperatures are in Celsius.
The cooling rate is the most commonly overlooked variable. Rapid cooling — opening the oven door, removing the part, and placing it on a room-temperature surface — re-introduces the internal stresses that annealing just relieved. The correct procedure is to turn the oven off and let the part cool inside the closed oven over the course of 1–3 hours, depending on the part mass. For high-temperature materials like polycarbonate, a controlled ramp-down of 5°C every 15 minutes produces the best results. A distributor offering annealing as a service should invest in an oven with programmable ramp-and-soak capability — the cost difference between a basic countertop toaster oven ($80) and a programmable lab oven ($400–800) is repaid in the first 20–30 customer jobs through reduced failure rates and consistent results. For the enclosure and temperature control requirements of the printers themselves, see our enclosure temperature control guide.
Compensating for Shrinkage: The Design Rule That Makes or Breaks Annealed Parts
PLA shrinks 1.5–2.5% in the X and Y dimensions during annealing. A 100 mm long part becomes 97.5–98.5 mm after annealing. For a bracket that bolts to two fixed mounting points 100 mm apart, this means the bolt holes no longer align. The solution is to scale the part up in the slicer by the expected shrinkage percentage before printing, so the annealed part matches the target dimensions. PLA: scale X and Y by 101.5–102.5%. PETG: scale X and Y by 100.3–100.8% (PETG shrinks much less because it crystallizes less during annealing). ABS/ASA: scale X and Y by 100.3–100.7%. This scaling should be applied uniformly in the slicer — do not scale Z, because Z shrinkage is typically less than 0.5% and correcting for it can cause layer adhesion issues at the part-bed interface.
Parts with large flat surfaces are the most susceptible to warping during annealing because the bottom surface is in contact with the oven rack or tray, which heats and cools at a different rate than the air around the rest of the part. The mitigation is to support the part on a bed of fine sand, salt, or ceramic powder inside the annealing container. The powder conforms to the part geometry, provides uniform heat transfer, and physically supports the part against gravity-induced sagging during the high-temperature soak. A 5 kg bag of play sand costs $5 and lasts for hundreds of annealing cycles. Distributors offering annealing as a premium service should factor this into their workflow: a dedicated annealing container (a stainless steel baking pan) filled with sand, preheated to the annealing temperature, into which the customer's part is nested before going into the oven. For the full workflow on how surface treatments after annealing can further enhance part quality, see our surface finishing guide.
Equipment Tiers: From Hobbyist to Industrial Annealing
The annealing equipment a distributor stocks should match the customers they serve. A distributor selling primarily to hobbyists and educators needs one SKU: a countertop convection oven with digital temperature control and a PID controller for accurate temperature maintenance. A distributor selling to engineering firms and manufacturers needs two or three tiers, including a programmable lab oven and an annealing service offering.
The entry-level oven is a consumable upsell that sits next to the filament on the shelf and gets added to 3–5% of printer purchases. The mid-range and professional ovens are capital equipment sales that happen once per customer but carry $200–500 in gross margin per unit. The real recurring revenue, however, is not in selling ovens — it is in operating one as an annealing service bureau. A professional-grade programmable oven running 8 hours per day, 5 days per week can process 10–20 customer jobs per day at an average ticket of $15 per job for small parts (under 200g) and $25–40 for large or complex parts. At 15 jobs/day × $20 average × 22 business days = $6,600/month in service revenue from a $900 piece of equipment. The labor involved is approximately 15 minutes per job (loading, programming the cycle, unloading), or 3.75 hours per day — easily handled by one technician alongside other duties. For the business model of offering value-added services to printer customers, see our consumables subscription guide.
Common Annealing Failures and How to Prevent Them
Annealing is simple in principle but unforgiving of mistakes. The four most common failure modes, their causes, and their prevention:
Warping and sagging: For distributors evaluating this area, our heated chambers guide covers it in depth. The part softens during the high-temperature soak and deforms under its own weight or uneven heating. Prevention: nest the part in a sand bed (described above) and verify the oven temperature with an independent thermometer — the built-in thermostat on consumer ovens can be off by 10–15°C. A $15 digital oven thermometer placed next to the part is cheap insurance against temperature overshoot.
Surface blistering: For distributors evaluating this area, our post-processing guide covers it in depth. Small bubbles appear on the surface of the annealed part. Cause: moisture in the filament that flash-boiled during the high-temperature soak, or the annealing temperature is too high for the specific PLA formulation (not all PLAs anneal at the same temperature — PLA+ formulations with impact modifiers may anneal successfully at 70–80°C while standard PLA requires 80–100°C). Prevention: dry the filament before printing (4–6 hours at 50°C for PLA) and test a small calibration cube at the planned annealing temperature before committing the customer's part.
Dimensional inaccuracy: For distributors evaluating this area, our polycarbonate filament guide covers it in depth. The part shrinks more than expected and no longer fits its mating component. Prevention: print a 20 mm calibration cube in the same material and infill as the final part, measure it before annealing, anneal it using the planned protocol, measure it after annealing, and calculate the actual shrinkage percentage. Apply this measured percentage (not the table value above, which is an average) to the slicer scaling setting for the final part. Each spool of filament — even the same brand and grade — can anneal slightly differently due to batch-to-batch variation.
Layer delamination:
The part splits along layer lines during or after annealing. Cause: insufficient layer adhesion in the as-printed part — annealing exposes weak layer bonds that were barely holding together. Prevention: increase the printing temperature by 5–10°C and reduce the cooling fan speed to improve interlayer fusion before annealing. A part that will be annealed should be printed 5–10°C hotter than standard recommendations for that material. For diagnosis of print quality issues before they become annealing failures, see our print failure diagnosis guide.
Bottom Line
Annealing is the highest-ROI post-processing step available to 3D printer owners: a $55–900 equipment investment produces 30–50% strength gains, 60–100% heat resistance improvements, and opens applications — automotive under-hood parts, outdoor fixtures, functional tooling — that un-annealed PLA and PETG simply cannot handle. For a distributor, annealing creates three revenue streams: equipment sales (ovens and accessories at 40–50% margin), consumable upsells (customers who anneal buy more engineering-grade filament), and service revenue from operating an annealing bureau (potential $5,000–8,000/month from a single $900 oven). The total addressable market within any distributor's existing customer base is every customer who has ever said "I wish this printed part were stronger" or "I can't use PLA because it will melt in my car." Annealing is the answer they have not yet discovered — and the distributor who introduces them to it captures their loyalty and their recurring filament and oven consumable revenue for years.
Reviewed by the Precise3D engineering & OEM team. Compliance files that accompany the catalog are auditable at the certification register.
Start Your Partnership
Ready to Bring print annealing heat treatment to Your Market?
Start with the print annealing heat treatment spec sheet, then validate every claim against the certification register.
