
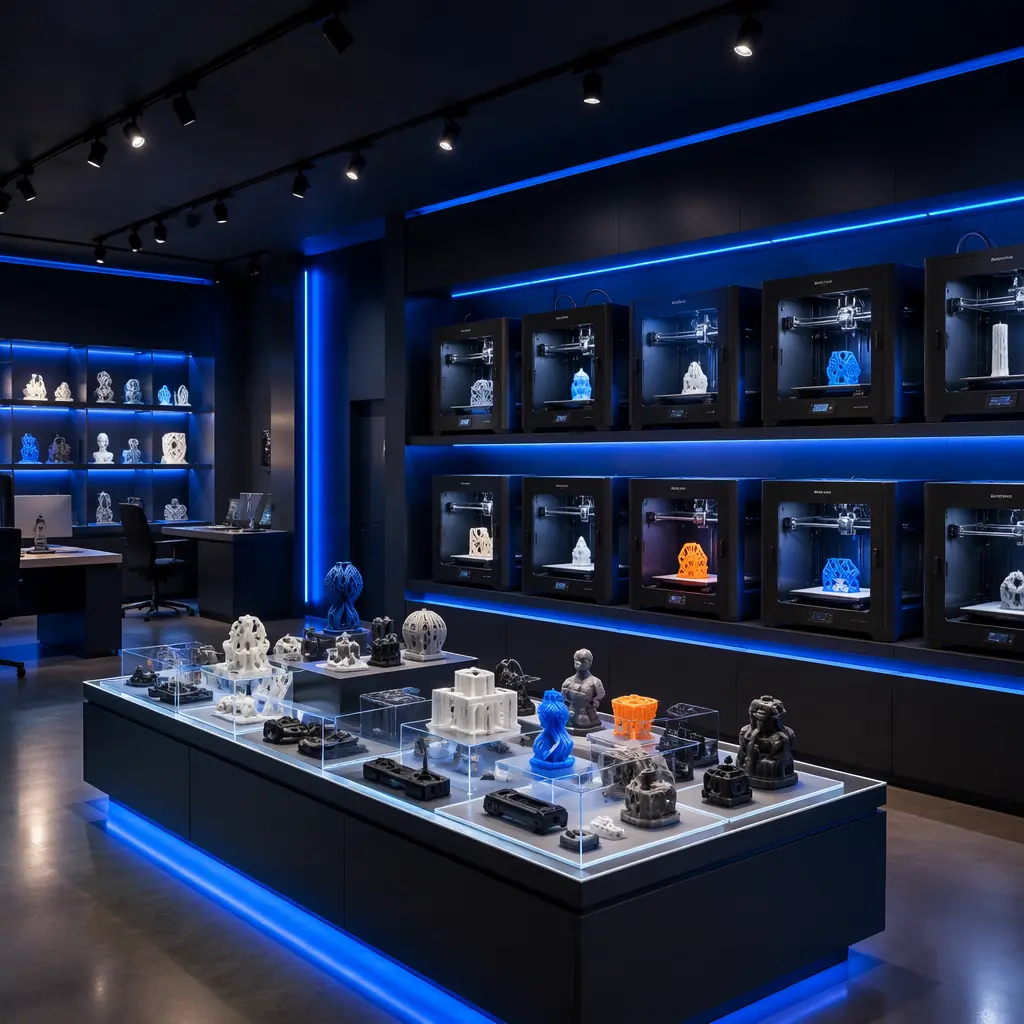
A customer who walks into your showroom has already done their online research. They know the printer models, they've read the reviews, they've compared prices on three different sites. What they haven't done — and what only a physical demo lab can provide — is see the printer produce their specific part, feel the surface finish with their own fingers, and ask the question that only occurs to them when they're standing in front of a running machine. That moment — the moment where abstract specifications become a physical object — is where deals close.
Distributors who invest in a demo lab see conversion rates of 35-55% on in-person visits versus 2-5% on website traffic. The average deal size for lab-converted customers is 22% higher because the demo naturally leads to upsells: "If you're printing these brackets in PLA, you should see what they look like in PETG — let me show you." This guide covers the floor plan, printer lineup, sample part library, and demo script that makes the economics work.
The Economics: What a Demo Lab Costs and What It Returns
Before discussing layout and equipment, let's address the question every distributor asks: "Is this worth the investment?" The answer depends on your market, but the math is compelling for most operations doing $150K+ in annual 3D printer revenue.
Start with the Basic Lab.
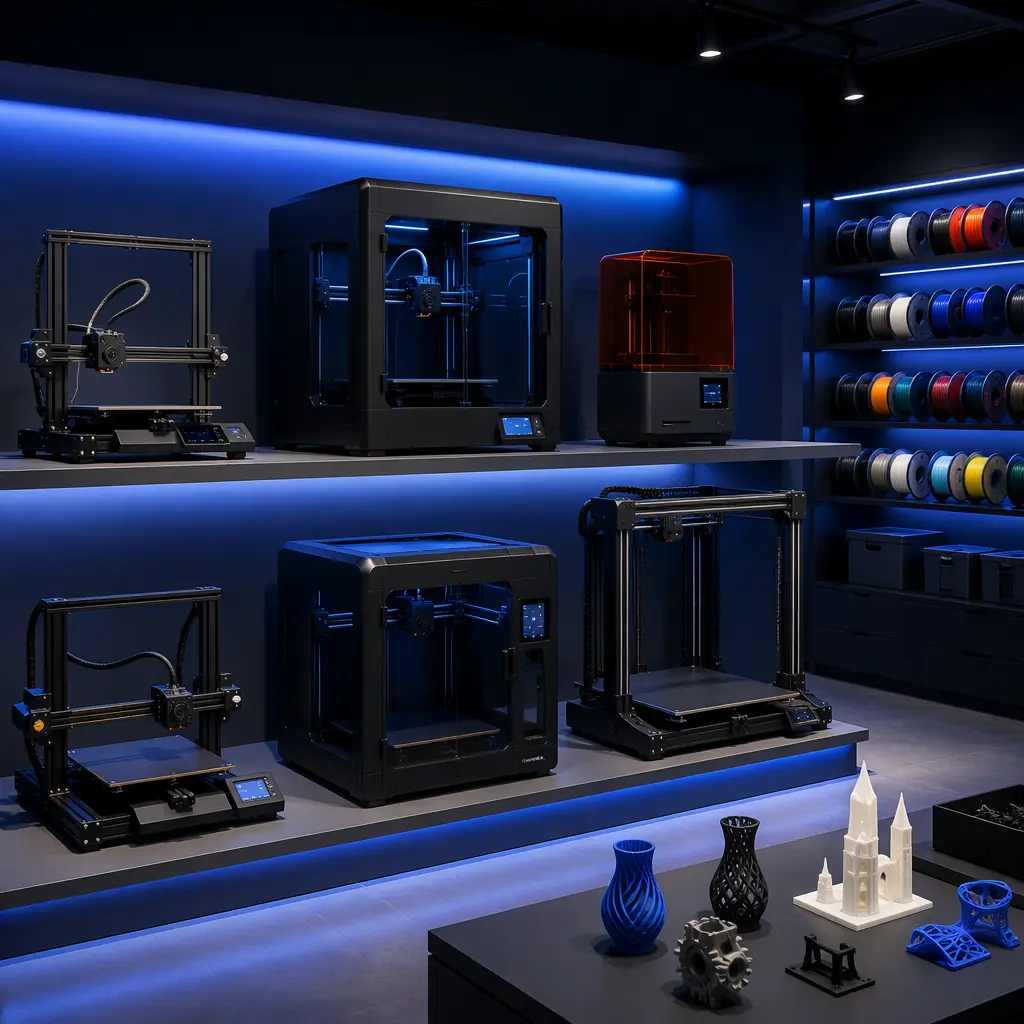
Most distributors over-invest in space and equipment before they've validated their local market. A 15-25m² space with 4-5 printers — one entry-level open-frame, one mid-range enclosed, one direct-drive capable, one resin, and one large-format — covers 90% of the demos your customers will request. The monthly operating cost is essentially filament, electricity, and the floor space you're already paying for if you operate a warehouse.
Printer Lineup: Which Machines Belong in Your Demo Lab
The demo lab's printer selection is not a product showcase — it's a conversion tool designed to answer the top five customer objections without you saying a word. Every printer on the floor should demonstrate something specific that moves a prospect closer to buying. Here's the lineup that covers the most common customer questions:
The Entry Gateway printer is the most important machine in your lab — and it should be running constantly. When a hesitant customer walks in, they see an affordable open-frame printer quietly producing a clean, detailed part. The psychology is immediate: "If that $250 machine can do this, imagine what the better ones can do." This printer breaks the intimidation barrier. Keep it printing a recognizable object — a phone stand, a desk organizer, a tool holder — something the customer can immediately understand the value of. Avoid abstract test prints like Benchy; they don't connect to a customer's use case.
The Quality Showcase is where margins are made.
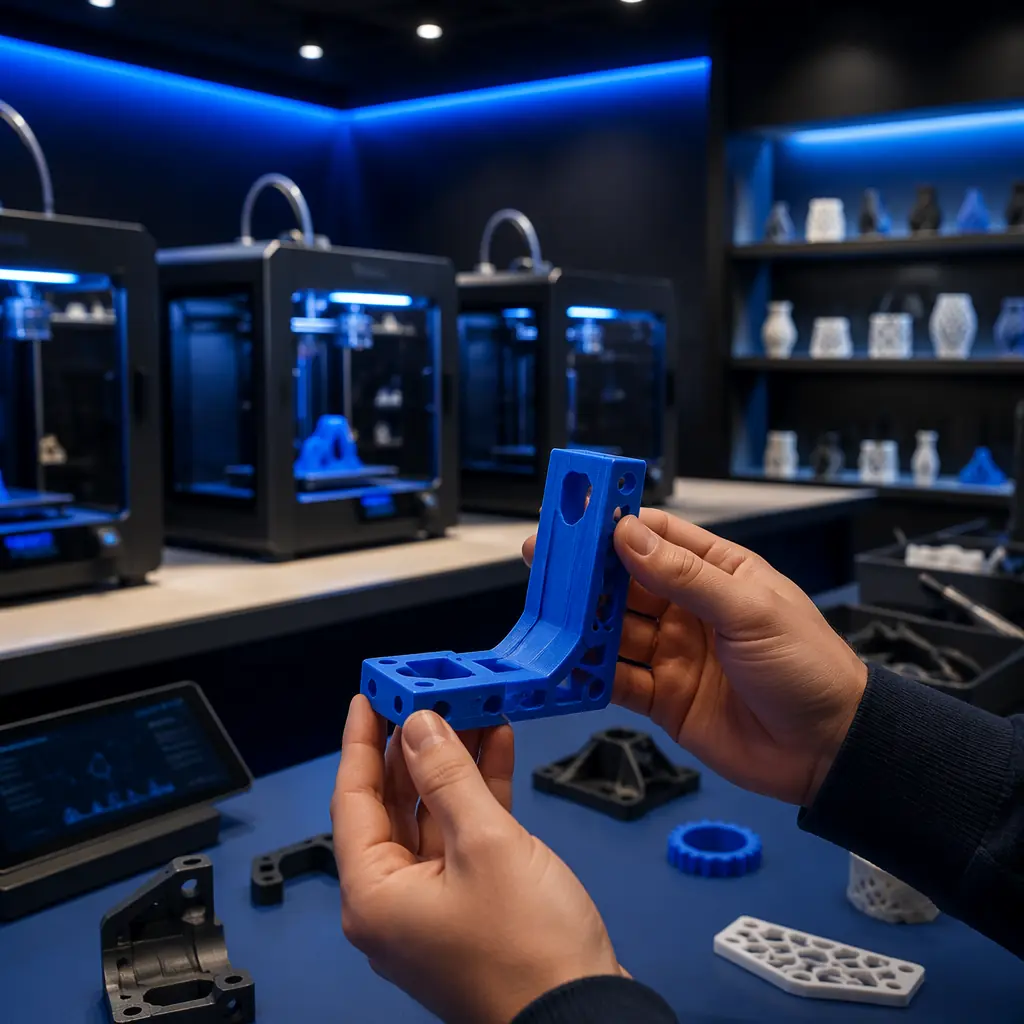
This enclosed printer should be running a part in PETG or ABS that the customer can pick up immediately after printing — still warm — and inspect. The tactile experience of holding a functional part that just emerged from a machine is worth more than any spec sheet. Our distributor partners report that customers who handle a freshly printed PETG part during a demo are 3.2× more likely to purchase the enclosed printer than those who only see static display units. For more on enclosed printer positioning, see our enclosed vs open-frame guide.
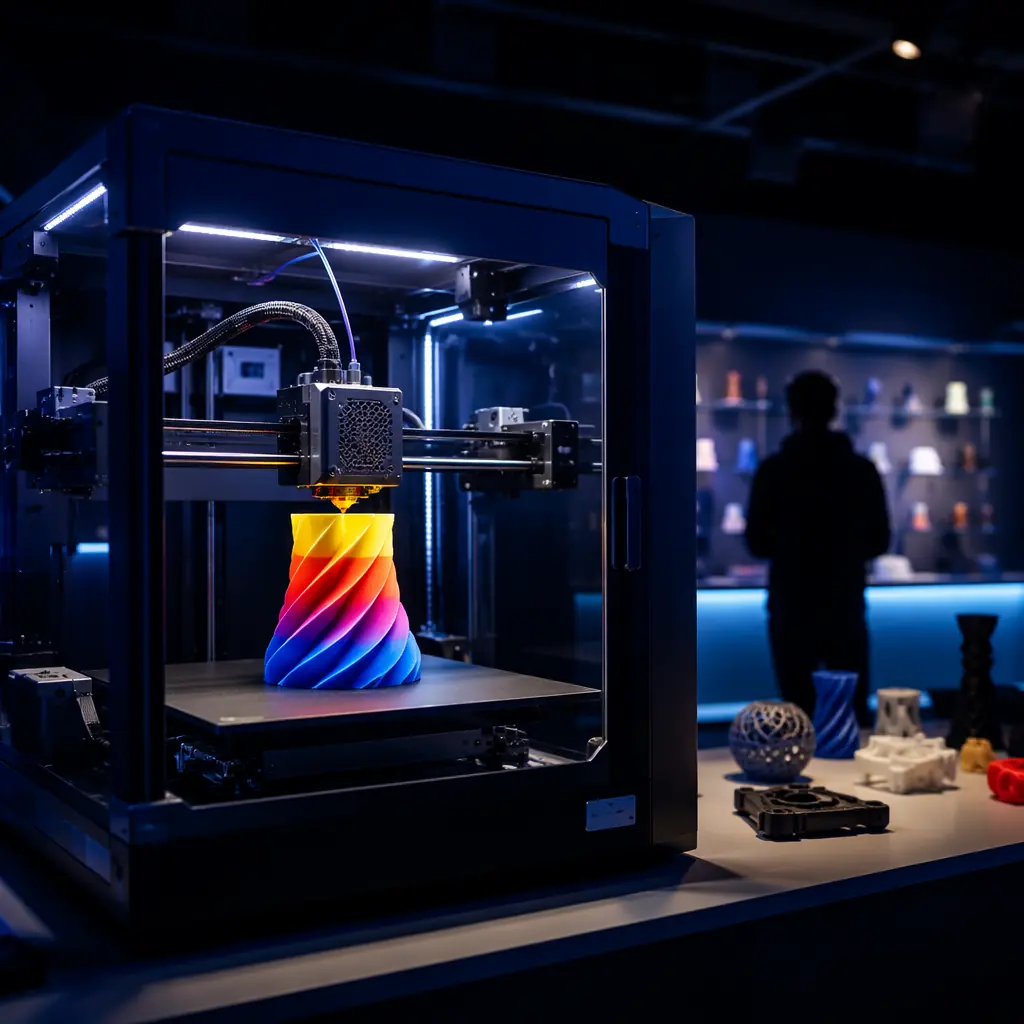
The Speed Demo printer converts the impatient buyer.
Many customers considering their first 3D printer fear it will take "forever" to print anything useful. A high-speed CoreXY printer running at 300-500mm/s with input shaping — producing a decent-sized part in 20-30 minutes while they watch — directly demolishes that objection. Keep a timer visible near the printer showing elapsed print time. When the customer asks "how long did that take?" and you point to the timer showing 22 minutes for a functional bracket, the speed objection evaporates. See our high-speed printing technology guide for the technical details to discuss during this demo.
The Sample Part Library: What to Print Before the Customer Arrives
The most powerful sales tool in your demo lab isn't a printer — it's a curated collection of finished parts that customers can pick up, flex, snap together, and inspect under magnification. The sample library answers the question every buyer is thinking but rarely asks aloud: "What can I actually make with this?"
A well-stocked sample library should include parts organized by customer segment. Here's the essential inventory for a mid-range lab:
Every sample part must have a small printed card showing: material, print time, layer height, and nozzle size. This turns a passive display into an active learning tool — the customer picks up a part, reads the card, and immediately understands the relationship between printer settings and output quality. Some distributors add a QR code linking to the STL file so customers can print the same part at home — which turns the sample library into a post-visit engagement tool.
The sample library doubles as your B2B sales demo toolkit. When an engineering firm visits, you don't show them fidget toys — you pull out the functional bracket with embedded heat-set inserts and the gear assembly that runs smoothly straight off the build plate. The right sample in the right customer's hands closes more deals than any verbal pitch.
The 15-Minute Demo Script: What to Say When They Walk In
Most distributors make the same demo mistake: they start by talking about the printers. The customer doesn't care about the printers yet — they care about what the printers can make for them. Here's the 15-minute script that converts at the highest rate across our distributor network:
Minutes 0-2 — The Orientation:
Don't ask "How can I help you?" Ask "What are you hoping to make?" The difference is everything. The first question triggers a defensive "just looking" response. The second triggers the customer to describe their project — which gives you all the information you need. While they talk, walk them to the sample library table — not the printers. Let them pick up parts while they describe their needs.
Minutes 2-5 — The Match:
Based on their answer, physically hand them the sample part that's closest to their described use case. "You said you're making drone parts — here's a TPU camera mount printed on this printer right here. Feel how flexible it is but how clean the overhangs came out." The physical handoff creates psychological ownership — the customer is now evaluating whether your solution works for them, not whether they need a solution at all.
Minutes 5-10 — The Live Demo:
Walk to the printer that matches their use case and point to a print in progress. "This is the same material you'd use — here's what it looks like mid-print. You can see how the layers are bonding." If they're a business buyer, add the business context: "This printer costs $450 retail. At your volume, you're looking at $320 per unit. The filament for this part cost about $0.40." Putting a price on the part — not just the printer — makes the ROI obvious.
Minutes 10-15 — The Close:
Don't ask "Would you like to buy one?" Ask "Would you like to see this exact part printed in your material on Monday?" The commitment isn't to purchase — it's to a follow-up. Roughly 60% of customers who agree to a follow-up demo with their own file will purchase within 14 days. For enterprise buyers, extend the timeline: "I can have a sample batch of five parts printed in three different materials ready for your engineering review by Wednesday." This approach aligns with the B2B RFQ playbook — build the relationship before asking for the order.
Layout Design: The Floor Plan That Guides the Customer Journey
The physical layout of your demo lab should guide customers through a predetermined path — from curiosity to confidence to commitment — without them realizing they're being guided. Here's the floor plan that works:
Zone 1 — The Welcome Wall (near entrance):
Finished sample parts displayed at eye level under track lighting. No printers visible from this zone. The goal is immediate, silent credibility: "These people make real things."
Zone 2 — The Demo Active Zone (center of room):
2-3 printers running continuously, positioned at waist height on sturdy benches. The customer can see the printers from Zone 1 and naturally walks toward them. Include the Entry Gateway and Quality Showcase printers here. Lighting should be on the build plates, not the printers themselves — the customer's eye goes to the part being made, not the machine.
Zone 3 — The Deep Dive Area (side/corner):
The remaining printers — resin, large-format, specialty — on display but not necessarily running. This is where you bring customers who've shown deeper interest. Include a small table and chairs for price discussions. Keep pricing sheets, sample contracts, and a laptop with your pricing calculator ready.
Zone 4 — The Consumables Wall:
Filament spools organized by material and color on open shelving. This serves two purposes: it demonstrates the breadth of your ecosystem, and it naturally leads to consumables sales. A customer who buys a printer today will walk past 50 spools of filament on their way out — and at least one of those colors will catch their eye. This is the same principle as our consumables bundling strategy — display drives attachment.
Measuring Demo Lab Performance: The Metrics That Matter
A demo lab is a sales asset, not a cost center. Track these five metrics monthly to know whether your lab is earning its keep:
A mid-range lab (30-50m²) that converts 8-12 walk-ins per month at an average deal of $1,200 produces $9,600-14,400 in monthly attributable revenue — roughly $240-480/m². When you factor in consumables attachment (a lab-converted customer buys 2-3× more filament in their first 90 days than an online customer), the revenue per square meter easily exceeds retail benchmarks. For territory-based distributors, the demo lab also serves as a regional training hub — bringing in dealers for product training sessions that double as sales events. See our territory planning guide for integrating the lab into your broader sales strategy.
Reviewed by the Precise3D engineering & OEM team. Compliance files that accompany the catalog are auditable at the certification register.
Build Your Demo Lab
Get OEM Pricing on Demo Lab Printer Packages With Training & Sample Part Support
Tell us your target market segments and available floor space. We'll recommend a printer lineup, provide sample part STL files, and ship a turnkey demo lab package with everything you need to start converting walk-ins within two weeks of delivery.
