Why the Tray Decides the Contract, Not the Part
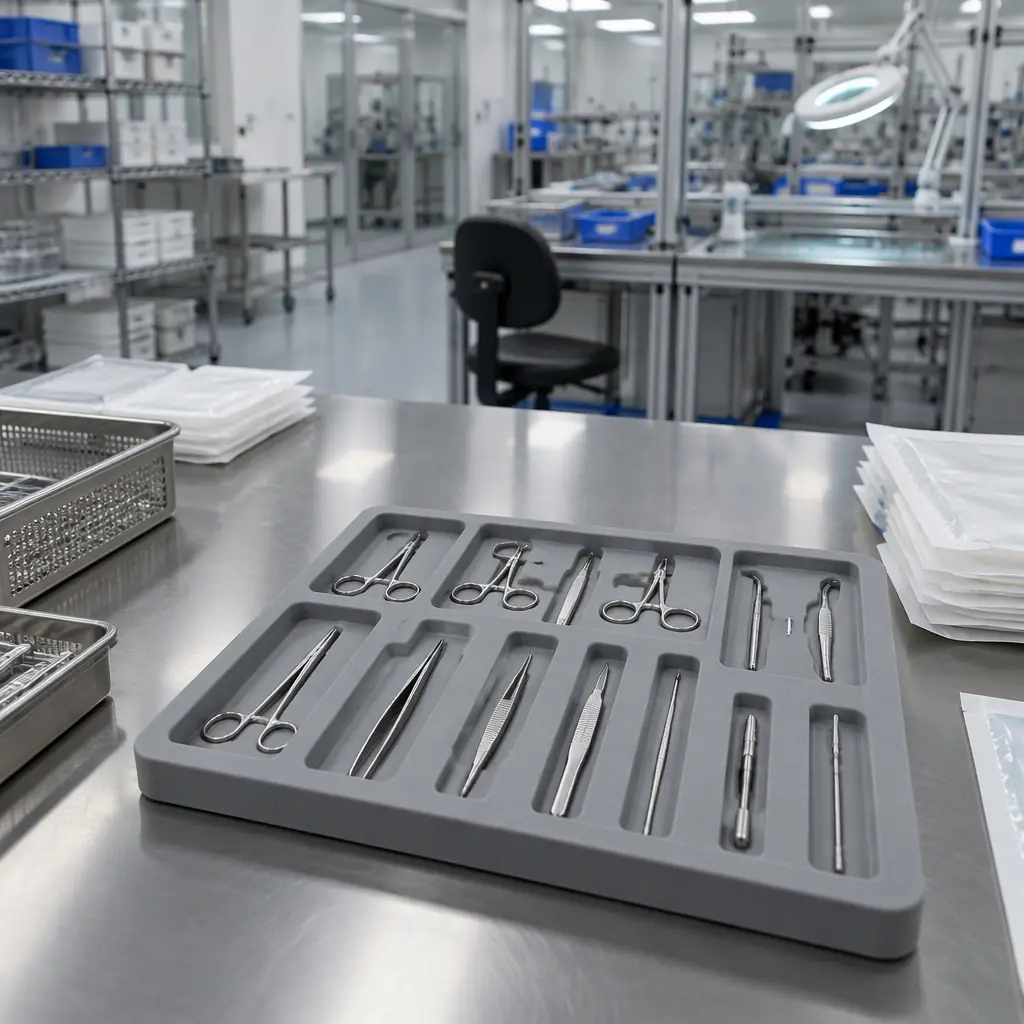
When a hospital group or an orthopaedic OEM re-sources a procedure set, the print file is the least interesting document in the package. The part that gets measured is the tray: does it survive the sterilizer, does the nurse find every component in the same order on the fourth shift of a long week, does the rep restock it in under thirty minutes, and does the whole assembly survive a 1.2 m drop in a shipping case. A printed component that is dimensionally perfect but sits in a tray that warps at 134 °C is a rejected lot, not a clever piece of manufacturing.
This matters for anyone buying 3D printed parts at kit level rather than part level. The unit of purchase in medical procedure sets is the assembled, labelled, sterilizable kit, and the cost of that kit is dominated by tray geometry, material choice, traceability and the labour around it. A printed tray that costs USD 9 in machine time still carries USD 25 to 60 of assembly, inspection and packaging labour on the way to the dock. Buyers who negotiate on the printed part alone are negotiating over a fraction of the number that matters.
Material Rules That Follow From the Sterilizer
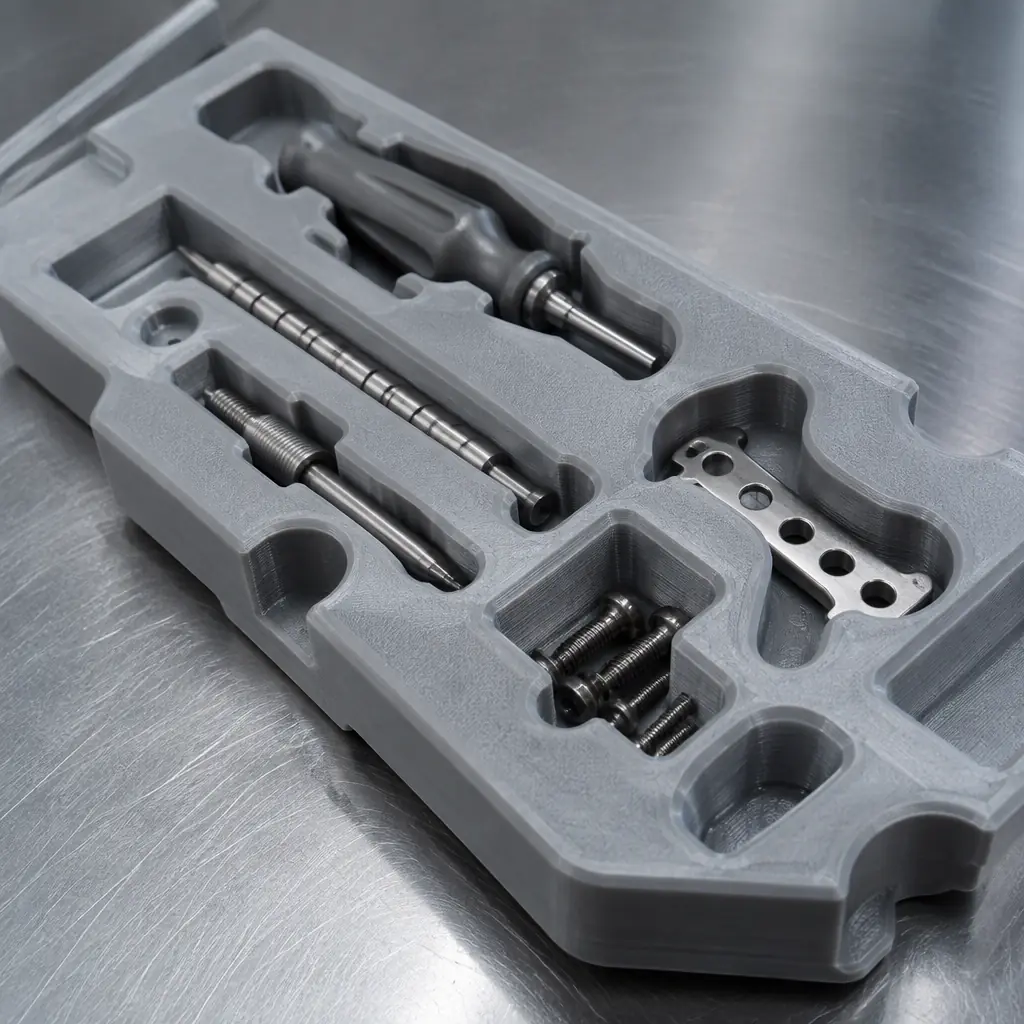
Most reusable medical trays in the field today are thermoformed from polyphenylsulfone, polysulfone or polyetherimide. Printed alternatives do not use those polymers, and that gap drives every material decision. A tray printed in polycarbonate or polypropylene and subjected to 200 steam cycles at 134 °C will warp and craze; the same tray printed in polyetheretherketone is a different order of cost entirely. The practical position for a contract manufacturer is to print the insert nests, organisers, dividers and single-use kits, and to keep autoclave-rated trays in the incumbent material until the application has been validated end to end.
The distinction buyers should demand is between single-use and reusable routing. Single-use procedure kits are sterilized once, often by ethylene oxide or gamma, and the thermal load is trivial; polypropylene, PETG and nylon all perform well, and the printed tray can be thin-walled and inexpensive. Reusable trays go through steam sterilization repeatedly and need a material with a glass-transition temperature well above the cycle temperature plus a documented dimension-retention record over the validated number of cycles. A supplier who quotes the same material for both has not understood the application.
Cavity Design and the Restocking Clock
A procedure tray is a handling system disguised as a piece of plastic. The design objective is not to hold parts securely, it is to hold them securely while a person under time pressure picks them up in the right order, notices when one is missing, and puts the tray down without the instruments rolling into each other. That objective translates into specific geometry decisions that a print supplier should be able to argue for or against.
Component cavities are typically drafted between 3 and 8 degrees so that a part drops in without pinching, with a 0.3 to 0.5 mm clearance on the largest dimension and a lead-in chamfer on the rim. Retention is usually a lip, a snap tab or a foam insert rather than an interference fit, because interference on a printed surface wears the tray and makes the nurse force the part in. Fingers cut into the tray floor under each cavity let a gloved hand lift an instrument without levering it against the wall; the same drafting and clearance logic is set out for engineering parts in our FDM design rules. Left-right orientation markers, which can be as simple as an asymmetric cavity outline, cut restocking errors substantially more than printed labels do, because a label can be misread at a glance and a shape cannot.
What you're looking for: Asymmetric cavity shapes, finger access under each part, a stated load order that matches the procedure sequence, and a count-check feature such as numbered bays or a visible empty pocket.
If it fails: The set will be restocked wrong on a night shift and the next procedure will be delayed. Redesign the cavity layout before approving the tooling, not after the first complaint.
Boundary Condition: Tray design is a use-error risk control under ISO 14971. If the tray geometry is load-bearing for safety, it belongs in the risk file, not only in the drawing pack.
Assembly, Labelling and the Labour Cost Nobody Quotes
The gap between the printed part price and the delivered kit price is mostly people. A ten-component orthopaedic set that is assembled, verified, bagged and labelled in an ISO Class 8 room typically consumes between 8 and 20 minutes of direct labour depending on whether the components are single-bagged or bulk. At a fully loaded rate of USD 22 to 35 per hour in a European or North American assembly room, that is USD 3 to 11 per kit before inspection, and it is the number that decides whether the contract is profitable at the quoted price.
The labour figure is also the reason tray design pays for itself. Every cavity that reduces a pick-and-place motion, every divider that removes a counting step, every label that can be applied once to the tray instead of once per bag, removes seconds that multiply across the annual volume. A supplier who can show the motion count before and after a tray revision is worth more than a supplier who quotes a lower part price and leaves the assembly burden in the buyer's plant.
- Picking sequence. Order cavities to match the assembly bill of materials so the operator moves in one direction.
- Count verification. Numbered bays or a weight check at the end of line, not a visual sweep.
- Label strategy. One tray label plus one pouch label, not one label per component.
- Barcode placement. A flat, matte, non-cavity area large enough for a 20 mm code and a human-readable lot.
- Bagging. Tyvek or film pouches sized to the tray, so the seal line never crosses a cavity rim.
- Handling. Stacking lugs or a nesting rim so trays can be staged without crushing the contents.
Validation, Traceability and What to Ask For
A contract manufacturer printing medical components is not automatically a medical device manufacturer, and the two statuses carry different obligations. What a print service should be able to produce on request is a process validation file: installation qualification for the printers and the drying and post-processing equipment, operational qualification showing the parameter window that produces conforming parts, and performance qualification demonstrating three consecutive lots within specification. The parts themselves need a device master record or a drawing with tolerances, a lot traceability chain from spool to kit, and a monitoring plan that names what is measured and how often.
Traceability is the item most often under-scoped in quotes. The chain that survives an audit runs from the resin lot number through the spool, the printer serial number, the build file checksum, the post-processing batch, and the assembly operator, to the kit serial. A supplier who can print a spool-to-kit report for any serial number in under an hour is operating a controlled process. A supplier who reconstructs it from memory is not. Our guide to filament lot traceability covers the upstream half of that chain, and the ISO 13485 overview covers the quality-system obligations that sit around it.
Cleaning, Depyrogenation and the Sterile Barrier
Printed parts are porous at the surface on a scale that matters for cleaning validation. Fused deposition printing leaves layer lines and micro-voids that hold bioburden if the part is not designed and cleaned for it. Three decisions resolve most of the problem: print at a layer height of 0.12 mm or finer on surfaces that will be wiped, specify 100% solid walls on the tray floor and cavity walls so no infill boundary is exposed, and agree a cleaning method with the buyer before the first lot rather than after the first bioburden excursion.
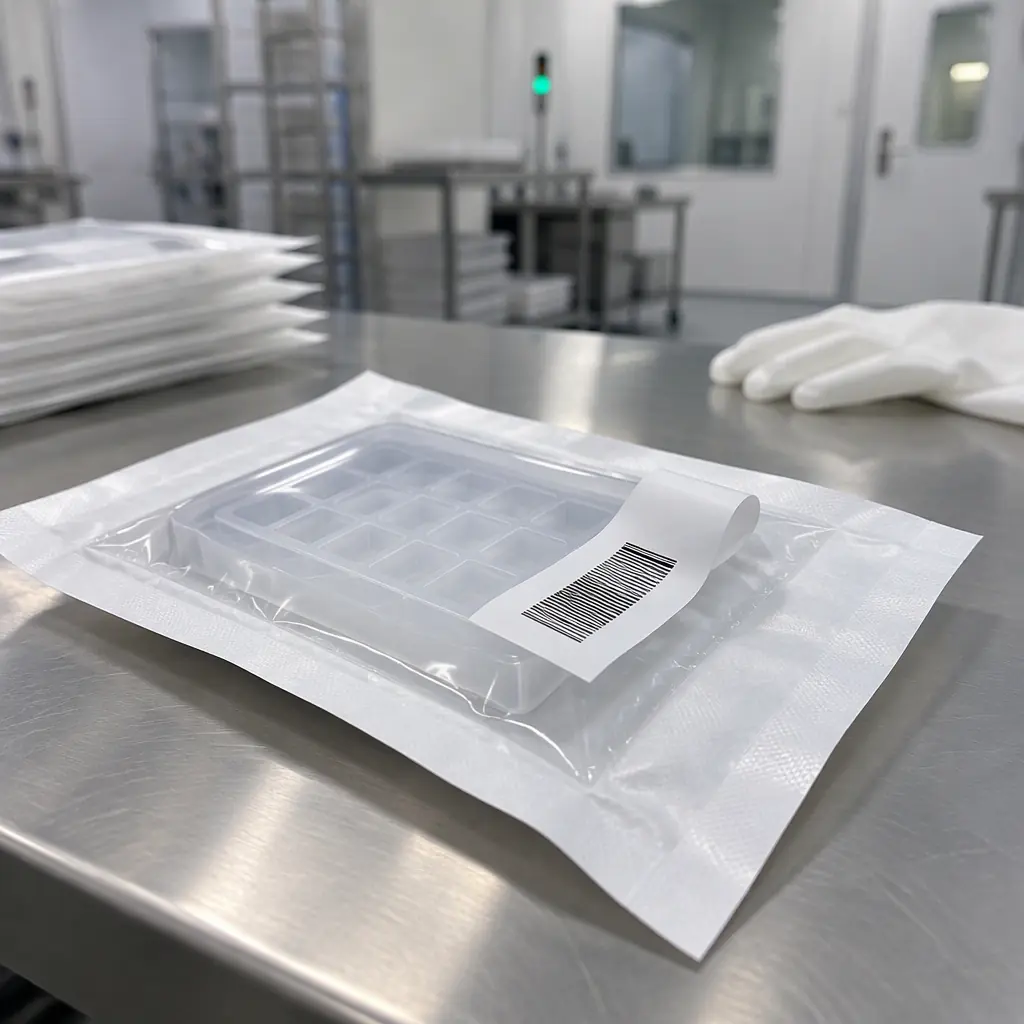
The sterile barrier is a separate system. A printed tray inside a Tyvek pouch is not a sterile barrier until the seal, the pouch and the loading configuration have been validated as a packaging system under ISO 11607. For single-use kits the usual route is a thermoformed or printed tray, a Tyvek lid, and a validated seal process, with the printed tray contributing stiffness and organisation rather than barrier. Suppliers should state plainly which element they are responsible for; the failure pattern in this category is a contract that assumes the print shop owns the barrier and the print shop that assumes the pouch vendor does.
Where the Volume Economics Turn
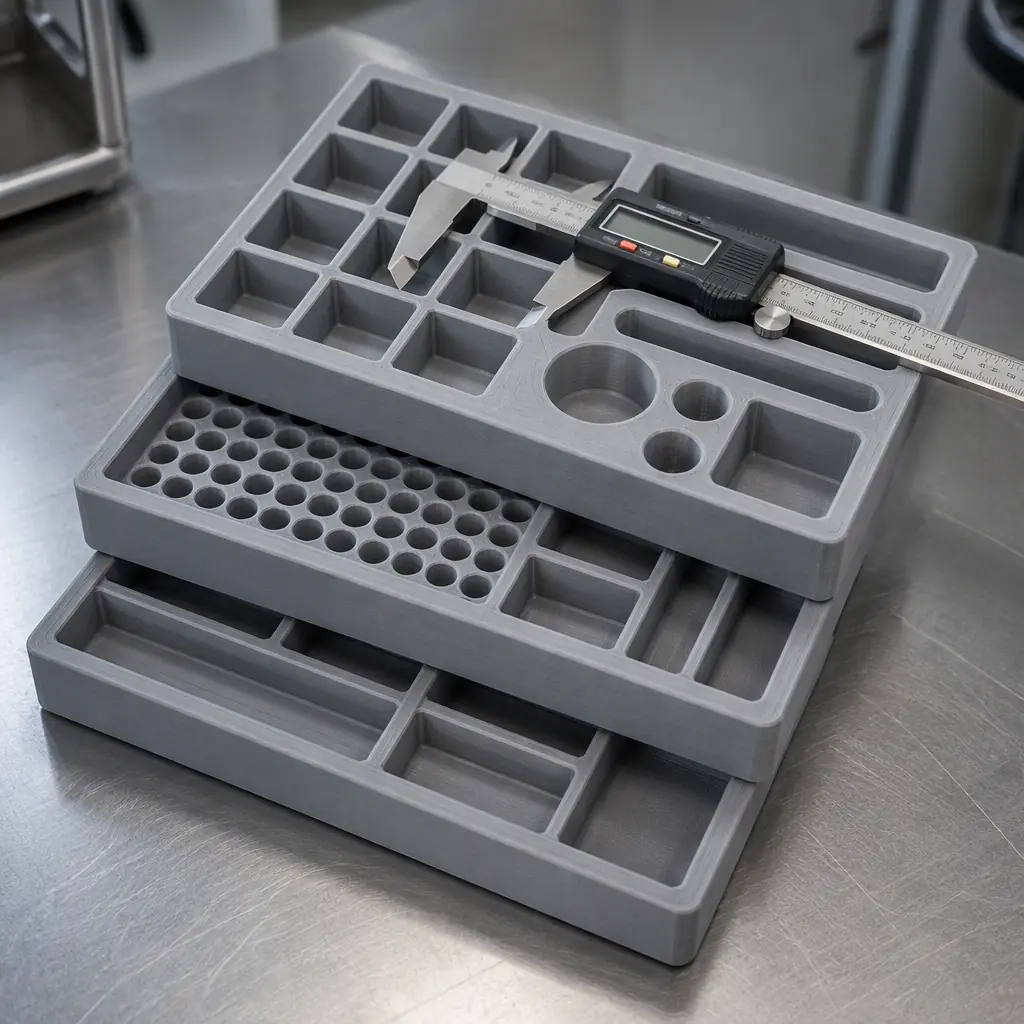
Printing trays is competitive against thermoforming in a specific band, and it is worth knowing where the band ends. Below roughly 500 units per year, thermoform tooling at USD 8,000 to 25,000 per cavity set dominates the cost, and printing wins because there is no tool. Between 500 and 5,000 units the comparison is decided by design stability: a tray that changes twice a year favours printing because every thermoform revision re-cuts tooling, while a tray that has been frozen for three years favours thermoforming on piece price. Above 5,000 units with a stable design, thermoforming and injection moulding win on piece price and printing survives only where geometry is genuinely impossible to mould or where the revision rate is high.
That economic boundary is the honest sales argument. A distributor who tells a customer that printing is always cheaper loses credibility at the first high-volume RFQ; a distributor who can draw the boundary and propose a hybrid, printed inserts and nests inside a moulded shell, wins the account because the proposal survives the customer's own cost analysis. The same logic runs through our guide to service bureau economics, where fleet mix and quoting discipline decide margin.
Bottom Line
Selling printed parts into medical procedure sets is a tray business, not a part business. Get the material routing right by separating single-use from reusable sterilization paths, design cavities for the person restocking at four in the morning rather than for the drawing, cost the assembly and inspection labour honestly because it is the majority of the delivered price, and produce a spool-to-kit traceability chain on request. Where the design is frozen and the volume is high, say so and propose a moulded shell with printed nests. The buyer who hears that answer stops shopping for a cheaper printer and starts treating the supplier as a process partner, which is the only durable position in this category. If the next question is how the printed nests are validated dimensionally, our guide to dimensional inspection of printed parts picks up where this one stops.
Medical & Regulated Programs
Quote a Procedure Set, Not a Print
Precise3D quotes printed trays, cavity nests and organisers with the material route, inspection level and assembly scope stated up front, and validates the process before the first lot ships.