
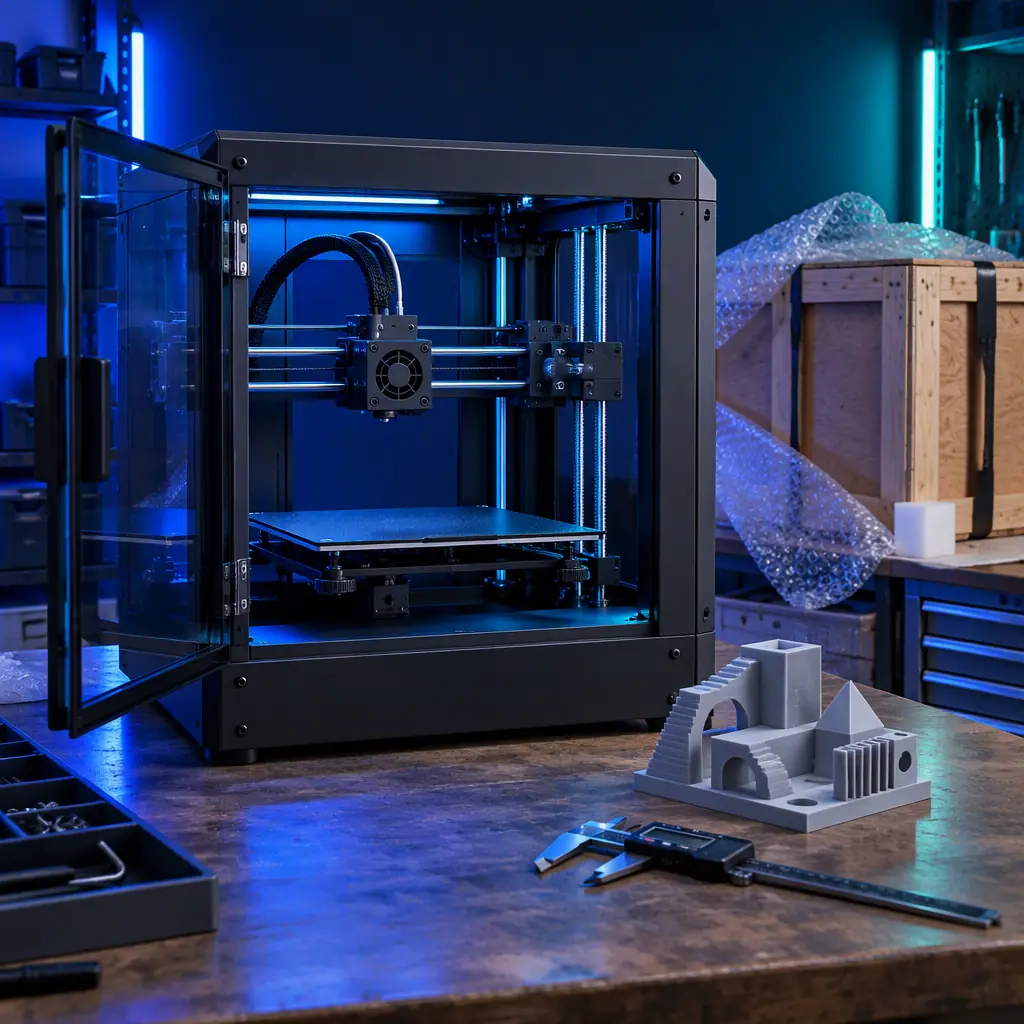
Why Installation Should Be a Paid Service Line
The default behaviour in the 3D printer channel is to treat installation as a courtesy bundled into the machine price. A technician flies out, unboxes the printer, runs a test print, hands over a business card and leaves. Nothing is measured, nothing is signed, and the distributor has created a permanent ambiguity about what condition the machine arrived in.
Six weeks later the customer calls about layer shifting or a failed bed calibration. Nobody can say whether the fault existed on arrival or developed afterwards. The distributor eats the repair because refusing it means damaging a relationship worth far more than the part. Multiply that across a year of installs and the courtesy visit has become the most expensive line in the aftermarket budget.
The alternative is to treat commissioning as a defined deliverable with a measured outcome. That changes the commercial shape of the visit: it is now something the distributor can quote, schedule, staff and defend, and it produces a signed document that terminates the argument about arrival condition before it starts.
There is a second reason this matters commercially. Installation is the natural entry point for the recurring revenue lines that carry a distributor's valuation — the maintenance schedule, the service contract and the operator training, all of which attach far more readily when the same engineer who installed the machine is the one proposing them. Our guide to annual service contracts and pricing treats installation as the top of that funnel, and the after-sales support strategy piece explains why accounts with a documented install convert to contracts at a materially higher rate.
Pre-Delivery Site Readiness Survey
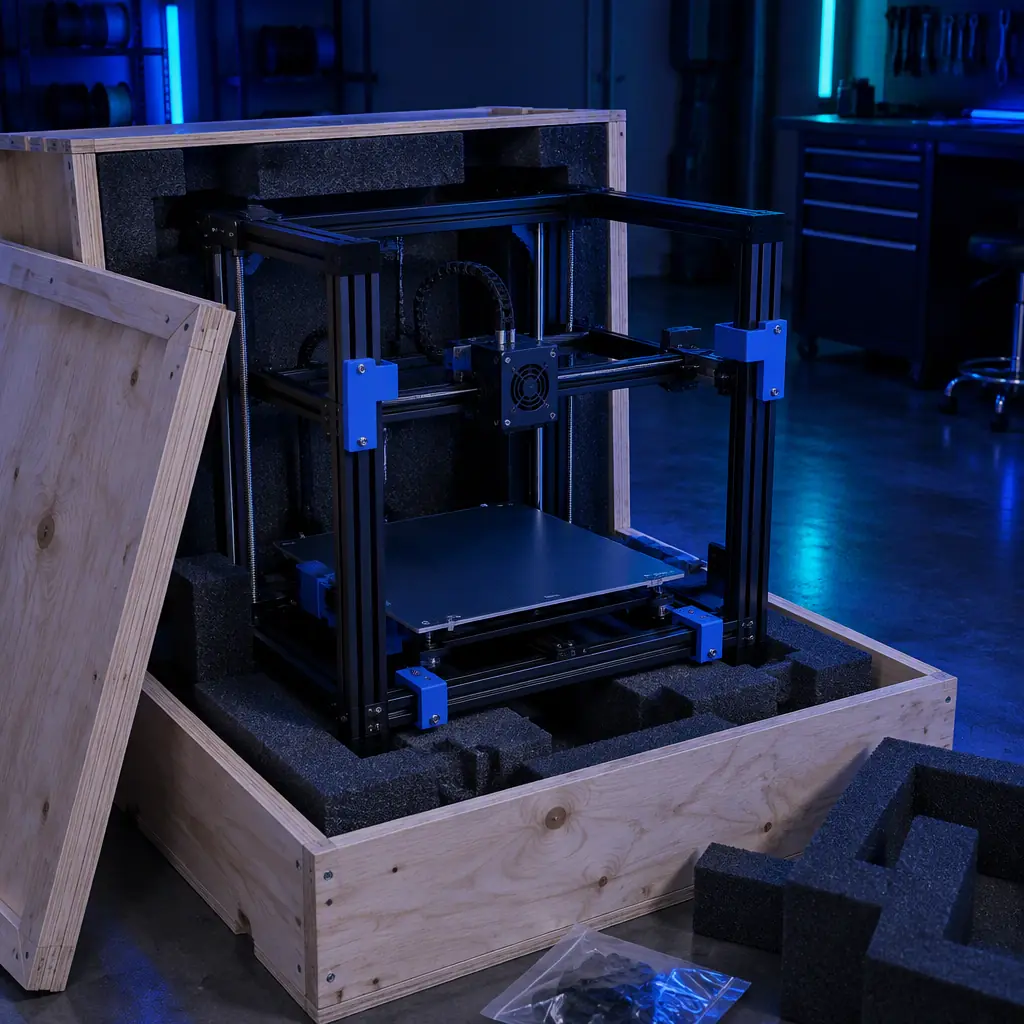
The most expensive installation failures are discovered before the machine is unboxed, in the customer's building rather than in the printer. A short survey completed by the customer — or by the distributor's local partner — two to three weeks before the crate ships prevents the two most common aborted visits: wrong power and wrong environment.
Power and circuit
The printer needs to be specified against the actual supply, not the nominal one. Collect the mains voltage and confirm it sits within the machine's rated tolerance, which for the Precise3D range is ±10% of nominal; a 230V machine does not want to see 208V or 253V on a sustained basis. Record the circuit's breaker rating and confirm it exceeds the machine's rated current with headroom for the heated bed and chamber, since these draw their peak simultaneously during heat-up.
Earthing deserves its own question. In older industrial buildings it is common to find a floating or high-impedance earth, which shows up later as spurious thermistor readings, communication faults and intermittent controller resets that are nearly impossible to diagnose from a support ticket. Ask for the earth loop impedance value if the customer has it, and treat anything above a few ohms as a fault to fix before install day.
Environment
Filament printing is tolerant of ambient conditions; resin printing is not, and a site that runs both needs the stricter of the two. Collect ambient temperature range across the working day, since a workshop that swings from 12°C at shift start to 30°C by afternoon will produce warping and first-layer failures the customer will attribute to the machine. Relative humidity above roughly 60% sustained is the other common problem, both for resin handling and for filament left on an open spool, which is why our filament drying and storage guide is worth sending with the survey.
Finally, record the floor: level, load-bearing and access. A large-format machine that cannot be walked through a doorway is a problem that cannot be solved on the day, and the extraction route matters as much as the entry route once a fume extraction system is added. The fume extraction and filtration guide covers the ducting question when the printer is going into an occupied workspace.
The Commissioning Protocol, Step by Step
Commissioning is the sequence that takes the machine from a crate to a repeatable process. The order matters because each step depends on the previous one being verified rather than assumed.
Step one — mechanical verification before power. With the machine still unpowered, confirm that all transport restraint brackets have been removed, that the gantry moves freely by hand through its full travel, that belts are tensioned to specification and that no linear rail has been scored in transit. A belt that is a whole turn loose will not show up until the first high-speed move, and by then it will have been blamed on the printer.
Step two — first power-on and safety checks. Power the machine with the enclosure open and the heaters disabled. Verify the emergency stop, confirm the thermal runaway protection responds on a simulated sensor break, and check that all axes home correctly and the endstops trigger at the right position. This is the point to record the firmware version shipped, because the customer's service history starts here.
Step three — frame and geometry calibration. Tram the bed or level the gantry, then confirm squareness before touching any first-layer height. The sequence is deliberate: adjusting first-layer height on an out-of-square frame produces a pass on the test print and a problem on every large part afterwards.
Step four — thermal and flow calibration. Run a PID autotune on the hotend and the bed, then calibrate extruder steps and, on machines that support it, pressure advance or input shaping. Do this with the customer's actual material rather than whatever is in the accessory box, because the calibration constants belong to the material.
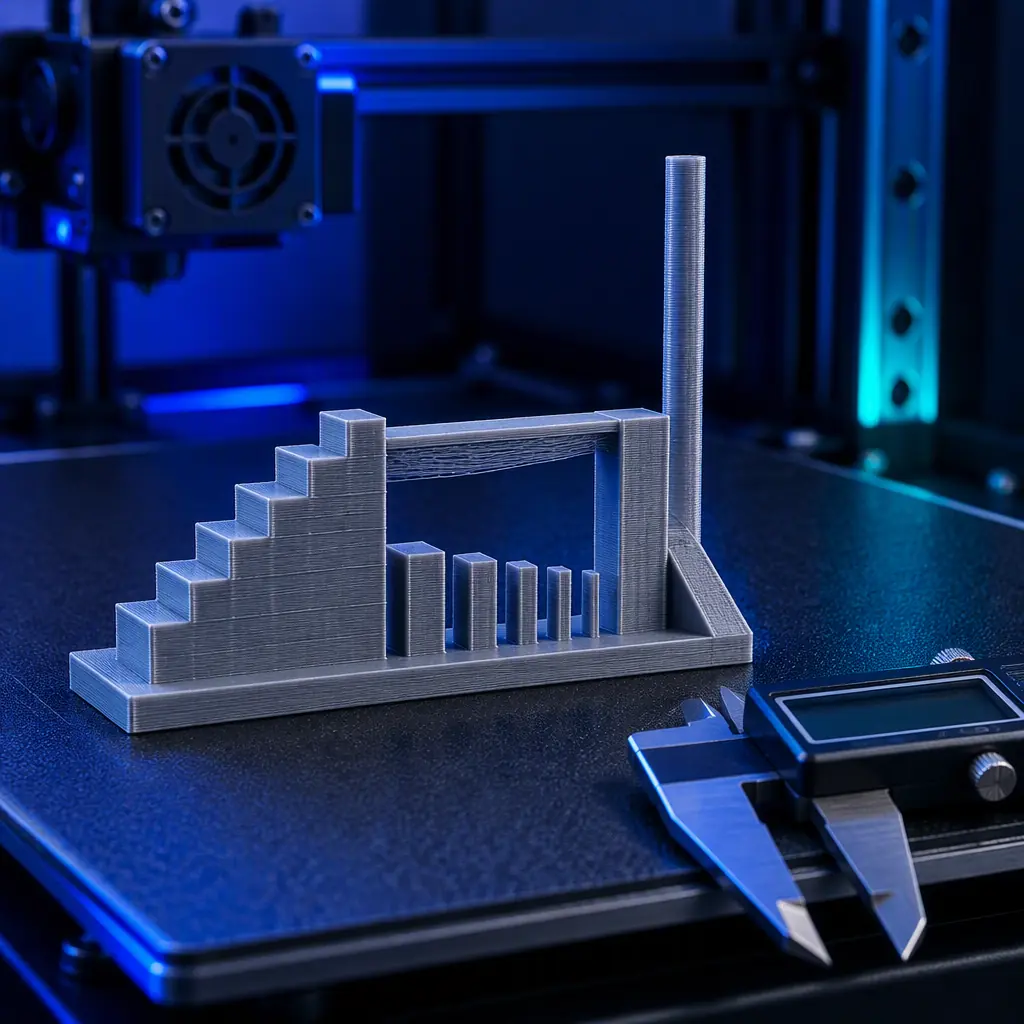
Step five — first article. Print a purpose-built acceptance artefact, not a decorative test print. The artefact should exercise the machine's claimed envelope: dimensional features across the full build area, a bridging span, a small hole, a thin wall and a tall thin tower. This is the object the acceptance test measures, and it should be retained as the reference part.
Step six — training and handover. Walk the operator through the daily and weekly tasks before leaving, not after. Training delivered while the machine is still warm converts far better than a follow-up webinar, which is the finding behind our customer training and onboarding guide.
What you're looking for: If the answer is “nothing”, the commissioning visit is not finished regardless of how many test prints were run. A commissioned machine leaves behind a signed record of measured values; an installed machine leaves behind a memory.
Site Acceptance Test — Measurable Pass Criteria
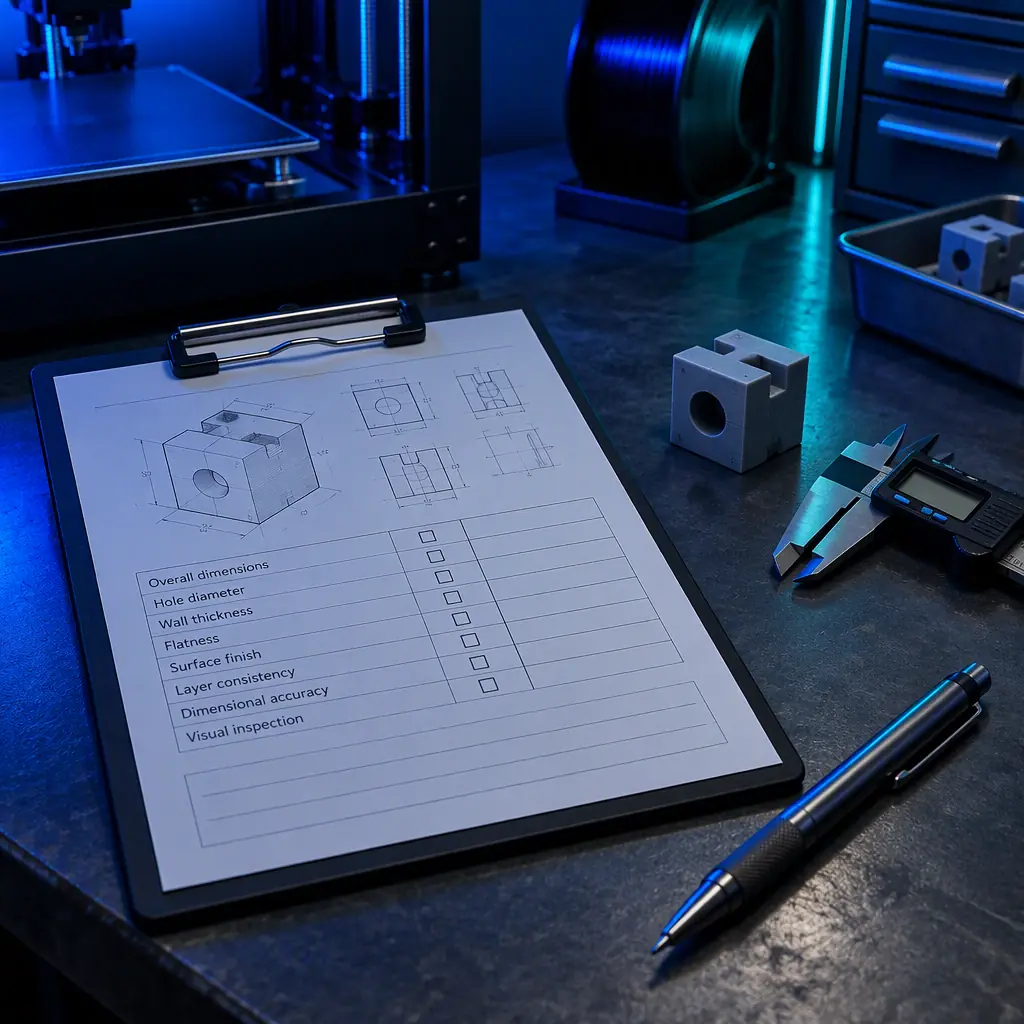
The site acceptance test is what separates commissioning from a site visit. It is a short list of measurements taken on the first-article print, recorded on a form, and signed by both parties. It does not need to be elaborate, but every item must produce a number rather than an opinion.
The dimensional criteria are the ones customers most often want to argue about, and the numbers above are deliberately stated as an allowance rather than a guarantee. A filament machine holds tighter tolerance on a small part than across a full-bed part, and the acceptance test should measure both so there is no ambiguity later. The underlying mechanics are covered in our dimensional accuracy and tolerances guide, and the inspection discipline in the part metrology and dimensional inspection guide.
Two practical rules make the acceptance test stick. First, measure at the same ambient temperature the machine will normally run in, because thermal expansion across a large part will move the numbers. Second, photograph the artefact with the calipers still in position on each measurement; a photo timestamped on the day is worth more in a warranty dispute than any form entry, and it costs the engineer ten seconds.
The Liability Boundary: Where Responsibility Starts and Ends
The commercial purpose of the acceptance test is to fix a boundary. Both parties sign the same document, and that document says: on this date, at this ambient temperature, with this material, the machine performed to these measured values.
Everything before that moment is the distributor's and the manufacturer's responsibility. A dimensional error outside the allowance, a thermal instability, a mechanical fault discovered during commissioning or a transport-damaged frame are all pre-existing and must be remedied at the distributor's cost, not the customer's. Discovering these on install day is the good outcome, because the distributor is still within the window where the manufacturer honours a transit or factory claim.
Everything after that moment shifts to the operator. Layer shifting caused by a belt that was re-tensioned incorrectly, a nozzle destroyed against the bed, a print head crashed by an edited start macro, resin printed at the wrong exposure after the operator “optimised” the profile — these are customer-side events, and the signed baseline is what makes that position defensible without a confrontation.
This is also why the boundary should be written into the sales agreement rather than improvised on the day. Define what installation includes, state that the acceptance test is the reference baseline, and specify the warranty period start date as the acceptance date rather than the shipment date. That single change removes the most common dispute in the channel, where a machine sits in a customer's store room for six weeks before it is opened and the warranty has quietly burned through a third of its life.
Pricing Installation: Tiers, Bundles and Exclusions
Once installation is a defined deliverable it can be priced on the same logic as any service. The structure that works across the channel is a three-tier ladder tied to machine class and site complexity, rather than a single fee that is either too high for a small desktop unit or unprofitable for a large-format install.
- Standard commissioning. Remote-guided or partner-delivered install on a desktop machine with a prepared site. Covers the mechanical verification, calibration, first article and a one-hour operator handover. Priced as a fixed fee, typically in the low hundreds, and frequently waived as a launch promotion with a service contract attached.
- On-site commissioning. Engineer attendance for a single machine, including the full site acceptance test with signed documentation. Priced per visit plus travel, with the documentation as the explicit deliverable.
- Multi-unit or production-cell commissioning. Several machines installed as a fleet with consistent calibration across the group, plus network integration and a farm-management handover. Priced per machine with a reduced unit rate, which is where the margin sits because travel is amortised.
State the exclusions as clearly as the inclusions, because scope creep is what turns a profitable install into a loss. Exclude electrical work beyond confirming the supply, exclude anything structural, exclude ducting fabrication for extraction, exclude extended operator training beyond the handover session, and exclude any remediation of a site that fails the pre-delivery survey. Each of those is a separate, quotable service.
The bundle that makes installation defensible commercially is the one that attaches recurring revenue at the moment of handover: commissioning plus the first year of a preventive maintenance schedule plus the consumables starter kit. Present it as a single launch package and the customer prices the whole onboarding experience rather than negotiating the install fee in isolation.
Common First-Week Failures and Their Real Causes
Most of the calls a distributor receives in the first week of a new install trace back to a commissioning step that was skipped, not to a manufacturing defect. The pattern is consistent enough to be worth briefing engineers on before they travel.
- Corner lifting on large flat parts. Almost always an environment problem rather than an adhesion problem. The site survey recorded the ambient temperature; check whether the install happened at a different time of day than the production run. A workshop 15°C colder at shift start will lift corners on a material that performed perfectly on install day.
- Dimensional drift on long parts. Frequently a frame squareness issue that was masked by calibrating first-layer height first. Re-tram and re-verify squareness, then re-run the artefact.
- Thermistor faults and spurious temperature errors. Suspect the earthing answered in the site survey before replacing any component. A high-impedance earth produces exactly this symptom and no amount of sensor swapping will fix it.
- Under-extrusion after a week. Normally a partially clogged nozzle from a material change the operator made without recalibrating flow. The extruder steps belong to the machine; flow and pressure advance belong to the material.
- Resin exposure failures. Check whether the resin was stored correctly between delivery and first use, since a resin that has spent a fortnight in a hot store room behaves differently from the sample the calibration was set on. Our resin shelf life and storage guide covers the storage conditions that prevent this.
- Warranty claims with no evidence. The failure mode the acceptance test exists to prevent. If the claim arrives without a signed baseline, the distributor is negotiating from nothing.
When a first-week issue does turn out to be a genuine defect rather than a process gap, the return path matters as much as the diagnosis. Pre-agreed reverse logistics and a spare-parts kit on the engineer's van turn a two-visit problem into one, and our warranty and returns guide and critical spares kit guide both assume an acceptance baseline exists to trigger the claim against.
Commissioning is therefore not an overhead on the sale. It is the instrument that converts a machine delivery into a defined service, a signed baseline, a warranty boundary and an opening for the recurring revenue that makes the account worth having. The distributors who price it correctly stop paying for installs twice.
