
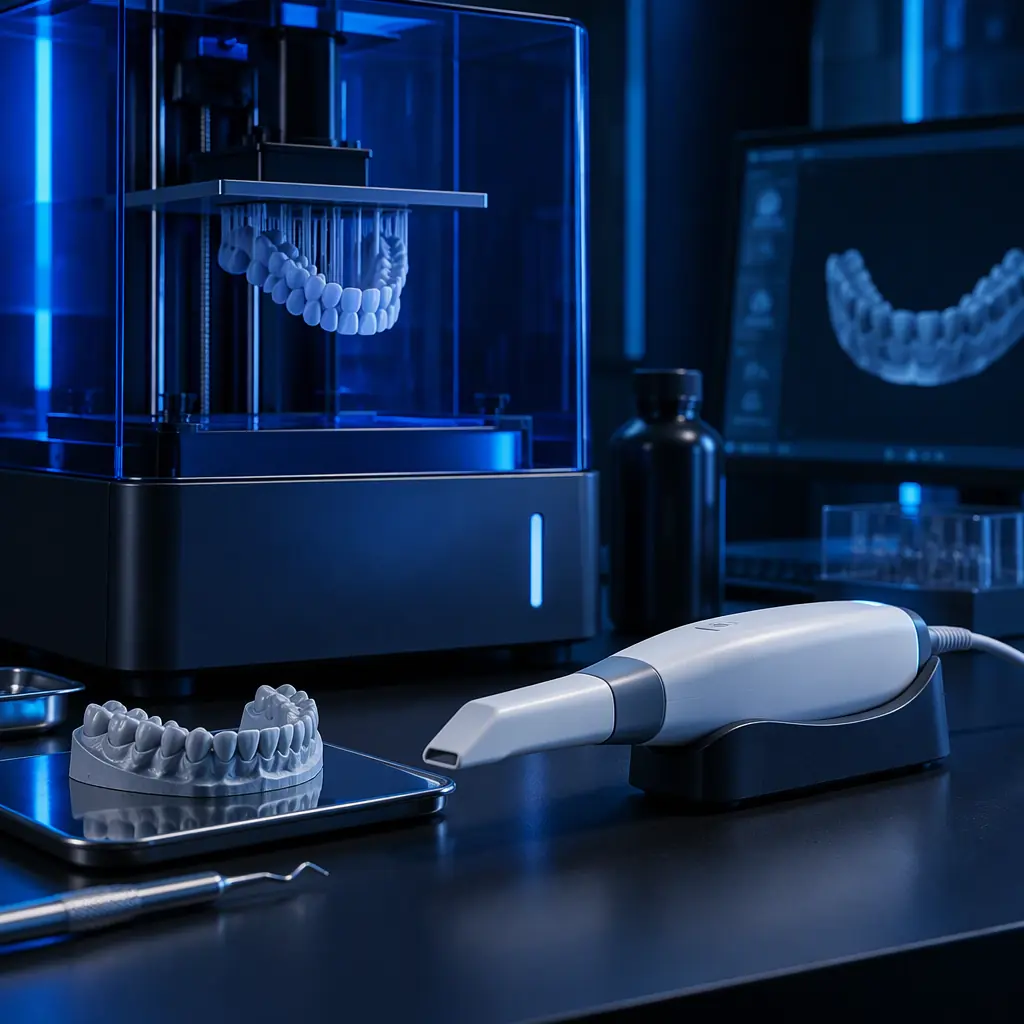
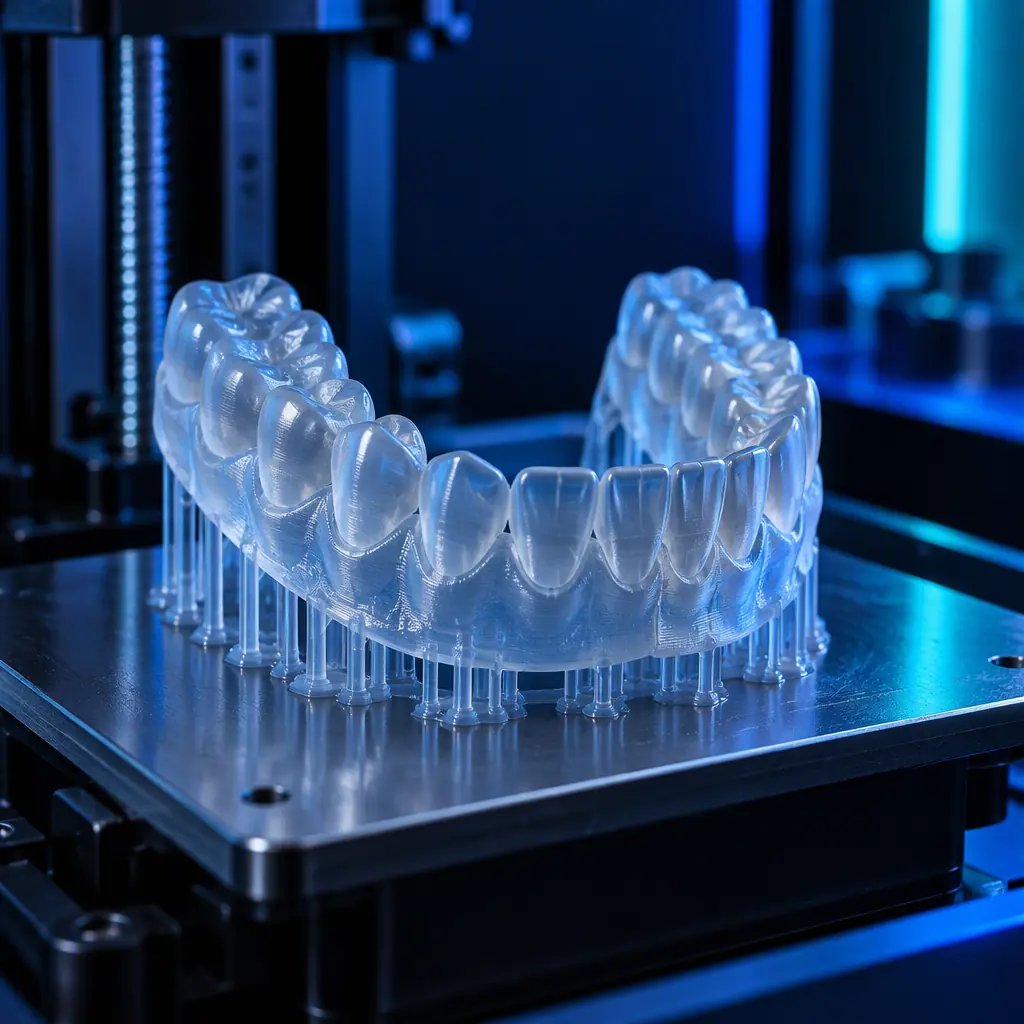
A dental lab that digitises does not simply replace plaster with plastic. It replaces a plaster workflow, with its own tolerances and its own failure modes, with a digital one that has entirely different tolerances and entirely different failure modes. Buying a scanner and a printer separately, then trying to make them talk, is where most labs lose the first six months of the investment.
This guide is written for the lab, the distributor and the dental group specifying a digital workflow. It starts from the accuracy chain — scan, design, print, post-process — and works out where the loop breaks and what has to match for it to close.
The Accuracy Chain, End to End
The error a clinician sees in a fitted crown or aligner is the sum of four contributions, and a weakness in any one of them cannot be recovered by strength in the others. It is worth stating the budget explicitly because scanner sales material and printer sales material each quote their own figure in isolation, and neither is the number that matters.
The useful rule is that the scan should be at least twice as accurate as the printer, and the printer at least twice as accurate as the clinical tolerance the appliance has to meet. A 50 µm-class printer paired with a 100 µm-class scan does not give a 50 µm workflow; it gives a 100 µm workflow with a false sense of precision. Buyers specifying a system should ask each vendor for the figure measured on a full arch, not on a single prepared tooth, because full-arch scan error is where intraoral scanners diverge most.
Scanner-to-Printer File Handoff
The mechanical handoff between scanner and printer is an STL or PLY file, and it is where a surprising number of workflows stall. Three failure modes account for most of it.
The first is mesh quality. Intraoral scanners emit a very dense triangular mesh, commonly 150,000-500,000 triangles per arch, and not all slicing software handles that density without either failing or silently decimating. Decimation is the dangerous case: the slicer reduces the mesh to a manageable count, the model still looks correct on screen, and the reduction has rounded off the fine margin detail the restoration depends on. The fix is to check the triangle count after loading, not just the visual result.
The second is scale and units. STL has no unit metadata. A scanner that exports in millimetres and a slicer that assumes millimetres agree; a scanner configured to export in centimetres, or an intermediate CAD tool that rescales on import, produces a model 10x too small or too large. A quick calibration print with a known dimension is worth running once per software update, not once per printer.
The third is watertightness. Scanner meshes frequently contain small holes where the scanner could not see, and a non-watertight mesh can slice into a shell with unexpected internal voids or a missing wall. Most dental CAD packages repair this automatically, but the repair itself changes geometry, so the repair setting should be checked rather than left at default.
What you're looking for: A uniform misfit points to scale or cure shrinkage and is a calibration problem; a localised misfit points to scan coverage or mesh repair and is a data problem. The two have completely different remedies and are frequently confused.
What Gets Printed and Why the Resin Is the Variable
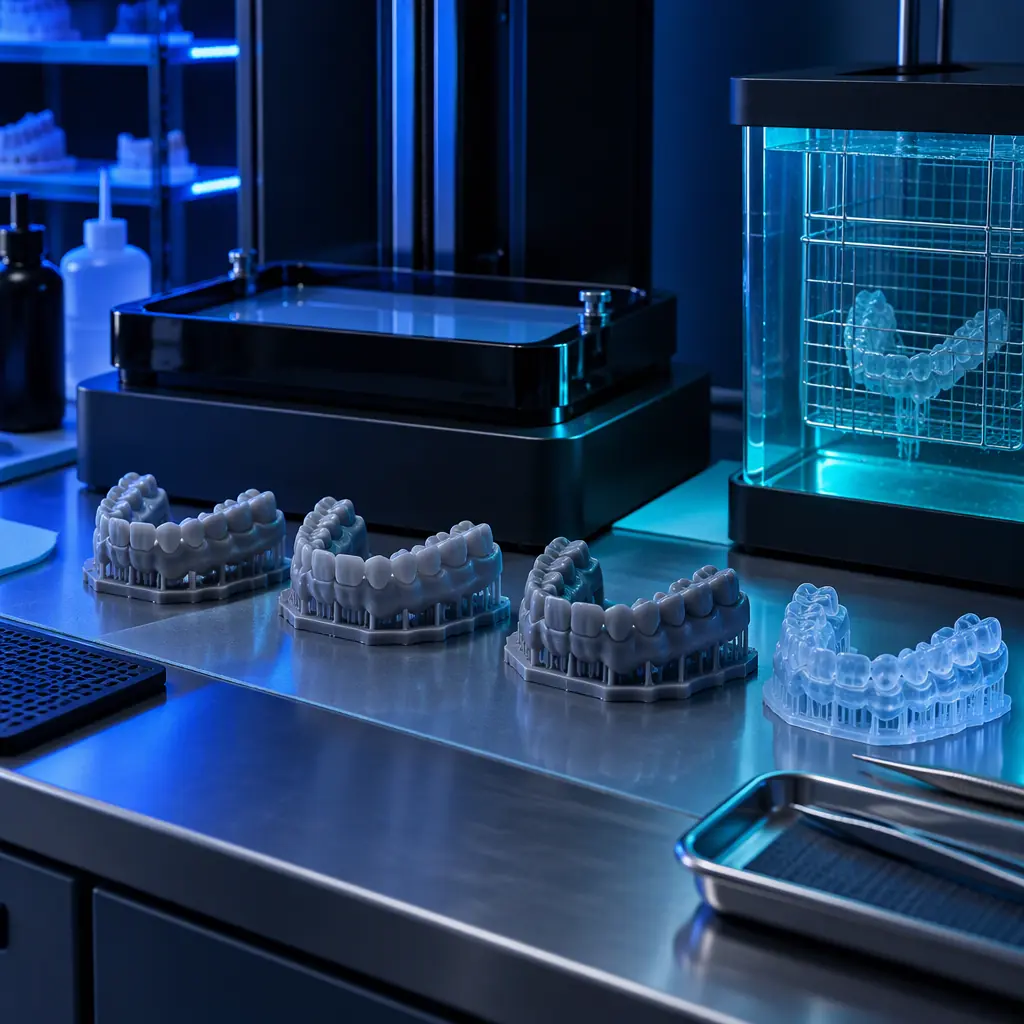
A digital dental lab prints three broad categories of object, and they have different requirements that are often collapsed into one resin choice by mistake.
- Working and check models. Printed hollow or solid from a model resin. The requirement is dimensional stability and a clean, non-abrasive surface so the technician can work against it. These models do not need biocompatibility because they never enter the mouth.
- Aligner and retainer moulds. Printed as positive models over which thermoformed sheet is formed. The requirement is a smooth surface and heat resistance, because the thermoforming step runs at 90-160 °C and a model that softens or deforms under that heat destroys the aligner fit. This is the single most common specification error: a general-purpose model resin printed onto a thermoforming workflow will deform in the former.
- Guides, splints and models that contact tissue. These require a resin with the appropriate biocompatibility classification, because the printed object contacts oral tissue for extended periods.
Resin selection therefore has to follow the application, not the printer. A lab running aligners should be specifying a high-temperature model resin; a lab running surgical guides needs a biocompatible resin with the correct classification. These are not interchangeable and the failure when they are confused is a fit or a compliance problem, not a print-quality problem. The classification requirements are set out in the ISO 13485 medical regulatory guide and the material performance data in the resin types selection guide.
Post-Processing Determines the Final Dimension
Every resin workflow loses accuracy in post-processing, and the loss is systematic, which means it can be compensated rather than merely suffered. The four steps that move dimensions are wash, cure, support removal and any finishing.
Washing in isopropanol slightly swells the surface and removes uncured resin; the duration and the solvent temperature matter more than most labs expect, and under-washing leaves uncured surface resin that deforms during cure. Post-cure under UV hardens the part and drives shrinkage, typically 10-40 µm on a full arch depending on resin and geometry. Support removal introduces local stress; supports placed on a margin or a fit surface leave witness marks that must be ground back, which is a manual operation and a source of variation. And any grinding or polishing is a manual step whose result depends on the operator.
The way to control this is to print a calibration test piece with known dimensions through the entire workflow — including wash, cure and finishing — and measure it, rather than measuring the green part. The dimensional difference between green and finished part is the compensation to apply in the CAD model. Labs that do this typically recover 20-50 µm of full-arch accuracy; labs that do not are repeatedly adjusting models in CAD by feel. The measurement approach is covered in the post-processing dimensional accuracy guide.
Deciding Between a Closed and an Open Workflow
The commercial question that sits above the technical one is whether to buy into a closed ecosystem (scanner, software and printer from one vendor, typically with a subscription and often with a locked materials channel) or an open one assembled from independent vendors.
A closed workflow offers a single support contact, validated scan-to-print chains and less integration work. Its cost is material lock-in: the printer accepts only the vendor's resins, at the vendor's prices, with no alternative for a special application. An open workflow offers resin freedom, competitive material pricing and the ability to mix a best-in-class scanner with a best-in-class printer. Its cost is integration risk, which is real and which is what this guide is about.
For a distributor, the open workflow is the opportunity, because the integration work is exactly the service a lab will pay for. A lab that buys a printer and a scanner and cannot get the two to produce a fitting model has a support cost it cannot absorb. A distributor who can specify the resin, the calibration routine and the post-processing steps, and back it with a validation protocol, converts a hardware sale into a workflow sale. That is a materially stickier relationship. The adjacent lab-scale detail is covered in the dental lab distribution guide and the aligner-specific production detail in the clear aligner and tray manufacturing guide. Where the workflow is being validated for regulated production, the approval framework in the PPAP production part approval guide applies to dental parts as it does to industrial ones.
Bottom Line
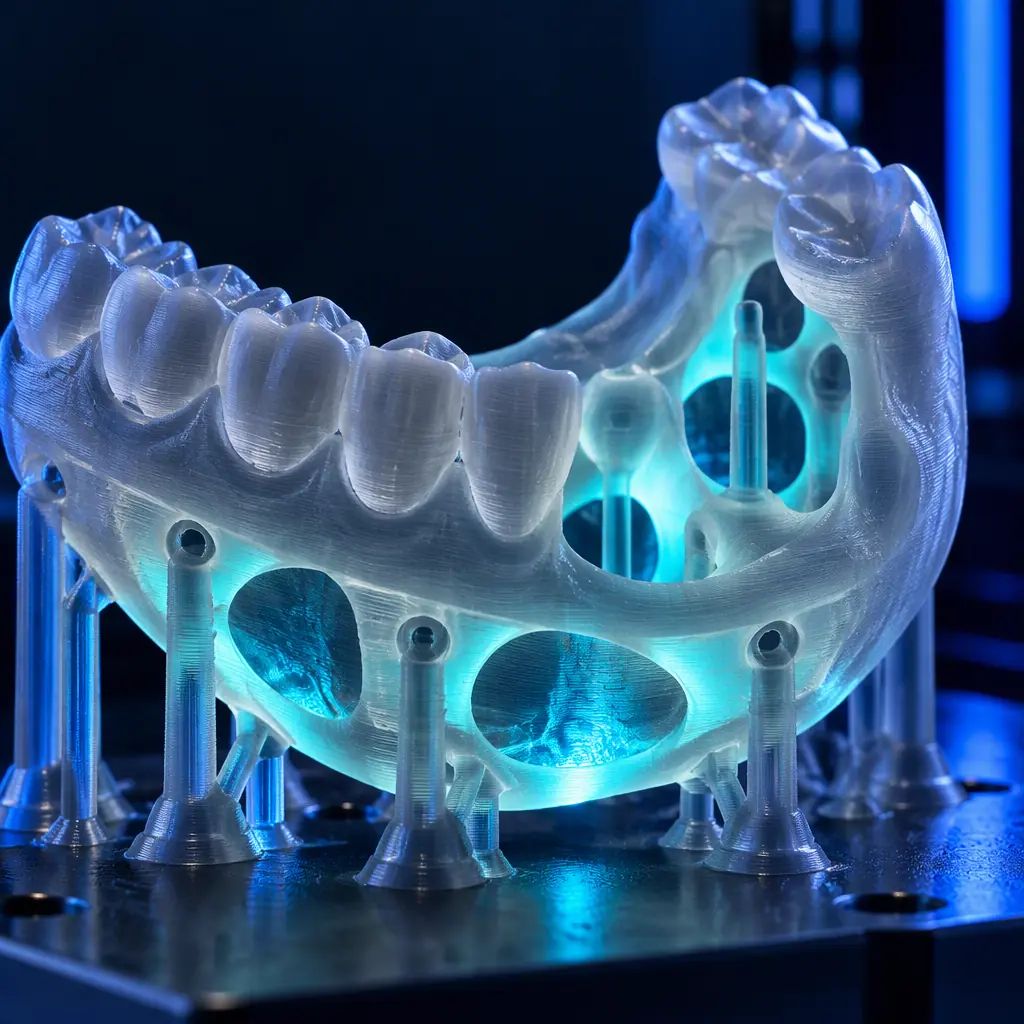
Match the scanner and the printer on full-arch accuracy, not on single-tooth figures, and keep the scan at least twice as accurate as the printer. Expect the STL handoff to fail on mesh density, scale or watertightness, and check triangle count and a calibration dimension rather than trusting the on-screen result. Select resin by application — model resin for working models, high-temperature resin for thermoformed aligner moulds, biocompatible resin for tissue-contacting guides — and measure a calibration part through the complete wash-cure-finish cycle so the systematic post-processing loss can be compensated in CAD. The workflow, not the hardware, is what the lab is actually buying.
Reviewed by the Precise3D engineering & OEM team. Regulatory and material documentation that accompanies the catalog is auditable at the certification register.

Start Your Partnership
Build a validated dental workflow for your market
Request the OEM & white-label program sheet, dental resin and printer pairing guidance, and volume pricing for your territory.
