
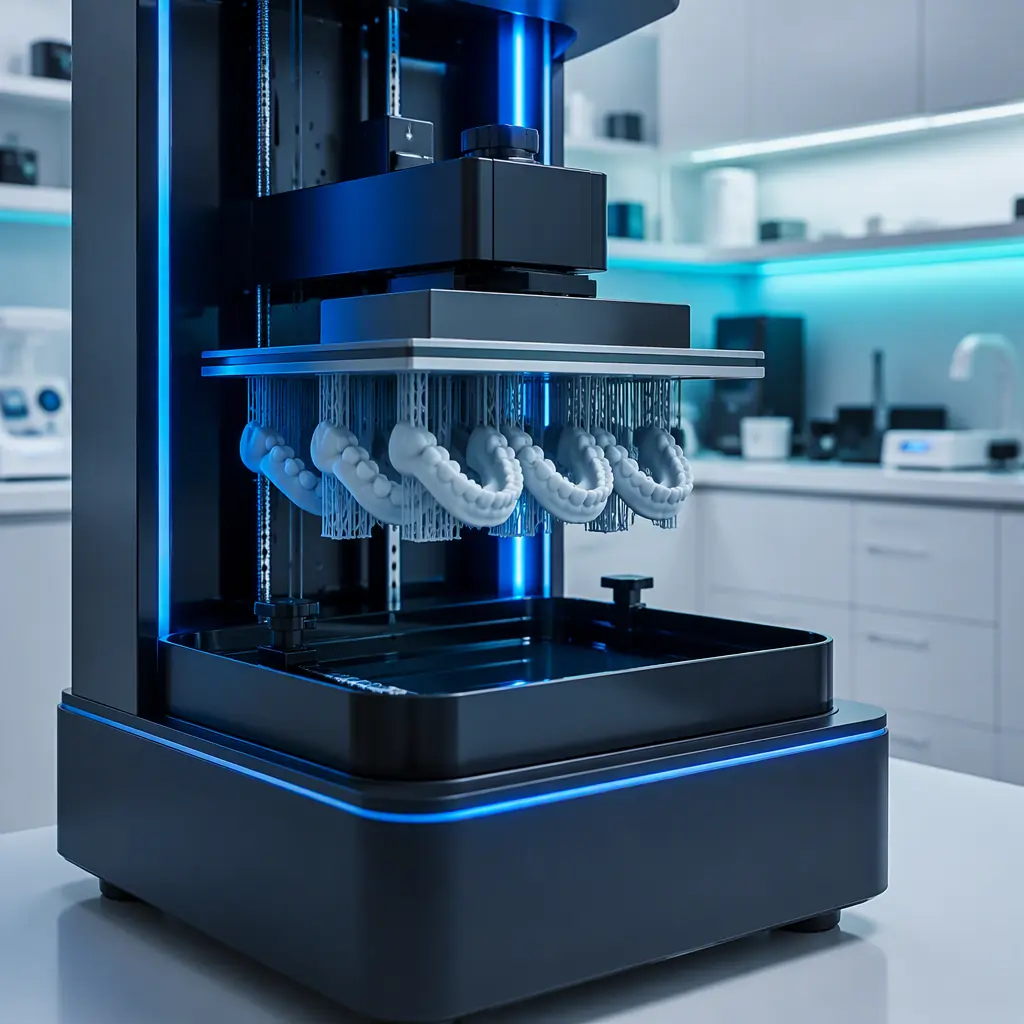
The Aligner Workflow Runs on a Printed Model
A clear aligner does not look like it was 3D printed, but it fundamentally is. The process is deceptively simple: take a digital scan of the arch, plan a series of intermediate tooth positions, then for each stage print a solid model of the predicted arch. That model is what the aligner is formed over. The accuracy of the finished tray can never exceed the accuracy of the printed model it was draped over, which makes the printer and the resin the true quality gate, not the thermoformer and not the sheet.
This is why the aligner channel is a natural fit for additive and an even better fit for a distributor who understands it. It is a repeatable, high-volume, dimensional-critical workflow with a consumables hunger that never stops. And it does not have to be huge: a single clear-aligner brand renews its print inventory every alignment stage, week after week. For the dental vertical more broadly, our dental lab distributor guide is the essential reference to open.
Model Printing: The Printer + Resin Stack That Delivers Accuracy
The model that an aligner is formed over has to be accurate to a fraction of a millimetre across the whole arch, because a small error on the gingival margin translates directly into a tray that does not seat cleanly. That pushes the work toward high-resolution vat photopolymerization rather than FDM. A resin printer with a fine pixel pitch and a precisely calibrated Z axis holds the tight tolerances the aligner needs, and a high-quality biocompatible dental model resin gives the hard, stable, low-shrinkage surface that survives repeated thermoforming.
The build volume matters as much as the resolution. An aligner lab typically prints a full arch model per stage, plus a base, so a printer with a generous platform and a fast cycle can turn a whole series overnight. A distorted model will poison every tray formed from it, so a saved, validated profile and a freshly calibrated machine are worth more than raw speed. For the material logic that decides FDM versus resin, our FDM vs resin comparison and our resin type selection guide are the two reads to reference.
Thermoforming Materials & Sheet Selection
The aligner itself is thermoformed from a sheet of co-polyester or, less commonly, polycarbonate or a polyurethane. The sheet choice is what determines the tray's toughness, optical clarity and how aggressively it must be trimmed. Most aligners are formed from a 0.5–0.75 mm sheet of a transparent co-polyester, heated and vacuum- or pressure-formed over the printed model. A thinner sheet gives a more comfortable, less bulky tray; a thicker or stiffer sheet gives more retentive force but is harder on the trimming step.
The sheet has to be chosen against the specific treatment stage. An active tooth-moving stage wants a slightly stiffer, stronger sheet, while a retention or final stage often uses a thinner, more flexible one. This is a subtle buy the distributor can influence, because sheet stock is a repeat consumable that is never "finished", it is a backlog item. For the coating and surface considerations that round out a clean final part, our post-processing & finishing guide covers the detailing steps.
Post-Forming Workflow: Trimming, Blanching & Inspection
After forming, the tray is trimmed along the gingival margin and polished, then inspected for any rough edge that would irritate the tissue. The margin-cut is a manual or jigged step but the geometry is dictated by the model, so a well-made model makes trimming repeatable and quick. Rough edges are a top reason for a patient to reject a tray, so the trimming and inspection step is where the quality of the whole pipeline shows up.
A printed model with a crisp, well-defined margin aids this workflow substantially. A softer model or one with layer lines that transfer through to the tray costs the lab time and rework. This is why precision at the model stage is the highest-leverage decision in the whole chain, and why a distributor should lead with accuracy and repeatability rather than with the price of the printer. For the fit-and-clearance logic that governs a part that has to seat on an arch, our dimensional accuracy guide is the reference to hand over.
What you're looking for: A tray that does not seat or seat cleanly across the whole arch → suspect model accuracy and the resin/post-cure first; a tray that seats but loses force or feels flimsy → the sheet thickness and stiffness are the issue, and a thicker or stiffer sheet will fix it without a new model.
Unit Economics of the Aligner Account
The aligner account is attractive precisely because it is a recurring consumables-and-volume sale. A single patient course is a series of 4–30 stages, each needing a printed model and a formed tray. A clinic with a handful of active patients is already printing multiple models a week; an aligner startup printing thousands of stages a month is a printer-farm scale account. The resin, the sheet stock and the spare parts restock continuously, which is the recurring revenue a distributor wants. For the margin and bundling mechanics, our consumables & accessories bundling and our portfolio & market-segment strategy are the two reads to reference.
The entry plan:
(1) Carry a high-resolution resin printer plus a calibrated dental model resin, and keep co-polyester sheet stock in a few thicknesses. (2) Build a demo set: a printed arch model, a formed tray and a trimmed tray, side by side, with the accuracy figure called out. (3) Go to dental labs, orthodontists and aligner startups, and sell the workflow and the accuracy, not the machine. (4) Convert each into an account by resupplying resin, sheet and spare parts as the case load grows. For running the volume side and the scanner-to-branch upstream, our scanner & printer bundle and our print-farm automation guide are the relevant reads.
The aligner chain is a printer, a resin and a sheet, but the margin lives in the workflow. At Precise3D, our high-resolution, calibrated resin platform with a stocked dental model resin and a co-polyester sheet line is set up for the aligner lab: accurate arch models, repeatable thermoforming and a consumables pipeline that keeps the case load moving.
Reviewed by the Precise3D engineering & OEM team. Compliance files that accompany the catalog are auditable at the certification register.
Enter This Vertical
Ready to Supply the Aligner Workflow to Your Region?
Join our network of global distributor network. High-resolution, calibrated resin printers with a stocked dental model resin and co-polyester sheet line, plus a demo set of a printed-to-trimmed aligner, everything you need to open the aligner account.
