
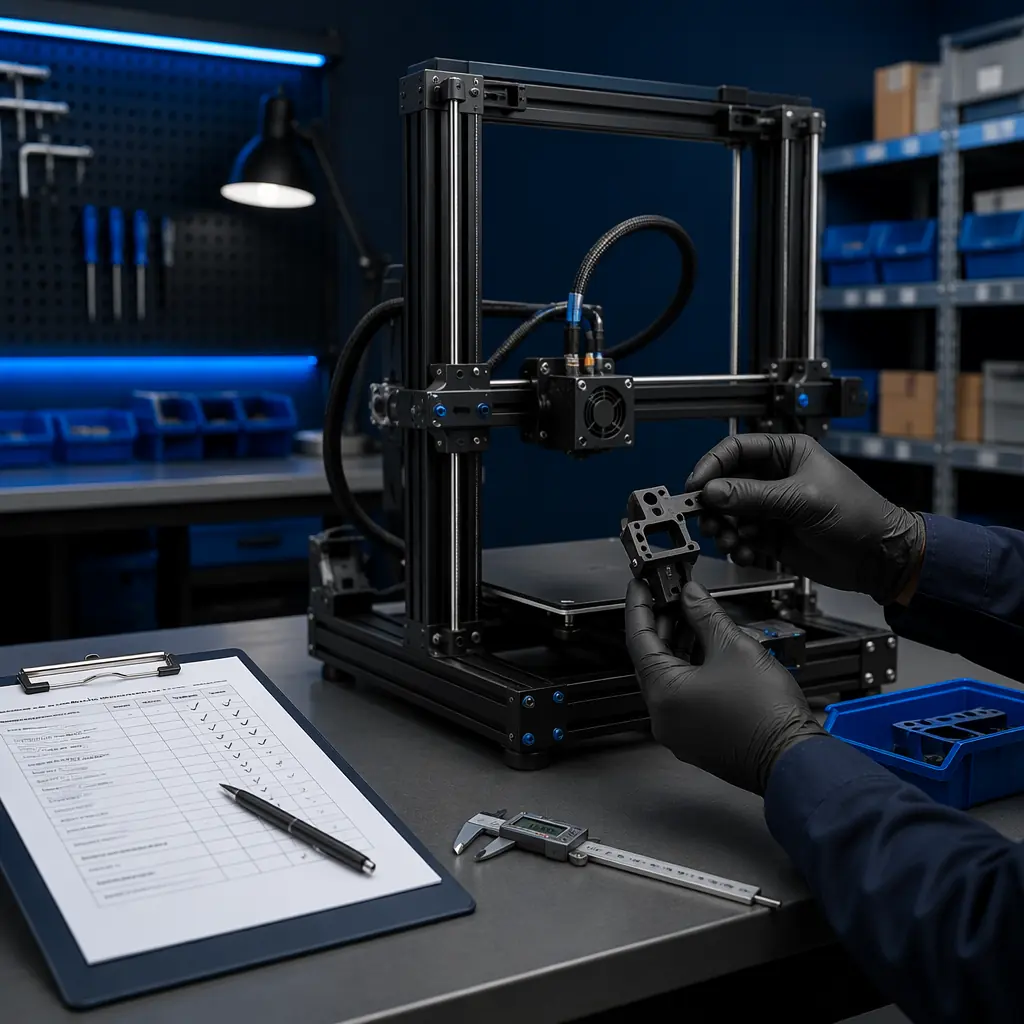
A distributor receiving a container of 400 3D printers faces a simple economic equation. Inspecting all 400 units thoroughly — unboxing, visual inspection, power-on test, calibration check, re-boxing — takes approximately 25 minutes per unit and costs roughly $15 in labor at a $36/hour technician rate. That is $6,000 in labor for a full inspection. Inspecting zero units saves that $6,000 — but if the defect rate is 3% (12 defective units in a 400-unit container), each defective unit that reaches a customer costs an average of $150 in RMA shipping, support time, replacement processing, and reputation damage. The math: 12 defects × $150 = $1,800 in customer-facing costs from zero inspection, versus $6,000 for full inspection. Neither extreme is optimal. The answer is statistical sampling — inspecting enough units to detect a quality problem with acceptable confidence, without inspecting every unit. This is what AQL (Acceptable Quality Level) sampling was designed for, and it is the foundation of a rational incoming QC program.
The Economics of Incoming Inspection: When Does It Pay for Itself?
For a distributor, incoming QC is an insurance policy against three costs: direct RMA costs (shipping labels, replacement units, technician time), indirect customer costs (lost repeat business, negative reviews, support ticket volume), and upstream leverage (documented defect data that supports claims against the manufacturer). The break-even point depends on the underlying defect rate, which varies by manufacturer and product maturity. For a new product from a new supplier, assume a defect rate of 3–8% for the first container. For a mature product from a vetted supplier shipping its 20th container to you, the defect rate should be below 1%.
In the worst case — a new supplier shipping their first container with an 8% defect rate — a distributor who does zero incoming inspection ships 32 defective printers to customers. At $150 per incident, that is $4,800 in direct costs plus a difficult-to-quantify but very real cost in customer trust. A new distributor whose first 30 customers all receive defective units does not get a second chance with those customers. The sampling inspection for this scenario — 50 units at 25 minutes each — costs approximately $750 in labor and catches roughly 80–90% of the defects that exist in the full batch (AQL 2.5 Level II provides 95% confidence that the lot defect rate is below 2.5%). The ROI is trivial: $750 in inspection labor prevents $3,800+ in customer-facing costs. For the broader framework of what to check at the factory before goods even ship, see our factory audit QC guide.
The 12-Point Visual Inspection Checklist
Visual inspection catches approximately 60–70% of all defects before a power-on test is even performed. The checklist below is designed to be completed in 10 minutes per unit by a technician with basic training — no engineering degree required. Each item is a binary pass/fail. A single fail on any item sends the unit to the quarantine area for detailed evaluation; two or more fails on the same unit should trigger an escalation to the supplier with photos.
Items marked "Critical" are shipment-blocking defects — the unit cannot ship to a customer under any circumstances until the issue is resolved. Items marked "Major" are quality-affecting — the unit should be quarantined and either repaired in-house or returned to the supplier depending on volume and agreement terms. Items marked "Minor" are cosmetic or documentation issues that may be acceptable depending on your market positioning and customer expectations. A distributor selling at premium pricing ($800+ printers) should treat cosmetic defects as Major because the customer expects perfection at that price point. A distributor selling budget printers ($200–300) may accept minor cosmetic blemishes as long as the unit is mechanically sound and the defect is disclosed to the customer at a discount. For a detailed breakdown of how frame alignment affects print quality specifically, see our frame rigidity guide.
Functional Testing: The 5 Tests That Matter
After the visual inspection passes, a functional test confirms that the printer operates correctly. A full calibration print takes 45–90 minutes depending on the model — too long for a sampling inspection of 20–50 units. The five tests below can be completed in 15 minutes per unit and catch approximately 85% of functional defects that would cause a customer to open a support ticket.
Test 1 — Power-on and display check (1 minute):
Connect power, switch on. Verify the control screen illuminates, displays the correct firmware version, and responds to menu navigation inputs (rotary encoder or touchscreen). A blank screen, flickering display, or unresponsive controls is an instant fail. Do not proceed to further tests if the unit fails power-on — the root cause could be the PSU, motherboard, or display, and diagnosing it is not worth the time during a sampling inspection. Quarantine and move to the next unit.
Test 2 — Axis homing and motion (2 minutes):
Initiate the auto-home sequence from the menu. Observe all three axes: the X and Y axes should move smoothly to their endstop positions without grinding, stalling, or skipping. The Z axis should lower to the bed with the probe or endstop triggering correctly. Listen for unusual noises — grinding indicates belt misalignment, clicking indicates a stepper missing steps, and squealing indicates dry linear bearings or rails. A unit that fails to home on any axis is a Critical fail. See our kinematics guide for architecture-specific homing behavior expectations.
Test 3 — Bed heating and temperature stability (3 minutes):
Set the bed temperature to 60°C (PLA standard) and start a timer. The bed should reach 55°C within 90 seconds for a typical 220×220 mm bed. If it takes longer than 3 minutes, the bed heater or PSU may be under-spec. Once at temperature, observe the temperature readout for 60 seconds — fluctuations of more than ±2°C indicate a failing thermistor or poor PID tuning. A bed that cannot reach and hold temperature is a Major fail; the printer will still function with PLA but will fail with ABS, PETG, and any material requiring >60°C bed temperature, generating support tickets from customers who try to print engineering materials.
Test 4 — Hotend heating and extrusion (3 minutes):
Heat the hotend to 200°C. Once at temperature, manually feed filament through the extruder using the menu controls. The filament should extrude smoothly in a consistent diameter stream without hesitation, popping (moisture), or discoloration (burned residue from previous testing at the factory). Retract the filament and verify it comes out cleanly without stringing or jamming. A hotend that cannot reach temperature, has a clogged nozzle, or produces inconsistent extrusion is a Major fail. Our hotend technology guide covers the common failure modes that produce these symptoms.
Test 5 — Part cooling fan and control board fan (1 minute):
Activate the part cooling fan at 100% from the menu. Verify the fan spins, the airflow is directed at the nozzle area (not dispersed uselessly), and there is no bearing noise (squeal, rattle, or ticking — all indicate a fan that will fail within months). Activate the control board fan if present and verify operation. A failed part cooling fan is a Major fail for printers that will be sold for PLA printing (PLA requires cooling); it is a Minor fail for printers sold for ABS/PC printing in enclosed chambers (cooling is often disabled). The control board fan is always a Major fail — an overheating stepper driver on the motherboard causes layer shifts that are the single most difficult-to-diagnose print quality issue for customers. This is especially critical for our stepper driver and motherboard guide.
Packaging Integrity: The Number-One Cause of Shipping Damage
A printer that passes every functional test at the factory can still arrive at the customer's door broken — and the customer does not care whose fault it is. Packaging integrity inspection is distinct from product quality inspection: the product itself may be perfect, but if the foam inserts are cracked, the carton is under-spec for the weight, or the double-wall corrugated is single-wall, the printer will not survive the journey from your warehouse to the customer. Distributors who reship units in the factory's original packaging — which is designed for palletized ocean freight, not single-unit parcel carrier handling — see return rates 2–3x higher than those who add over-boxing or upgraded packaging. For the complete packaging strategy, see our crating and packaging guide.
What you're looking for: If more than 5% of returns have visible carton damage, the packaging is under-spec for the shipping method. The fix is not better QC at the factory — it is a packaging redesign: heavier carton stock, denser foam, or external over-boxing for parcel shipments. No amount of incoming inspection can fix packaging that is fundamentally inadequate for the shipping environment.
Sampling Methodology: How Many Units to Inspect
AQL (Acceptable Quality Level) sampling is the international standard for lot inspection, defined in ISO 2859-1. For 3D printer distributors, the relevant parameters are the inspection level (determines sample size based on lot size) and the AQL (the maximum percent defective that is considered acceptable). Most consumer electronics distribution uses AQL 2.5 for Major defects and AQL 4.0 for Minor defects, at General Inspection Level II for new suppliers and Level I for vetted suppliers.
The "Accept/Reject" column shows the number of defective units found that trigger acceptance or rejection at AQL 2.5. For example, with a sample of 50 units from a 400-unit lot: if 3 or fewer units have Major defects, the lot is accepted; if 4 or more have Major defects, the lot is rejected (or escalated to 100% inspection). Note that a rejected lot at AQL 2.5 does not mean "ship it back to China" — it means "this lot has a higher-than-acceptable defect rate, and the appropriate response is either 100% inspection (sorting good from bad and claiming the bad units from the supplier) or returning the entire lot." The decision between sorting and returning depends on the defect types: if the defects are all repairable (loose screws, missing accessories), sorting is economical. If the defects are manufacturing flaws (bent frames, defective motherboards), returning the lot may be the only viable option. For guidance on handling supplier quality disputes including documentation requirements for claims, see our warranty returns guide.
Escalation Triggers: When Spot-Checking Is Not Enough
Statistical sampling works when defects are randomly distributed throughout the lot — which they usually are for manufacturing defects. But certain defect patterns indicate a systemic problem that sampling alone cannot adequately assess. When any of the following triggers occur, escalate from sampling to a broader investigation:
Trigger 1 — Same defect on 3+ consecutive units:
If three units in a row all have the same defect (e.g., a loose X-axis belt), this is not random variation — it is a systemic assembly issue. A single assembly station at the factory was set up incorrectly, and every unit that passed through that station is affected. The sampling plan's statistical assumptions break down because the defects are clustered, not random. In this case, expand the sample to find the boundary of the affected batch: test 10 more units from different carton positions (top/middle/bottom of pallet, different pallets). If the defect persists across positions, escalate to the supplier with batch tracking data.
Trigger 2 — Critical defect found in first 5 units:
A Critical defect (frame damage, missing serial number, wrong voltage PSU) within the first 5 inspected units is a red flag regardless of what the rest of the sample shows. Critical defects are rare in a properly managed production line — their presence early in a sample suggests the lot was not subjected to factory-side QC before shipping. Escalate to full visual inspection (not functional testing — just open every carton and run the 12-point visual checklist). This takes approximately 10 minutes per unit versus 25 minutes for full inspection.
Trigger 3 — Container shows signs of severe transit damage:
If the container doors open to reveal shifted pallets, crushed cartons, or water stains on the floor, the entire lot is suspect regardless of sampling results. Transit damage is not random — a container that sustained a 3-meter drop during handling (yes, this happens at port) or a 48-hour exposure to rain through a damaged roof panel has affected all units similarly. The appropriate response is to photograph everything, file a claim with the shipping insurer within the required window (typically 3–7 days from delivery), and conduct 100% visual inspection to separate salvageable units from damaged ones. See our import and customs guide for documentation requirements for insurance claims.
Documentation: The QC Record That Pays Claims
The difference between a successful supplier claim and a rejected one is documentation. A distributor who emails the factory with "about 10% of the printers in the last container are defective" will receive a polite response and zero compensation. A distributor who sends a spreadsheet with serial numbers, defect codes, timestamped photos, and a clear acceptance/rejection decision per AQL methodology will receive credit or replacement units. The documentation standard below is based on what Chinese OEMs actually accept in claims disputes — tested across 200+ Precise3D distributor partners.
For each inspected unit, record: serial number, carton number (or pallet position if cartons are unnumbered), inspection date, inspector name, pass/fail result, defect codes (from the 12-point checklist above), and at least one photo of each defect found. Store this data in a format that can be exported to a spreadsheet and emailed. The photo is the single most important piece of evidence — a factory quality manager reviewing a claim will trust a photo of a bent frame extrusion 100x more than a text description of the same defect. For the unit-level economics of how QC documentation feeds into your overall quality and after-sales strategy, see our after-sales support guide.
Bottom Line
Incoming QC is not a cost center — it is an insurance policy with a 3–5x return on the premium. A $750 sampling inspection on a new supplier's first container catches enough defects to prevent $2,500–3,800 in customer-facing costs. More importantly, it generates the documented defect data that gives you leverage in supplier negotiations: a distributor who can say "your last three containers averaged a 2.8% Major defect rate, compared to the 0.5% we agreed upon in the supply contract" is operating from a position of data, not opinion. The 12-point visual checklist, the 5 functional tests, and the AQL sampling framework described here are designed to be implemented by one technician with basic training, completed in 25 minutes per unit, and integrated into the receiving workflow without disrupting normal warehouse operations. The only equipment required is a smartphone (for the spectrum analyzer app and photos), a set of hex keys, a multimeter, and a clipboard. The cost to start is under $200. The cost of not starting is shipping defective printers to customers who will never buy from you again.
Reviewed by the Precise3D engineering & OEM team. Compliance files that accompany the catalog are auditable at the certification register.
Start Your Partnership
Ready to Bring incoming qc receiving inspection to Your Market?
Our OEM program supports incoming qc receiving inspection programs end to end - the product line, firmware and compliance files that travel with each shipment.
