
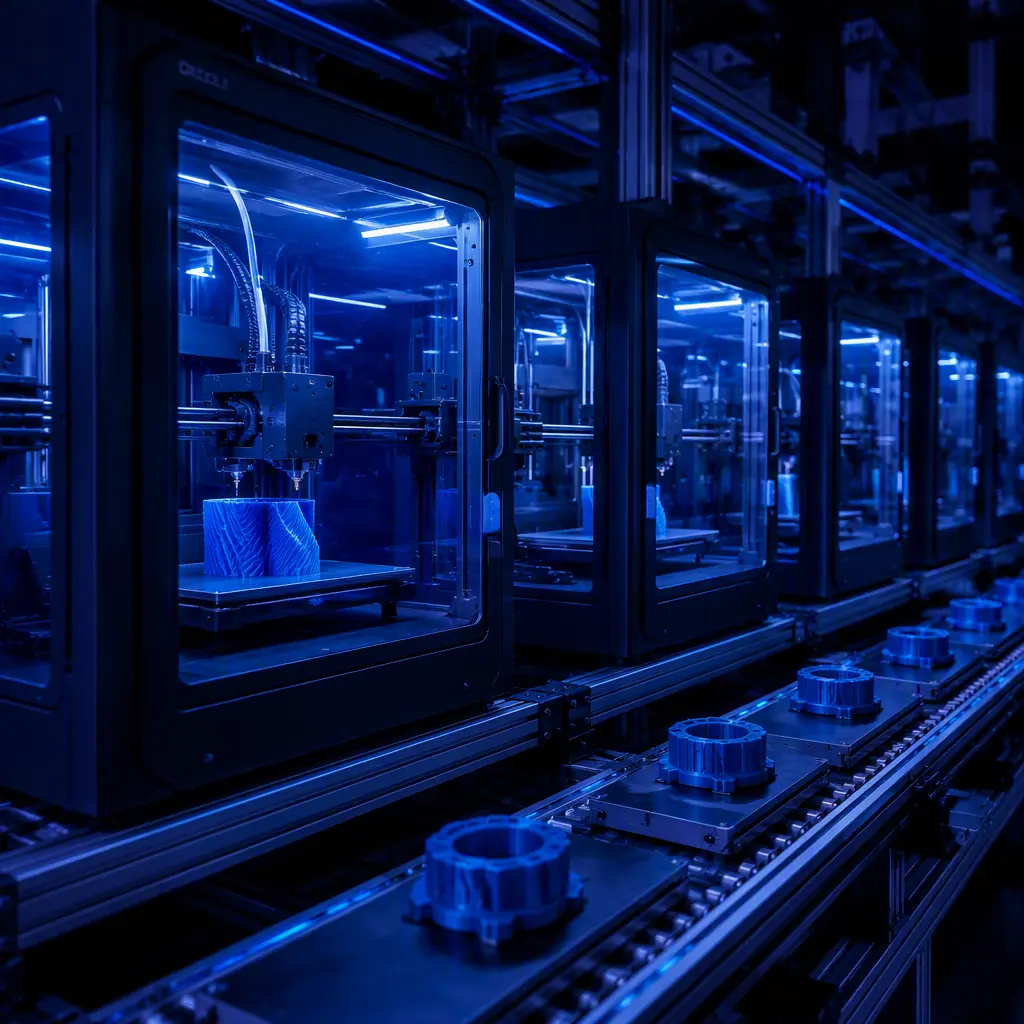
A print farm operator in Shenzhen running 32 enclosed FDM printers was spending roughly 4.5 hours a day on manual work: pulling finished plates, wiping and re-applying adhesion, restarting failed prints, and sorting parts by order. Adding a conveyor build-plate system to 12 of the machines and a queue-orchestration tool across the fleet cut that daily manual time to under 90 minutes and pushed effective machine utilization from 62% to 84%, without hiring a second operator. Print farm automation is not about replacing printers; it is about replacing the human time attached to each print cycle, and it is the difference between a farm that plateaus at 25 machines and one that scales past 100.
Where Print Farms Hit the Labor Wall
Most farms hit a wall between 20 and 50 machines. Below that, one or two operators can keep up. Above it, every print cycle carries 15-25 minutes of human attention, and the math stops working. The tasks are deceptively simple:
At 30 machines with 2.5 cycles per machine per day, that is 75 cycles × 15 minutes of average touch time ≈ 18.75 operator-hours per day, more than two full-time employees just keeping plates moving. The operating economics of scaling farms are developed in our print farm operations & scaling guide.
The Automation Stack: Four Layers
Treat automation as a stack, not a single product. The four layers are: build-plate handling (conveyor and plate-changer hardware), part extraction (robotic or mechanical removal), orchestration software (queueing, scheduling, failure recovery), and peripheral automation (auto-filament, drying, batch post-processing). Most farms start with layer three because it is software-only and cheap, then add hardware where the labor bottleneck is worst. The software layer overlaps heavily with what we cover in our slicer & farm management software guide . The difference here is the hardware that physically moves plates and parts.
Conveyor & Build-Plate Systems
Conveyor and plate-changer systems attack the highest-frequency task: removing and reinstalling build plates. Three designs dominate:
1. Belt-style printers. A continuous flexible belt replaces the rigid build plate; finished parts drop off the end of the belt onto a collection tray. Best for high-volume, low-profile parts (hooks, tags, brackets) that release cleanly. Belt systems eliminate plate handling entirely but struggle with tall parts and warp-prone materials.
2. Conveyor-integrated plate changers. A magazine of flexible steel plates feeds the printer; a mechanism swaps the finished plate for a clean one and drops the used plate onto a conveyor for manual or robotic unloading. This is the workhorse for farms printing PETG, PA, and PC, where parts bond tightly and need a plate that can flex to release.
3. Carousel / turntable systems. A rotating fixture moves plates through a sequence of stations, print, cool, release, clean, re-coat, before returning to the printer. Good for farms running the same part around the clock. The plate materials and release mechanics behind these systems are covered in our print surfaces & build plate guide.
Payback rule of thumb: plate-handling automation pays at 10+ machines running batch production; below that, the operator is faster than the machine.
Robotic Part Removal & Tending
Where parts cannot drop free (PETG and nylon stick, resin parts need UV handling), farms add robotic extraction: a 6-axis arm or gantry picker that opens the chamber, flexes the plate or peels the part, and drops it into a labeled bin. Camera-guided systems verify the part is fully released before starting the next print, the same detection logic as our AI print monitoring & failure detection guide, applied after the print instead of during it. Robotic tending is also how farms handle mixed batches: the robot reads a QR code on the plate, sorts parts into order bins, and logs completion timestamps that feed customer delivery updates.
Software Orchestration: The Brain
Hardware moves plates; software decides what gets printed next. A proper orchestration layer does four things: queue management (matches orders to the right machine and material), failure recovery (detects a failed print, cancels it, requeues the job, and starts a replacement on an idle machine), predictive scheduling (estimates finish times from actual layer progress, not slicer estimates), and remote control (operator approves jobs from a phone). Farms that skip orchestration automate the plate but keep a human staring at the queue, which defeats the purpose. Remote monitoring fundamentals are in our remote monitoring & cloud connectivity guide.
Safety & Reliability for Unattended Runs
Automation's whole value is unattended operation, which makes safety non-negotiable. Four protections matter: thermal runaway protection on every printer (a heated bed or hotend fault must shut the machine down, not keep heating), fire suppression (suppression canisters or automatic extinguishers mounted in the farm, plus smoke detection per zone), power-loss recovery (resume-from-layer so an overnight outage does not waste 8 hours of unattended runtime), and line filtering/UPS on control electronics so brownouts do not corrupt firmware or reset schedules. These are the same protections we detail in our safety & thermal runaway guide. Energy cost matters more at 24/7 utilization, so the consumption math in our energy & operating cost guide applies directly to automated farms.
The Economics: Labor Hours vs Hardware
The honest comparison is labor saved versus automation capex, per farm size:
At a loaded labor cost of $25/hour, a 30-machine farm saves 11-12 hours/day ≈ $7,000-9,000/month, a 4-7 month payback on the automation stack, before counting the revenue from higher utilization. The full cost-per-part framework, including the utilization uplift, is in our TCO/ROI calculator guide, and the baseline farm economics are in our print farm economics guide.
The Distributor Playbook: Selling Automation
For distributors, automation is a margin-building line, not a discount driver. Five moves:
1. Audit your installed base. Every farm customer is a candidate; ask about manual hours per day before pitching anything. The farm-scaling roadmap in our operations & scale guide gives you the questions.
2. Sell the stack in layers. Start with orchestration software (lowest friction, SaaS recurring revenue), then conveyor, then robotics. Each layer is a new invoice and a new service contract.
3. Bundle installation and training. Automation hardware fails without commissioning, a farm will not rewire its own fleet. Installation, calibration, and operator training are high-margin services that also reduce returns; the service-economics model is in our after-sales support strategy.
4. Offer monitoring as a subscription. Remote fleet monitoring with proactive alerting turns every automated farm into recurring MRR and gives you visibility into when they need more machines.
5. Build the demo. A single automated cell in your demo lab, one conveyor-fed printer, one camera, one queue dashboard, closes more automation deals than any brochure. The demo-lab playbook is in our demo lab setup guide.
Common Pitfalls in Automation Projects
Five mistakes repeat across failed projects: (1) automating a 6-printer workshop, below 10 machines the operator is faster and cheaper, so lead with software, not conveyor; (2) single-vendor lock-in, a conveyor that only works with one printer brand strands the farm when they replace machines, so sell standards-based systems; (3) no failure redundancy, an automated farm without a manual fallback workflow stops completely when the conveyor faults, so design the manual path first; (4) ignoring the 15-20% of jobs that need human handling (tall parts, TPU, resin), which means the "zero-touch" pitch is a lie, sell "fewer touches," not "no touches"; and (5) skipping the safety audit, unattended operation multiplies the cost of a thermal event, and one fire kills the account and the distributor's reputation. The tool-changing direction some farms take instead of conveyor automation is covered in our toolchanger vs IDEX guide.
Getting Started: The First 90 Days
A 90-day entry plan: Month 1 . Audit 10-15 farm customers and score them by machines, batch size, and manual hours; identify the two best automation candidates. Month 2 . Pilot orchestration software on one customer fleet (30-45 day SaaS trial), measure utilization before and after, and commission a single conveyor-fed cell in your demo lab. Month 3 . Convert the pilot to a paid stack (software + one conveyor + installation service), publish the measured case study ("32-printer farm: 4.5 hrs/day manual → 90 min, utilization 62% → 84%"), and take the demo cell to your next farm customer meeting. If you already serve service bureaus or prototyping shops, our rapid prototyping & R&D guide shows where the same automation pitch lands next.
Reviewed by the Precise3D engineering & OEM team. Compliance files that accompany the catalog are auditable at the certification register.
Automate Your Farm Line
Ready to Sell Print Farm Automation?
Get wholesale pricing on enclosed FDM printers, orchestration software partnerships, conveyor and robotic add-ons, and the farm-automation playbook that builds recurring revenue.
