
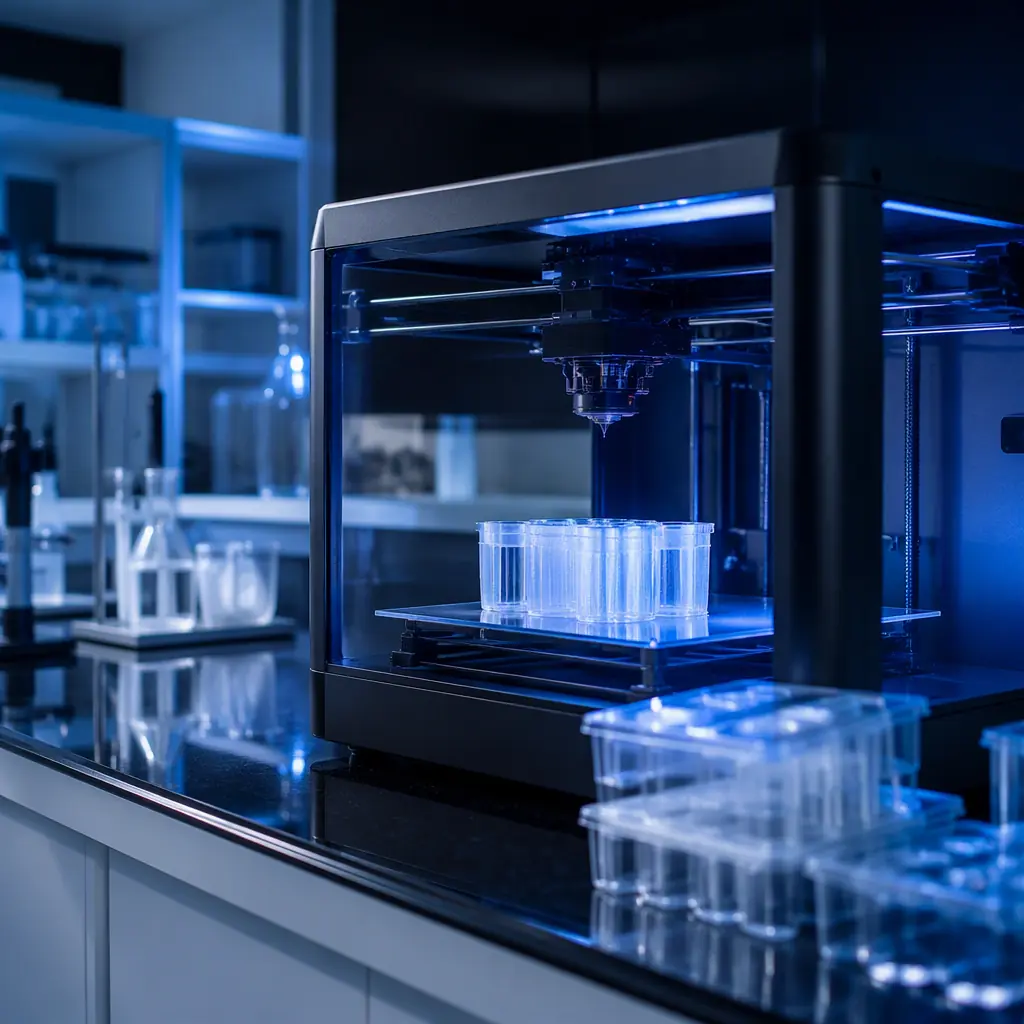
The laboratory scientific instruments vertical spans research universities and institutes, clinical and hospital labs, pharmaceutical and biotech QC laboratories, analytical instrument OEMs, lab equipment distributors and dealers, environmental and food testing labs, and instrument service companies. Three structural facts drive the opportunity. First, instruments outlive their spare parts: a $40,000-400,000 instrument runs 10-20 years, while its plastic consumables and replacement parts are discontinued after 5-8 years. The aftermarket logic is the same one we map in our spare parts & aftermarket revenue guide. Second, labs are custom by nature: every lab has unique sample types, unique bench layouts and unique workflows, which means off-the-shelf labware and fixtures never quite fit, the customization demand is structural, not occasional. Third, the parts are small, precise and expensive: a tube rack that costs $40-120 OEM prints at $3-10; a centrifuge rotor adapter at $200-600 prints at $15-40; an autosampler tray at $500-1,850 prints at $8-25. The economics are laid out in our TCO & ROI calculator guide.
Why Laboratory Instrument Teams Are Buying 3D Printing
Five forces convert lab instrument teams into printer buyers. First, instrument obsolescence: analytical and clinical instruments have 10-20 year service lives, and OEM spare support ends far earlier, the same obsolescence-rescue pattern that drives our aftermarket revenue guide applies at lab scale. Second, custom sample handling: labs run non-standard sample formats (odd tube sizes, unusual plate layouts, custom vials) and pay $100-500 for custom machined fixtures that print for $5-30. Third, fast iteration: instrument researchers prototype new benchtop hardware in days when they can print, the same speed argument that drives our pharmaceutical & biotech guide. Fourth, budget pressure: lab managers defend instrument budgets by cutting consumable and repair spend, and a $9 printed tray beats a $1,850 OEM quote every time. Fifth, compliance-driven documentation: regulated labs (GLP, ISO 17025, CAP) must document every part that touches samples; printed parts with material data sheets and print logs fit that paperwork culture, and the documentation discipline is in our incoming QC & inspection guide. A mid-size university lab complex maintains 200-600 instruments and replaces hundreds of plastic parts per year; a lab equipment distributor serving 300 labs can sell 500-1,500 printed parts a month at $5-60 each.
The Applications That Actually Buy
Six clusters generate the orders. The buyers are lab managers, instrument service engineers, research technicians, QC chemists and instrument OEM procurement teams.
1. Legacy instrument spare parts. The highest-value application: tube racks, rotor adapters, cuvette holders, autosampler trays, filter housings, door latches, knobs, bezels and leveling feet for discontinued centrifuges, spectrophotometers, HPLC/GC systems, microscopes and plate readers. Printed in PP, PA or flame-retardant materials, these restore function without a $5,000-40,000 instrument replacement, the material selection logic is in our engineering filaments guide. A centrifuge rotor adapter that costs $200-600 OEM (when available) prints at $15-40.
2. Custom labware & sample handling. Custom tube racks, vial holders, slide racks, pipette tip organizers, plate lids, magnetic separation stands and custom holders for odd sample formats. Printed in PP or PETG with documented chemical resistance, these replace $100-500 machined or imported parts at $5-30, the chemical-resistance material rules are in our polypropylene filament guide. A lab running 50 assays a day standardizes on printed racks that survive autoclave cycles.
3. Benchtop instrument components. Enclosure feet, fan shrouds, cable guides, panel inserts, membrane keypad frames, light shields and optical mounts for active instruments. Printed in ASA or PA with controlled dimensional accuracy, these extend the life of working instruments, the dimensional discipline is in our QC & inspection guide. A light shield that costs $80-300 OEM prints at $6-18.
4. Fixtures & tooling for instrument OEMs. Assembly jigs, test fixtures, probe holders, calibration fixtures and shipping-protection parts for instrument manufacturers building 100-5,000 units a year. Printed in PETG, PA-CF or resin with tight tolerances, these compress NPI timelines, the jig-and-fixture economics are in our manufacturing tooling guide. An OEM that prints its own fixtures cuts fixture spend 60-80%.
5. Lab automation & robotics interfaces. Gripper fingers, tube transfer adapters, plate stacker guides, liquid handler tips and custom mounting brackets for lab automation systems. Printed in wear-resistant materials with documented tolerances, these are the interface layer of modern labs, the automation angle connects to our cleanroom & semiconductor guide for labs running in controlled environments. A liquid handler retrofit that costs $2,000-8,000 OEM prints at $50-300.
6. Education & teaching lab consumables. Budget-friendly racks, holders, models and fixtures for university teaching labs where instrument budgets are tightest. The education channel mechanics are in our education market guide, and the print-farm economics for batch production are in our print farm economics guide. A teaching lab with 40 benches consumes 200-600 printed parts per semester.
Materials & Compliance Reality
Lab parts live under one rule: the material must match the chemistry. Five material families dominate:
Three compliance realities dominate. First, chemical resistance must be verified, not assumed: PP resists most aqueous and alcohol-based reagents but softens in some solvents; PEEK handles aggressive HPLC mobile phases; the full resistance mapping is in our PEEK/PEI/PPSU materials guide. Second, temperature exposure matters: autoclave cycles (121°C) rule out most PETG and ABS parts; PP survives, and PEEK survives far beyond, the high-temperature material behavior is covered in our annealing & heat treatment guide. Third, sample-contact parts need documented cleanliness: parts that touch samples should be printed in clean conditions, finished smooth (layer lines trap residue), and validated per the lab's SOP, the finishing workflow is in our post-processing & finishing guide. Distributors who bring the data sheet for every material win the lab account; the data-sheet discipline is in our engineering filaments guide.
From Broken Part to Documented Replacement: The Workflow
The workflow that wins lab accounts has five stages. Assess . Confirm the part is non-critical to instrument safety (never replace a part that contains samples under pressure or affects calibration), identify the failure mode, and check whether an OEM path exists; quote both and let the lab choose. Model . Scan the intact sibling part with a handheld scanner in 15-30 minutes or model from calipers; keep a revision history, because regulated labs will ask, the scanner workflow is in our scanner & printer bundle guide. Print . Select material from the chemical-resistance table, print with verified settings, and log the print parameters. Verify . Check dimensions against the original, test fit on the actual instrument, and validate chemical resistance against the reagents the part will see; the verification checklist is in our incoming QC & inspection guide. Document and deliver . Hand over the part with material data sheet, print log and verification record; that paperwork is what makes the part acceptable to a QC auditor. The full cycle runs 1-3 days versus 2-9 weeks for OEM paths, and one qualified print service sustains 10-25 lab part jobs per week.
Budget Reality: Printed vs OEM vs Machined
The comparison that opens lab accounts:
The distributor math compounds because lab demand is recurring: instruments are serviced on annual cycles, consumables are reordered, and labs standardize on parts that work. The recurring stream is the same margin engine as our accessories revenue guide, and the printer investment model that justifies the customer's own machines, and your demo fleet, is in our TCO & ROI calculator guide.
The Distributor Playbook: Entering Lab Accounts
Five moves win lab accounts:
1. Target the right segments. University research labs are the fastest entry, they buy small parts weekly and already run 3D printers. Clinical and QC labs are the second tier (higher value, slower cycle), and instrument OEMs are the third, sell to them as a fixture-and-prototype supplier, not a competitor. Build a list of 30-80 accounts in your territory.
2. Lead with the material story, not the price. Walk in with chemical-resistance data sheets, printed PP racks that survived an autoclave cycle, and a finished PEEK sample, the documentation is the differentiator. The consultative selling framework is in our B2B sales demo playbook.
3. Sell the instrument-rescue service. Position printed parts as the answer to aging instruments: "if the OEM no longer makes it, we can print a documented replacement." The service-revenue model is in our repair service center guide.
4. Demo with a real lab part. Ask a lab for their most-replaced plastic part (tube rack, rotor adapter, tray), print it during the demo and deliver it documented. The pilot structure is in our B2B sales demo playbook.
5. Bundle the lab material set. PP, PETG, PA-CF and PEEK/PEI lines, plus an enclosed printer with a heated chamber (PEEK and PA warp without it), a filament dryer and a scanner bundle, with margin in materials and consumables. The heated-chamber case is in our heated chamber guide, the enclosed-machine case in our enclosed vs open-frame guide, and the bundling mechanics in our accessories revenue guide. The unifying rule: lab buyers purchase reproducibility, documented materials, verified dimensions, repeatable results, and the distributor who delivers paperwork with every part owns the account.
Common Pitfalls in Lab Accounts
Five mistakes cost distributors lab business: (1) printing parts that affect calibration or safety . Never replace a part that seals pressure, holds samples during centrifugation at speed, or sits in the optical path of a calibrated instrument; know the boundary and state it in every proposal; (2) claiming chemical resistance without a data sheet . A verbal "it's PP-compatible" is worthless when a solvent dissolves the part mid-run; the material data must come from the supplier's printed documentation, with the data-sheet discipline in our engineering filaments guide; (3) ignoring autoclave compatibility . A PETG rack that warps in the first sterilization cycle ends the relationship; verify temperature limits before quoting (the temperature behavior is in our annealing guide); (4) skipping dimensional verification . A rotor adapter 0.3 mm off can unbalance a centrifuge; verify critical dimensions against the original every time, using the checklist in our incoming QC guide; and (5) treating QC labs like hobbyists . Regulated labs need supplier qualification, documentation formats and revision control; the procurement discipline is in our B2B RFQ & proposal playbook. Two quieter mistakes compound these: under-pricing documented parts (the paperwork is half the value) and skipping the instrument-OEM segment because it feels hard (they are the highest-volume buyers in the vertical).
Getting Started: The First 90 Days
A 90-day entry plan: Month 1 . Identify 30-80 target accounts across university labs, QC labs and instrument OEMs; stock the lab material set (PP, PETG, PA-CF, PEEK/PEI) plus a filament dryer, build plates and finishing consumables; and print a sample board of the 15 most-requested lab parts (tube racks, rotor adapters, trays, stands) with their data sheets attached. Stock one enclosed demo printer with a heated chamber, PEEK and PA parts warp without it, and the chamber case is in our heated chamber guide. Month 2 . Run two pilots: one university lab (print 20-30 real parts across two weeks with documentation) and one QC lab (replace three discontinued instrument parts with verified, documented spares); document both in a service template. Month 3 . Convert the pilots into a documented-spares supply agreement, publish your first measured case study ("University lab: $1,850 HPLC autosampler tray replaced by a $9 documented PP print, verified and installed in 2 days"), and open one instrument-OEM account as a fixture supplier. Throughout the quarter, log every part with instrument model, material, data-sheet reference, cost and verification result, that log becomes your lab parts library, your discontinued-parts catalog, and your proof for the next 30 accounts. The printer economics that justify the distributor's own fleet are in our TCO & ROI calculator guide.
Reviewed by the Precise3D engineering & OEM team. Compliance files that accompany the catalog are auditable at the certification register.
Enter the Laboratory Market
Ready to Supply Laboratory & Scientific Instrument Teams?
Get wholesale pricing on enclosed printers with heated chambers, PP, PETG, PA-CF and PEEK material lines, filament dryers, 3D scanners, and the documented-parts playbook that wins lab accounts.
