
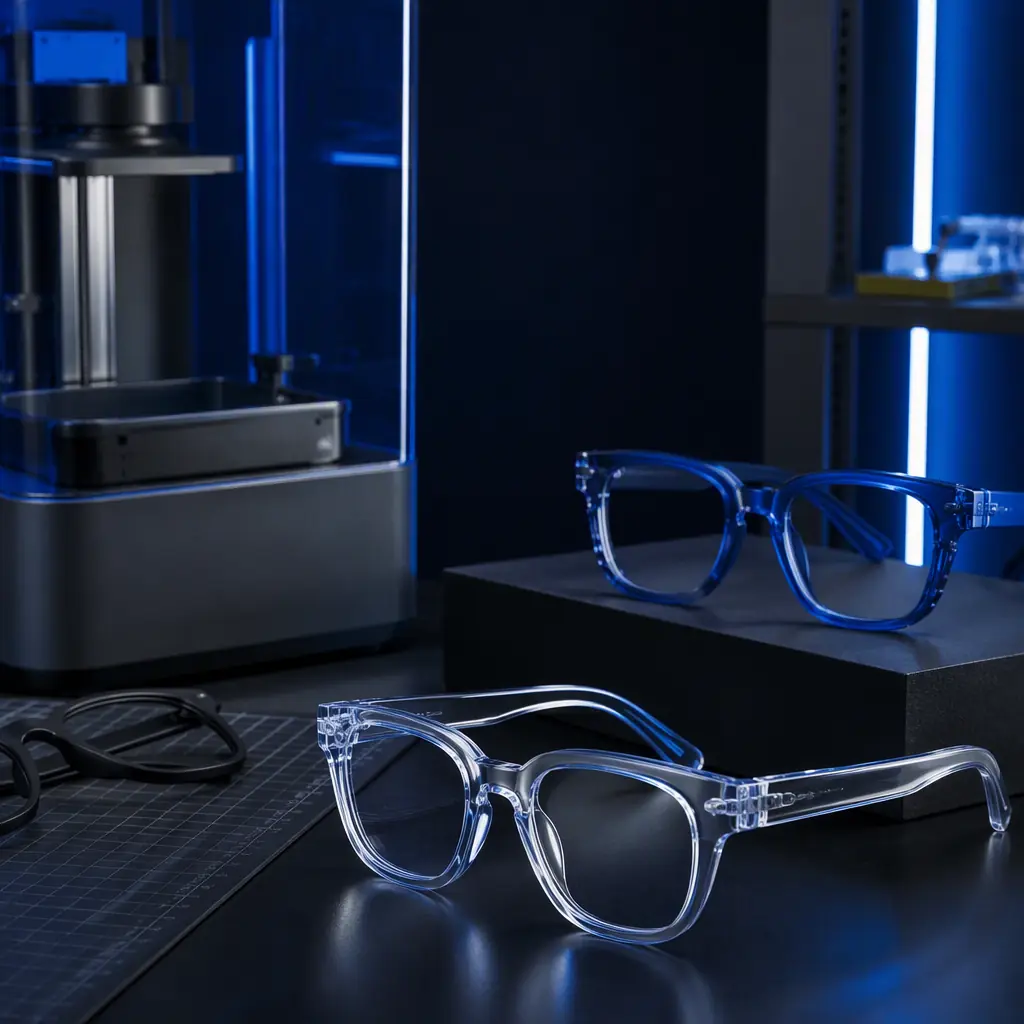
An eyewear brand in Shenzhen's Nanshan district used to budget 45 days and $3,200 for a single acetate frame prototype, tooling, sampling, and revision loops through a mold shop. In early 2026 they switched to a resin printer from a local distributor and cut that cycle to 2 days and $38 in material. In the first six months they prototyped 214 frame designs, launched 11 SKUs, and their prototype-to-production conversion rate doubled because the design team could hold the actual frame in their hands before committing to tooling. Eyewear and optics is a precision-adjacent vertical with a fast-moving design culture. And for a distributor with the right resin and FDM mix, it is a high-frequency reorder business hiding in plain sight.
Why Eyewear Buys: Speed, Customization, and Tooling Cost
Three forces drive 3D printing demand in the optical industry. The first is collection velocity: fashion eyewear launches 2–4 collections a year, each with dozens of SKUs, and the brands that survive are the ones that iterate frames faster than the competition. Mold-based prototyping at 6–8 weeks per iteration simply cannot keep up; resin printing collapses iteration to days. The second is made-to-order customization: custom temple length, bridge width, and personalized frame geometry are a premium market (20–40% price uplift) that only additive manufacturing serves economically at unit quantity one. The third is fixture and tooling cost: optical labs and lens manufacturers need hundreds of low-volume jigs, holders, and inspection fixtures, and machining them at $150–600 each is indefensible when a printed equivalent costs $3–18. For the broader pattern of prototype economics, see our rapid prototyping & R&D guide.
Where 3D Printed Parts Actually Go in the Optical Workflow
Five application clusters generate the majority of eyewear and optics printing demand:
1. Frame prototyping. Full-frame and half-frame prototypes in clear and colored resin, printed at 0.05 mm layers to reproduce the acetate look. Brands validate ergonomics, hinge placement, and lens seating before tooling. The accuracy demands are modest (±0.3 mm is fine) but surface finish matters, see the post-processing section below.
2. Custom temples and bridges. The made-to-order market: personalized temple lengths, ergonomic bridges, and lightweight sport frames printed in nylon or TPU for flexibility. This is a per-unit premium business with reorder dynamics: every custom pair is a new print.
3. Lens and polishing fixtures. Lens labs use printed holders, edging blocks, and polishing fixtures that must survive abrasive slurry and repeated handling. ABS and PETG work for dry operations; nylon resists the wet cycle. Dimensional control matters here, a holder that shifts 0.2 mm misaligns the polish.
4. Inspection and QC jigs. Optical inspection needs repeatable positioning: lens gauging fixtures, frame-measurement jigs, and coating-thickness test holders. Printed jigs with brass locating pins outperform machined equivalents on cost and lead time.
5. Retail and display. Store display stands, demo-frame holders, and branded merchandising fixtures, the same retail-fixture demand covered in our hospitality & retail fixtures guide.
Materials for Eyewear: The Resin and Filament Mix
The material conversation in eyewear splits cleanly by application:
The revenue insight: eyewear brands need at least two technologies . Resin for frames, FDM for functional fixtures, which makes them natural multi-machine accounts. The resin technology split (MSLA vs DLP vs SLA) and what each delivers for fine-detail work is covered in our resin technology guide, and the flexible material options in our flexible filaments guide.
Precision Requirements: What the Optical Workflow Actually Demands
Eyewear is precision-adjacent, not precision-critical. Frame prototypes tolerate ±0.3 mm; the demanding parts are the fixtures that touch optics. Lens edging blocks need ±0.1 mm on the seating face; polishing fixtures need repeatability within ±0.05 mm runout on the part face. That repeatability is a printer-quality conversation: a machine with a rigid frame and calibrated motion holds it, a loosely-tuned bedslinger drifts. For distributors, this is a differentiator. The customer with a lens lab cares about dimensional consistency across prints, which is exactly the conversation in our tolerances & dimensional accuracy guide and our frame rigidity guide.
The second precision consideration is shrinkage compensation: castable resin frames shrink 1.5–2.5% during burnout and casting, so the printed master must be scaled up in the slicer. Distributors who document the compensation factor for their resin line become the trusted source for the casting workflow, the same trust dynamic as our jewelry casting guide.
Post-Processing: Where the Acetate Look Happens
A raw resin frame looks like a prototype; a sanded, polished, and coated frame looks like a product. The finishing workflow that commands premium prices:
1. Wet sanding. 400 → 800 → 1500 → 3000 grit on the frame surface removes layer lines. Clear resin frames get an initial dip in IPA or a light vapor treatment to smooth the surface before sanding, the full method is in our post-processing & finishing guide.
2. UV curing. 5–10 minutes in a curing chamber hardens the resin fully; under-cured frames flex and craze. A wash-and-cure station is an essential add-on sale for every eyewear account, the bundle economics are in our wash & cure bundle guide.
3. Gloss coating. A clear gloss lacquer or UV-cure topcoat delivers the acetate shine that buyers recognize. Coating is also the standard fix for the porous surface of printed frames, it seals the layer lines and adds scratch resistance.
4. Hardware installation. Hinges, nose pads, and temple tips are press-fit or bonded, printed frames accept standard eyewear hardware with printed locating pockets. The interference-fit rule for press-fit hardware is in our heat-set insert guide.
The Distributor Playbook: Entering the Eyewear Vertical
Eyewear accounts are concentrated, design-driven, and sticky once you are inside. The playbook that works:
1. Target the right account tiers. Three tiers buy: independent eyewear brands (5–50 SKUs a year, prototyping-hungry), made-to-order optical shops (custom temple/bridge work), and lens/coating labs (fixture and jig demand, repeatable monthly). The made-to-order shops are the fastest to close, they feel the per-unit economics immediately.
2. Sell the two-machine story. A resin printer for frames plus an enclosed FDM for fixtures and jigs. The FDM machine justifies itself on fixture cost alone, and the resin machine is the creative engine, together they anchor the account. For the machine-selection logic, see our portfolio strategy guide.
3. Stock the consumable bundle. Clear resin, tough resin, a flexible TPU line, castable resin, sanding packs, gloss coat, and hardware kits. Eyewear burns resin fast, a frame prototype uses 15–30 ml, and a brand prototyping 20 frames a week burns 1.5–3 liters a month. That is the reorder engine.
4. Provide the finishing workflow as a service. Offer a "finish-to-product" service, print, sand, coat, assemble, for the first three months, then convert the customer to buying their own machine plus your consumables. The service builds trust; the consumables build recurring revenue.
5. Document the shrinkage factor. Publish the castable-resin compensation numbers for your region. It is the single piece of proprietary data that makes you the eyewear expert rather than another printer seller. The same documentation discipline builds the medical vertical, see our medical printing guide for the parallel playbook.
For the QC and process discipline that keeps eyewear customers reordering, first-article inspection, print-profile documentation, and repeatability checks, see our factory audit & QC checklist.
Common Pitfalls in the Eyewear Vertical
The failures distributors hit: (1) selling a single FDM machine to a frame brand, FDM layer lines are unacceptable for fashion frames, and the account dies in the first week; (2) under-selling the finishing workflow, a customer who sees a raw resin frame thinks the technology is weak, when the gloss coat was the missing step; (3) ignoring shrinkage on castable resin, frames that cast 2% small are scrap, and the distributor who did not document compensation loses the account; (4) selling hobby-grade resin machines for production-frame work, eyewear runs 8-hour prints daily, and a machine without a robust UV system or reliable build plate fails in a month; and (5) missing the fixture demand, distributors who only pitch frames leave the lab's monthly jig business to the competitor. The reliability conversation that addresses pitfall (4) is in our maintenance guide.
Getting Started: The First 90 Days
Month 1 . Select the resin line (clear + tough) and one flexible TPU, generate demo frames with documented settings, and map your region's eyewear cluster: brands, made-to-order shops, and lens labs within 50 km. Month 2 . Close two pilot accounts with the finish-to-product service, document the shrinkage factor for your castable resin, and publish a case study with the numbers ("214 prototypes in 6 months, 45 days to 2 days"). Month 3 . Convert pilots to machine + consumables contracts, add the wash-and-cure station to the bundle, and start the monthly reorder cadence. The same 90-day discipline applies to adjacent verticals like jewelry and fashion, our jewelry casting guide and fashion & footwear guide show the parallel paths.
Reviewed by the Precise3D engineering & OEM team. Compliance files that accompany the catalog are auditable at the certification register.
Serve the Optical Economy
Ready to Enter Eyewear & Optics Printing?
Get wholesale pricing on resin and FDM machines for the optical vertical, the eyewear consumable bundle, and the finishing workflow that turns prototypes into products.
